
How to set up DMARC/DKIM/SPF for Re:Shark

Published 2 Nov 2026
Updated 2 Nov 2026
10 min read
Summarize with
Re:Shark automatically configures DNS, SPF, DKIM, and DMARC for sending domains registered or linked through its managed setup. I start there, then verify a message sent through the actual Re:Shark sending account. For a domain with externally managed DNS, use the exact authentication records Re:Shark supplies for that domain.
DMARC passes when SPF or DKIM passes with a domain matching the visible From domain under the configured matching rules. I configure both, confirm the custom Return-Path, and require working DKIM before enforcing a rejection policy.
Add your domain
Start with the domain and mailbox that will actually send the campaign. Re:Shark also supports connected Gmail or Outlook mailboxes; those use the connected mailbox provider's authentication configuration.
- Register or link. Sign in to Re:Shark and register a sending domain or link an existing domain through its domain and mailbox setup. Choose the domain used in your visible From address.
- Confirm DNS control. Complete the ownership checks requested during setup. If you manage DNS externally, obtain the exact record names, record types, and values for your domain from Re:Shark.
- Verify provisioning. Let Re:Shark finish its managed setup, or publish its supplied records at your authoritative DNS provider. Ask support@reshark.io to confirm provisioning if the account does not expose a verification result.
- Connect the sender. Connect the provisioned mailbox to the campaign. Resolve the "Set up sending" warning before attempting a test through that campaign.
Re:Shark's public pages confirm automatic DNS setup but do not publish reusable SPF values, DKIM selectors, or a domain-verification click path. I obtain those details from the account or support rather than guess record names.
Its publicly displayed campaign checklist includes "Set up sending" when no sending account is connected. That check confirms a campaign needs a sender; it does not prove that DNS authentication passes.
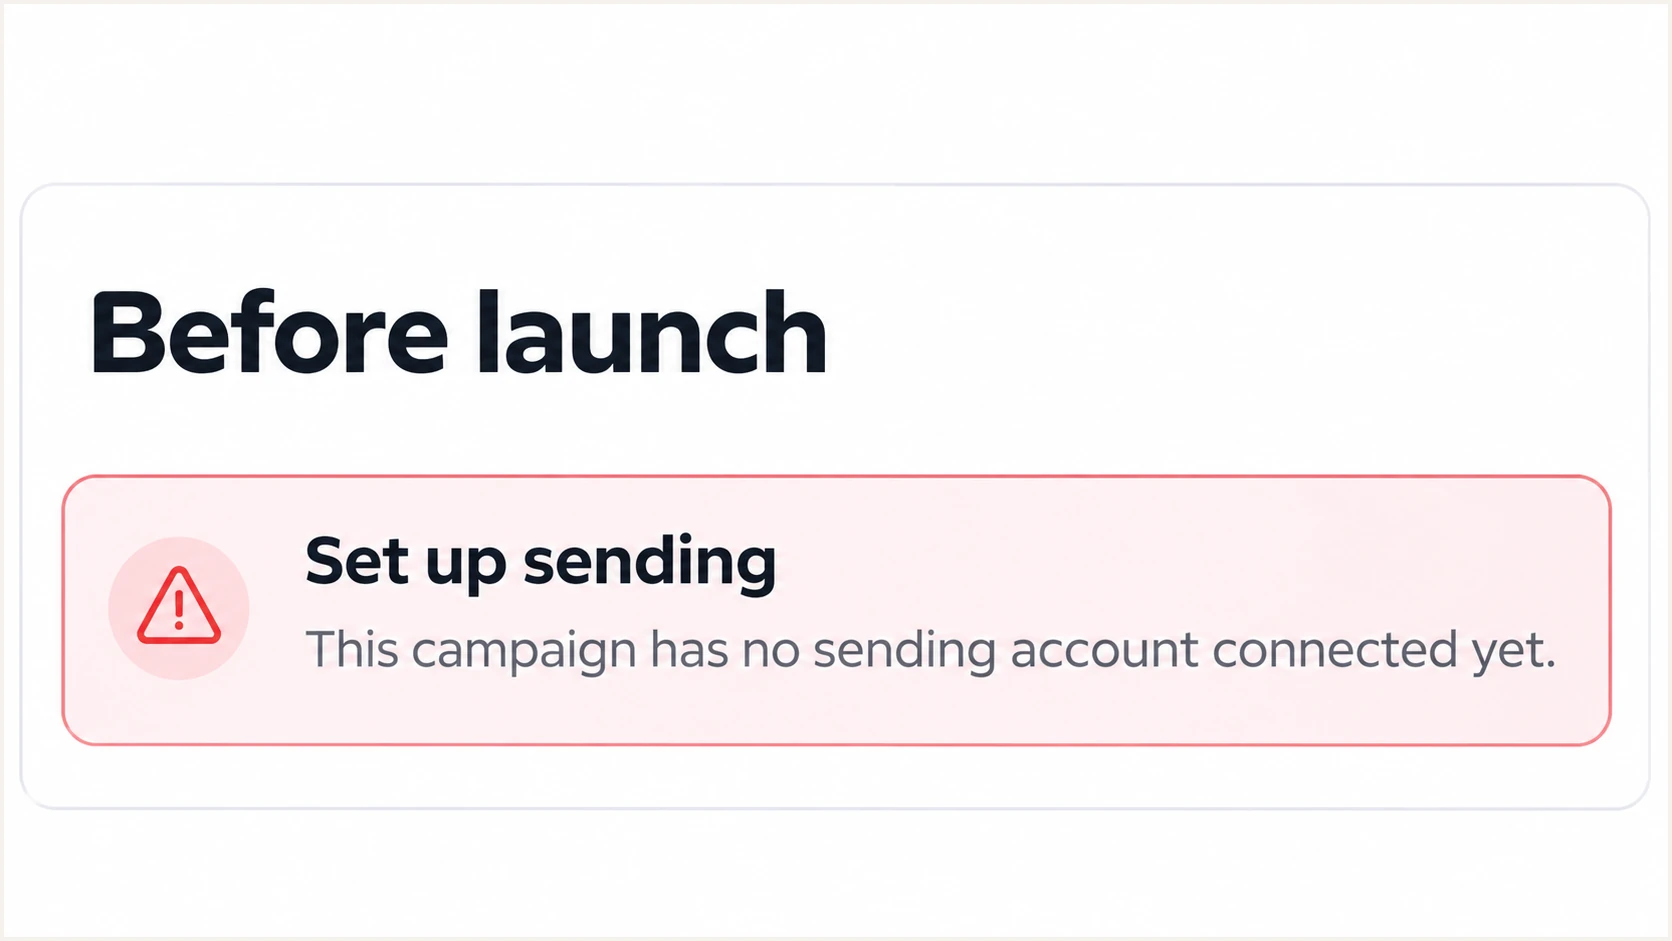
Re:Shark campaign checklist showing that a sending account must be connected.
Use the same connected sending account for the tests below. A test sent manually through a different mailbox does not verify Re:Shark's delivery path.
Save a copy of existing DNS records before manual changes. Preserve the authentication records needed by other legitimate senders on the same domain.
Set up SPF
SPF is checked against the envelope sender domain, normally visible in the delivered Return-Path. Re:Shark supports a custom Return-Path, so I verify that this domain belongs to the same organization as the visible From domain.
- Identify the hostname. Get the custom Return-Path hostname and its required DNS records from Re:Shark. Do not assume SPF belongs at the root domain.
- Publish the supplied value. Use the exact TXT record or delegated DNS configuration provided. If an SPF TXT record already exists at that hostname, merge authorized mechanisms into one SPF record.
- Check lookup limits. Keep SPF evaluation within the 10 DNS-lookup-term limit, including nested includes and redirects. Do not add an unverified Re:Shark include or copy sending IPs from a single test.
- Confirm the result. Send through Re:Shark and check spf=pass against the actual envelope sender. With relaxed SPF matching, bounce.example.com and example.com normally match; strict matching requires identical domains.
An SPF record at example.com is not inherited by bounce.example.com. Check the precise envelope sender hostname, including a delegated subdomain if Re:Shark uses one.
Enter that hostname in the SPF checker to inspect the published record and lookup count. A valid record still needs a real message test to confirm that it authorizes the sending server.
SPF checker
Find SPF syntax issues, lookup limits, and weak records.
?/16tests passed
If the checker reports duplicate SPF records, consolidate the records at that hostname. Preserve other authorized senders and keep a single terminating all mechanism at the end.
I also query DNS directly. Replace bounce.example.com below with the actual Return-Path domain; these commands are diagnostic examples, not Re:Shark DNS values.
Inspect the root and Return-Path SPF recordsbash
dig +short TXT example.com
dig +short TXT bounce.example.com
Set up DKIM
DKIM requires Re:Shark to sign the message and publish the corresponding public key. Adding a public key to DNS alone does not enable signing.
- Get the selector. Obtain the signing domain, selector, and exact TXT value or CNAME target from your Re:Shark domain setup or support.
- Publish the record. Add each supplied selector record at the authoritative DNS provider. For a CNAME, use DNS-only resolution and do not place other records at the same hostname.
- Confirm signing. Have Re:Shark complete verification and enable signing if a manual step is required. Check a fresh message for the expected d= signing domain and s= selector.
- Check domain matching. Require dkim=pass with a signing domain that matches your From domain under your DMARC settings. A passing signature for an unrelated provider domain does not satisfy DMARC for your domain.
Read d= and s= in the DKIM-Signature header to construct the lookup name. In these example commands, s1 is an illustrative selector; replace it with the actual selector and signing domain.
Inspect the published DKIM selectorbash
dig +short CNAME s1._domainkey.example.com
dig +short TXT s1._domainkey.example.com
I keep existing selectors for other senders. For rotation, retain the previous key until Re:Shark confirms that messages signed with it have cleared its delivery queues.
Passing checks with a domain mismatch
SPF and DKIM both pass for an unrelated provider domain. Neither authenticated domain matches example.com in the From address, so DMARC fails.
Passing DKIM with a domain match
DKIM passes with d=example.com and the From address uses example.com. DMARC passes through DKIM even if SPF does not match the From domain.
For a sending route without a custom Return-Path, an SPF domain mismatch is expected. Do not add SPF to your From domain solely to fix that mismatch; require passing DKIM with the correct signing domain. On Re:Shark's managed route, use its supported custom Return-Path.
Set up DMARC
DMARC is a policy for your visible From domain. It is not a separate record for each Re:Shark mailbox.
- Inspect the policy. Query _dmarc at your From domain and check the applicable parent policy if no local record exists. Keep an existing quarantine or reject policy while configuring Re:Shark.
- Start with monitoring. For a domain without an enforced policy, publish one DMARC TXT record with p=none. This collects authentication data without requesting quarantine or rejection for DMARC failures.
- Set the report address. Replace dmarc@example.com with a working aggregate-report destination that you control. Preserve existing reporting destinations when editing an established record.
- Verify DNS. Confirm there is exactly one valid DMARC record at the chosen hostname. Recheck the public result after cached DNS answers expire.
Starter DMARC TXT value at _dmarc.example.comtext
v=DMARC1; p=none; rua=mailto:dmarc@example.com
The example mailbox is a placeholder. For reports sent to a different domain, complete the external reporting authorization required by the report recipient.
Use the DMARC record generator to build the value with your actual reporting address. Then check the domain below; the lookup validates DNS configuration, not a message's authentication result.
DMARC checker
Look up a domain's DMARC record and catch policy issues.
?/7tests passed
I leave relaxed domain matching in place unless there is a documented reason for strict matching. Strict SPF matching rejects a subdomain match between a custom bounce domain and the visible From domain.
A DNS change is complete only when the authoritative answer is correct and a fresh Re:Shark message passes DMARC. A valid-looking TXT record alone is insufficient.
Keep an existing enforcement policy
Do not replace p=quarantine or p=reject with the starter record. Correct Re:Shark's authentication while preserving the established policy and report destinations.
Verify and troubleshoot
I test the actual Re:Shark sending route before increasing volume or changing enforcement. Send directly to the test address rather than forwarding a previously received message.
- Send a real message. Use the connected mailbox and campaign path that will send production email. Repeat for each sending domain and any alternative delivery route.
- Inspect receiver results. Read the receiving server's Authentication-Results header. Confirm spf=pass, dkim=pass, and dmarc=pass, then compare the authenticated domains with the From domain.
- Fix DNS precisely. Check for duplicated zone suffixes, wrong selectors, copied quotation marks, or CNAME targets with proxying enabled. Requery authoritative DNS before waiting for caches.
- Escalate server issues. Send Re:Shark support the sending IP, UTC timestamp, Message-ID, and relevant headers if signing or Return-Path settings are wrong. The IP operator controls PTR records.
Illustrative receiver results with matching domainstext
From: Sales <sales@example.com>
Return-Path: <bounce@bounce.example.com>
Authentication-Results: receiver.example.net;
    spf=pass smtp.mailfrom=bounce.example.com;
    dkim=pass header.d=example.com;
    dmarc=pass header.from=example.com
The example above assumes relaxed SPF domain matching. Inspect the result added by the receiver you trust, because a sender-supplied Authentication-Results header is not proof.
The email tester gives the quickest message-level check: send a fresh Re:Shark email to the address it provides and review its authentication diagnosis.
Email tester
Send a real email to this address. Suped shows a results button when the test is ready.
?/43tests passed
Fix any failed authentication checks, then send another message. A successful test validates that message and route; it does not prove every sender on the domain works.
Aggregate reports expose other sending routes after receivers report them, typically on a daily schedule. Use the failure pattern to choose the next change.
|
|
|
|---|---|---|
SPF permerror | Duplicate record or lookup limit | Merge; reduce lookups |
DKIM key missing | Wrong selector or DNS name | Match d= and s= |
DKIM failure | Wrong key or changed message | Check signing and route |
DMARC failure | No matching authenticated domain | Check From and domains |
PTR mismatch | Server DNS mismatch | Ask Re:Shark support |
Authentication does not guarantee inbox placement. After it passes, investigate recipient complaints, sending volume, and reputation. A blocklist (blacklist) listing is a separate issue from an SPF, DKIM, or DMARC failure.
Get alerted when it breaks
Our platform, Suped, provides DMARC monitoring with failure alerts and source-level diagnostics. I use report data to spot changes after onboarding, rather than treat a successful setup test as permanent proof.
- Route aggregate reports. Use the reporting destination supplied for your domain while preserving the current policy. Keep other required report recipients.
- Verify the source. In Suped's source table, confirm the Re:Shark traffic is authorized before marking it verified. Check the sending IPs and authenticated domains against your account.
- Configure alerts. In Suped notification settings, enable DMARC failure alerts and summary emails. Review the configured failure threshold and confirm the intended recipients.
- Diagnose changes. Open failing records to inspect SPF, DKIM, and DMARC results. Compare DNS history with the failure window, fix the account or DNS issue, and retest.
DMARC alerts depend on incoming aggregate reports. They do not provide an immediate verdict for every message; use the email tester for a configuration change that needs immediate validation.
Secure your domain with p=reject
I move to p=reject only after legitimate Re:Shark traffic and the domain's other authorized senders consistently pass DMARC. Our Suped platform provides the source inventory and diagnostics needed to assess that readiness.
- Review every sender. Include infrequent legitimate traffic such as monthly invoices and password resets. Investigate unknown sources instead of authorizing every IP in a report.
- Require reliable DKIM. Confirm passing DKIM with a matching signing domain across Re:Shark's sending routes. Do not rely solely on SPF, which forwarding commonly breaks.
- Stage enforcement. After a representative reporting period, change none to quarantine. Investigate legitimate failures, then move to reject. For an existing enforcement policy, continue at that level while fixing the sender.
- Keep monitoring. Check applicable subdomain policies and reporting destinations before each change. With Suped Hosted DMARC already configured, change policy in the dashboard and verify the published result; otherwise edit the existing DNS record.
Final DMARC TXT example after sender verificationtext
v=DMARC1; p=reject; rua=mailto:dmarc@example.com
Replace the example report address and preserve your established tags. Our Hosted DMARC workflow manages policy changes from Suped's dashboard after its DNS delegation is configured.
Ready for enforcement
Proceed when authorized sources have been reviewed, Re:Shark messages pass with matching DKIM, and remaining failures are understood. A high domain-wide pass rate alone is insufficient.
Keep failure alerts enabled after enforcement. A later DKIM rotation or Return-Path change still needs a fresh test through Re:Shark.
Review the first aggregate reports after each policy change for legitimate-source failures. Correct any affected sending route and verify its next messages.
FAQ
Re:Shark says it configures these records automatically for domains registered or linked through its managed setup. I still verify the resulting DNS and a real message. For externally managed DNS, obtain the exact values for your domain from Re:Shark.
Use the values supplied for your sending domain. The public pages reviewed do not provide a universal SPF include or DKIM selector. Do not invent include:reshark.io or assume a selector such as default.
Yes. DMARC passes when DKIM passes with a signing domain that matches the From domain under your configured rules. An SPF domain mismatch is expected on routes without a custom Return-Path. Re:Shark supports a custom Return-Path, so check that configuration on its managed route.
No. DMARC policies apply to domains, not individual mailboxes. Mailboxes using the same From domain use the same applicable policy. A different From subdomain needs its own policy assessment.
Re:Shark operates its own sending infrastructure, but I cannot identify a sending platform from an unspecified rDNS suffix. The public documentation reviewed does not list confirmed rDNS suffixes. Compare the actual sending IP and PTR with Re:Shark support, then verify DKIM and DMARC; rDNS alone does not authenticate the From domain.
No. Keep an existing quarantine or reject policy. Complete Re:Shark authentication, confirm a fresh test message passes, and review legitimate-source failures before increasing sending volume.