
How to set up DMARC/DKIM/SPF for Reapit Websites

To authenticate Reapit Websites email, have Reapit configure your sending domain, publish its approved SPF and DKIM records, and add one DMARC TXT record for your visible From domain. Verify a real website-generated message before tightening the policy. DMARC requires a passing SPF or DKIM result with a domain that matches the From domain under your policy.
I check the website sending route first. Reapit Websites was formerly Agentpoint. Records for another Reapit product are not automatically correct for website notifications. Use the values supplied for your website account.
Add your domain
I start with Reapit Websites support and the administrator of the domain's authoritative DNS. The public material I found does not document a sender-domain authentication menu or account-specific DKIM values.
A working website does not prove that its email sender domain is authenticated. Confirm the visible From address and the actual sending route separately.
- Identify the sender. Give support your website address, account details and intended From address, such as notifications@example.com. Identify website notifications separately from CRM email.
- Request the DNS records. Ask for the approved SPF mechanism, custom Return-Path hostname and required records, DKIM selectors and values, and any domain ownership verification record.
- Publish the supplied proof. Add any requested verification TXT or CNAME at the authoritative DNS host. Do not change nameservers or inbound MX records merely to authenticate outbound website email.
- Confirm activation. Ask support to verify the records and activate the sender domain, DKIM signing and custom Return-Path. Request a fresh website-generated test message afterward.
The published Reapit Websites support contact is helpdesk@agentpoint.com.au. Send the request through your established support channel and specify that it concerns Websites.
I retain the supplied hostnames and values with the change request. They are the reference for every DNS change below.
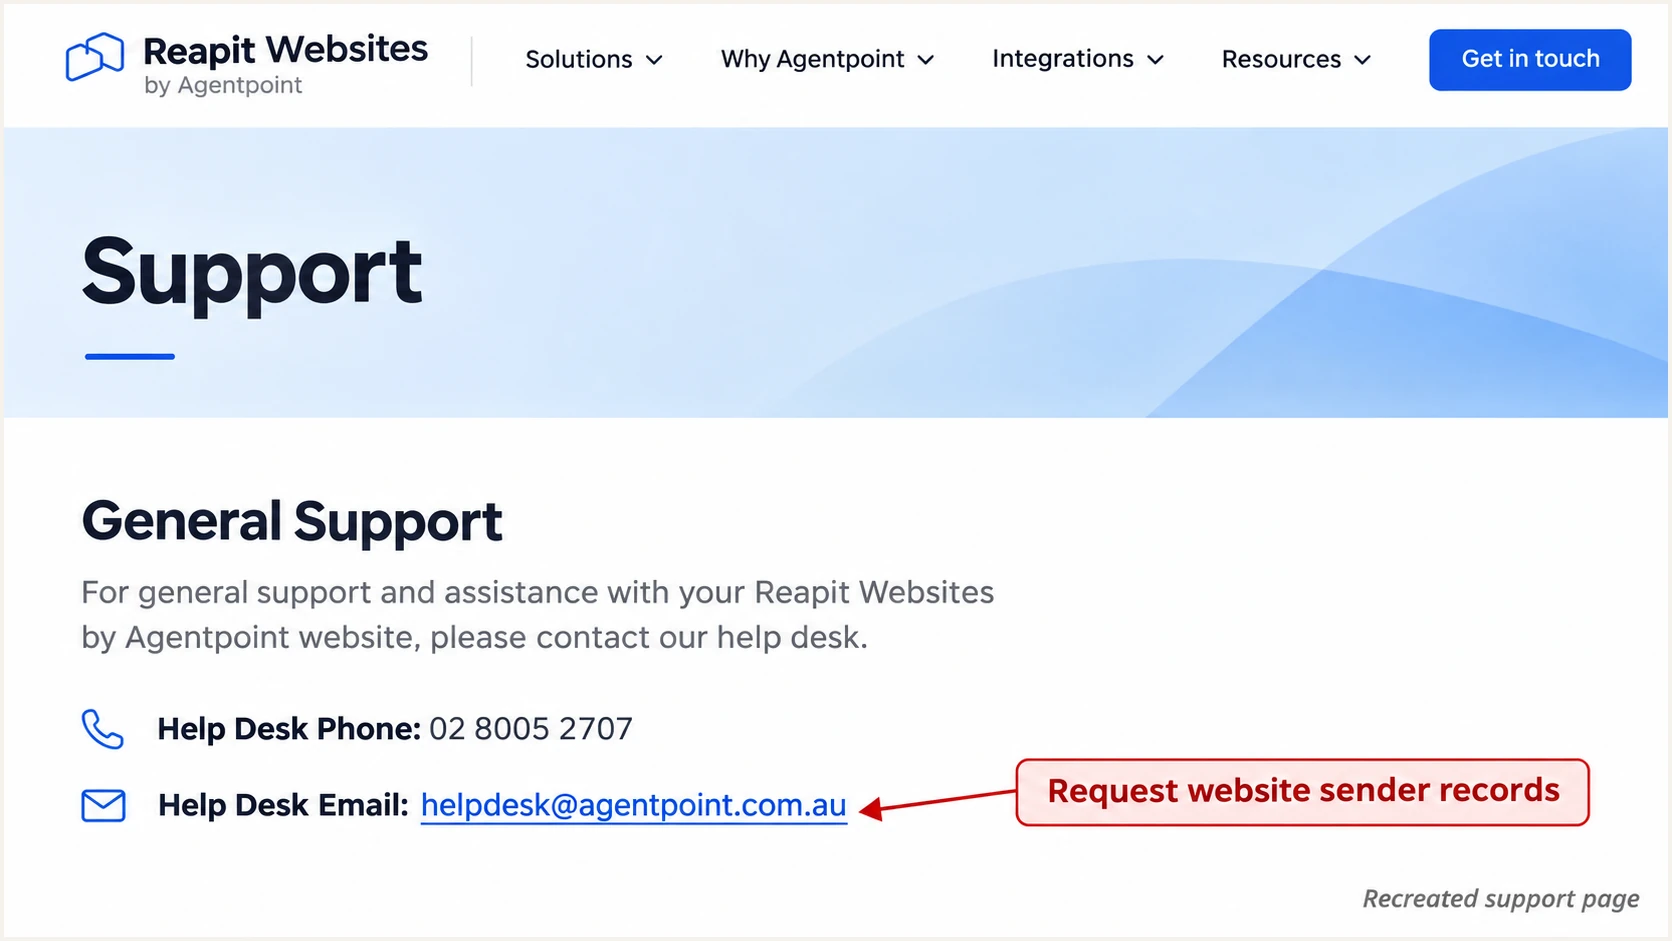
Recreated Reapit Websites Support page showing where to request sender DNS records.
Set up SPF
SPF checks the envelope sender domain, normally visible in Return-Path after delivery. Reapit Websites supports Return-Path domain matching; ask support to enable the custom hostname for your sending domain.
For a From address at example.com, a Return-Path at bounce.example.com matches under relaxed SPF domain matching. A strict aspf=s policy requires an exact domain match instead.
- Confirm the mechanism. Ask whether include:spf.agentpoint.com.au is correct for your website's route. Use it only after Reapit confirms it; a different route needs its own supplied records.
- Edit the correct hostname. Publish SPF at the envelope sender domain specified by Reapit. An SPF record at example.com does not automatically apply to bounce.example.com.
- Keep one SPF record. Merge approved mechanisms into the existing v=spf1 TXT value at that hostname, before its final all mechanism. Preserve other authorized senders and the existing final qualifier.
- Respect delegation. If Reapit supplies a CNAME for the bounce hostname, publish that exact delegation. Do not add a TXT or MX record at the same CNAME owner.
- Check DNS lookups. Keep SPF evaluation within the 10 DNS-lookup limit, including nested includes. Count lookup-causing mechanisms, not just the visible include entries.
The example below is only for a hostname whose sole authorized sender uses the confirmed Agentpoint include. It is not a replacement for a domain's existing combined SPF record.
I leave the existing policy ending unchanged when adding a sender. Switching between ~all and -all is a separate decision.
Conditional SPF example, use only after Reapit confirms the includedns
v=spf1 include:spf.agentpoint.com.au -all
Check the exact envelope sender hostname here after saving DNS. If Reapit delegates that hostname, verify the delegation as well.
The SPF checker validates DNS configuration. It cannot prove which Return-Path Reapit uses on an actual message.
SPF checker
Find SPF syntax issues, lookup limits, and weak records.
?/16tests passed
A raw spf=pass result is insufficient for DMARC when the authenticated envelope sender belongs to an unrelated provider domain.
I confirm the actual Return-Path on a fresh message. Editing the visible From domain's SPF does not change that address.
Set up DKIM
Reapit must sign website email using a DKIM domain that matches your From domain under the DMARC policy. Publishing a public key alone does not enable signing.
I get the selector and public DNS value directly from Reapit. A locally generated key has no effect unless the sending service installs its matching private key.
- Obtain the selectors. Request every DKIM selector used by your website route, the exact TXT value or CNAME target, and the intended signing domain.
- Publish the records. Add each supplied selector under _domainkey at the specified domain. Use TXT or CNAME exactly as instructed, with no conflicting records at a CNAME owner.
- Avoid duplicate suffixes. Check whether the DNS editor expects a relative host or a full hostname. Do not accidentally append example.com twice.
- Activate and test. Have Reapit confirm signing is enabled. Send a fresh website message and check that dkim=pass refers to a signature whose d= domain matches the visible From domain.
The selector is the s= value in DKIM-Signature. The signing domain is its d= value; together they identify the DNS lookup name.
I compare those live header values with the support request. The short labels below identify what to inspect.
|
|
|
|---|---|---|
Signing domain | d= | Matching domain |
Selector | s= | Issued selector |
DNS record | TXT or CNAME | Supplied value |
Validation | dkim=pass | Valid signature |
DKIM checks on a real website-generated message
For a sample selector web1 and signing domain example.com, these commands inspect the public DNS. Replace both with the values on your message.
A CNAME response identifies delegation; a TXT lookup normally follows that delegation to the public key. Neither lookup proves successful signing.
Inspect an illustrative DKIM selectorbash
dig +short CNAME web1._domainkey.example.com
dig +short TXT web1._domainkey.example.com
Set up DMARC
DMARC belongs on the domain in the visible From address. Reapit supplies sender authentication records; your domain administrator publishes the DMARC policy.
I start new policies with p=none while checking legitimate senders. If the domain already uses p=quarantine or p=reject, keep that policy and fix the Reapit configuration.
- Inspect the existing record. Look up TXT at _dmarc.example.com before changing anything. Update the existing DMARC record instead of creating a second one.
- Choose the reporting address. Use a working address that can receive aggregate XML reports. Replace dmarc@example.com in the example with your actual reporting destination.
- Publish the policy. For a new policy, use the monitoring value below at _dmarc on the From domain. Keep existing enforcement and reporting settings when a policy already exists.
- Verify publication. Check the live record after DNS caches expire. If reports go to another domain, confirm that the destination has authorized external reporting.
Use the DMARC record generator to build the value with your reporting destination. It generates the record; you still publish it at your DNS host.
The following example requests reporting without requesting quarantine or rejection. The example address is not a configured reporting service.
New monitoring policy at _dmarc.example.comdns
v=DMARC1; p=none; rua=mailto:dmarc@example.com
Check your From domain below, rather than assuming the website hostname is the email domain. A sender such as notifications@example.com uses example.com.
The DMARC checker validates the published policy. A real email test is still needed to establish whether the website passes that policy.
DMARC checker
Look up a domain's DMARC record and catch policy issues.
?/7tests passed
Keep relaxed domain matching unless an established requirement needs strict matching. Subdomain Return-Path addresses work with relaxed matching.
Aggregate reports are delayed and not every receiver sends them. I use direct message testing for the first verification.
Verify and troubleshoot
I test the actual website workflow after Reapit activates the records. A message sent manually from your normal mailbox exercises a different sending route.
Use the email tester below to obtain a destination, then trigger a website message to that address wherever the workflow allows it. It gives a message-level authentication diagnosis.
- Trigger each workflow. Test a website enquiry notification and a customer confirmation separately, plus other automated messages your site uses. Test the same From address used in production.
- Read trusted results. Inspect the receiving server's Authentication-Results, Return-Path and DKIM-Signature headers. Confirm dmarc=pass for the intended From domain.
- Check both identities. Compare the SPF envelope sender and DKIM signing domain with the visible From domain. A passing provider-domain signature is insufficient without a matching domain.
- Retest after fixes. Allow for the relevant DNS TTL, send a new message, and retain the result. If nothing arrives, ask Reapit to trace the send and inspect bounces or suppression before changing DNS again.
An SPF domain mismatch does not fail DMARC when a valid DKIM signature has a matching domain. It still means the intended custom Return-Path needs investigation.
If your particular sending route cannot use a custom Return-Path, prioritize passing DKIM with a matching domain. Adding SPF to your apex cannot fix a provider-owned Return-Path.
Email tester
Send a real email to this address. Suped shows a results button when the test is ready.
?/43tests passed
The tester needs the original website-generated message. An ordinary forwarded copy changes the delivery path and is not an equivalent SPF test.
I distinguish these two outcomes before deciding whether another SPF change is useful.
SPF passes, DMARC fails
SPF authenticates an unrelated provider domain, and no valid DKIM signature uses a matching domain.
Have Reapit activate the custom Return-Path or signing domain. An additional apex SPF include does not change either identity.
SPF mismatch, DMARC passes
A valid DKIM signature uses a domain that matches the visible From domain. That signature is sufficient for DMARC.
Preserve working DKIM. Investigate the custom Return-Path separately, and test forwarding because it commonly changes SPF results.
Get alerted when it breaks
Suped is our DMARC platform. Its DMARC monitoring connects report data with source-level failures and alerts, so the team can investigate Reapit Websites changes after initial setup.
I monitor ongoing traffic because a successful test covers one message. A changed sending route or removed DNS record requires a new investigation.
- Verify the source. Review the Reapit Websites source in incoming reports. Match its sending IPs and authentication domains against your test messages before marking it verified.
- Enable notifications. In Suped notification settings, enable Issues detected and Sending sources need verification. Route notices to the people responsible for DNS and the website account.
- Investigate the failure. Open the reported issue and inspect the affected source, SPF and DKIM results, and detailed DNS checks. Use the supplied steps to fix, then verify the change.
- Review changes. Use DNS history to compare old and new authentication records. Check summary reports for new sources and recurring failures that a single test missed.
Suped brings report investigation and issue resolution into the same workflow. Reapit support remains responsible for changes to its sending service.
I keep direct tests alongside report monitoring because receiver reporting is asynchronous.
Alerts follow the available data
Suped alerts on detected issues and received authentication data. DMARC aggregate reports are commonly delivered daily, so they do not provide an immediate notification for every individual failed message.
Secure your domain with p=reject
Move to p=reject after legitimate senders pass DMARC across their real sending workflows. A successful Reapit Websites test alone is insufficient for a domain-wide change.
I use Suped's source reports to check the website alongside other authorized senders, then use Hosted DMARC to manage policy staging without repeated DNS edits after the initial delegation.
- Inventory legitimate senders. Review normal business traffic and infrequent sends, including website notifications. Investigate unknown sources instead of authorizing every IP that appears.
- Fix legitimate failures. Confirm passing DKIM with a matching domain and test the custom Return-Path. Resolve legitimate exceptions before tightening policy.
- Stage enforcement. Move a new policy through p=none and p=quarantine before p=reject, reviewing reports and delivery failures at each stage. Keep an already enforced policy in place.
- Check subdomains. Review inherited policy and any explicit subdomain DMARC records. Do not leave an unintended sp=none exception when subdomains also need protection.
- Retain reporting. Keep the working rua destination and Suped notifications after enforcement. Retest after website migrations, sending-domain changes and DKIM rotations.
Hosted DMARC requires the supplied DNS delegation first. Replace the existing DMARC TXT record when installing its CNAME; do not leave both at the same hostname.
For a directly managed TXT policy, the final example below retains reporting. Replace the sample address and preserve other deliberate settings.
Enforced policy at _dmarc.example.comdns
v=DMARC1; p=reject; rua=mailto:dmarc@example.com
I base enforcement on verified legitimate traffic, rather than waiting a fixed number of days. A quiet reporting period does not test an inactive sender.
A reject policy requests rejection of DMARC failures. Receiving systems retain their own handling decisions, and authentication does not guarantee inbox placement.
Keep the policy scope clear
DMARC protects the domain in the visible From address. A website-specific repair does not authenticate unrelated senders, and a reject policy does not prevent impersonation using a different domain.
Record who owns the Reapit account and who can update DNS. That gives an authentication alert a clear operational owner.
After any repair, send a fresh website message and confirm that subsequent reports show the expected result.
Frequency asked questions
Use the mechanism and DNS hostname confirmed by Reapit Websites support for your sending route. Ask whether include:spf.agentpoint.com.au applies to your site. Merge approved mechanisms into the existing SPF record at the appropriate hostname; do not replace other authorized senders or create a second SPF record.
Request the selectors, signing domain and exact TXT values or CNAME targets from Reapit Websites support. Reapit must enable signing with the corresponding private key. A key you generate independently will not authenticate its messages without that server-side configuration.
Yes. A passing DKIM signature with a domain that matches the visible From domain is sufficient. An SPF domain mismatch is compatible with DMARC passing through DKIM. If a custom Return-Path was intended, investigate its configuration separately.
Keep an existing p=reject or p=quarantine policy while configuring Reapit Websites. Fix the website sending identities and retest. The p=none example is for a new monitoring policy, not a reason to remove existing enforcement.
Investigate Reapit Websites, formerly Agentpoint, when you see an agentpoint.com.au rDNS suffix. Treat the hostname as an attribution clue. Confirm the sending IP with Reapit support and compare the message's authentication domains and your website activity. rDNS alone does not establish which application sent a message or whether it is authorized.
DNS verification depends on the previous TTL and any cached negative responses. Reapit also needs to activate the sending configuration. Test a newly generated website message after publication and activation; aggregate reports commonly arrive over the following 24-48 hours rather than immediately.




