
How to set up DMARC/DKIM/SPF for Reapit Sales

Published 22 Nov 2026
Updated 22 Nov 2026
11 min read
Summarize with
Set up Reapit Sales email authentication by having Reapit configure your agency's sending domain, publishing its SPF and DKIM DNS records, enabling a custom return path, and publishing DMARC at your From domain. Start a new DMARC deployment with p=none, then test messages sent through Reapit Sales. Keep an existing quarantine or reject policy.
I check the received message before calling the setup complete. DMARC passes when SPF or DKIM passes with a domain that matches the visible From domain under the configured alignment mode. A passing SPF result for an unrelated provider domain is insufficient on its own.
Add your domain
I start with Reapit Sales support because the authentication records must belong to your agency's sending account. Reapit Sales was formerly Agentbox, so existing records and support material still use that name.
- Identify the sender. Record the exact From address used by your campaigns, such as sales@example.com, and list any other agency domains used for sending.
- Request authentication. Contact salessupportanz@reapit.com with your agency/account identifier and sending domain. Ask for domain authentication, all DKIM records, SPF requirements and a custom return path under your domain.
- Collect the records. Request the exact DNS type, hostname and value for each entry. Ask support to distinguish return-path records from optional link-branding records.
- Confirm activation. After publishing the records, ask Reapit to verify them and confirm that authenticated sending and the custom return path are active for your account.
Reapit's public CRM support page lists salessupportanz@reapit.com. Use your existing support case to exchange the account-specific DNS values and the final verification result.
Domain verification requires the supplied DNS records and Reapit's confirmation. Changing a display name or email signature does not configure SPF or DKIM.
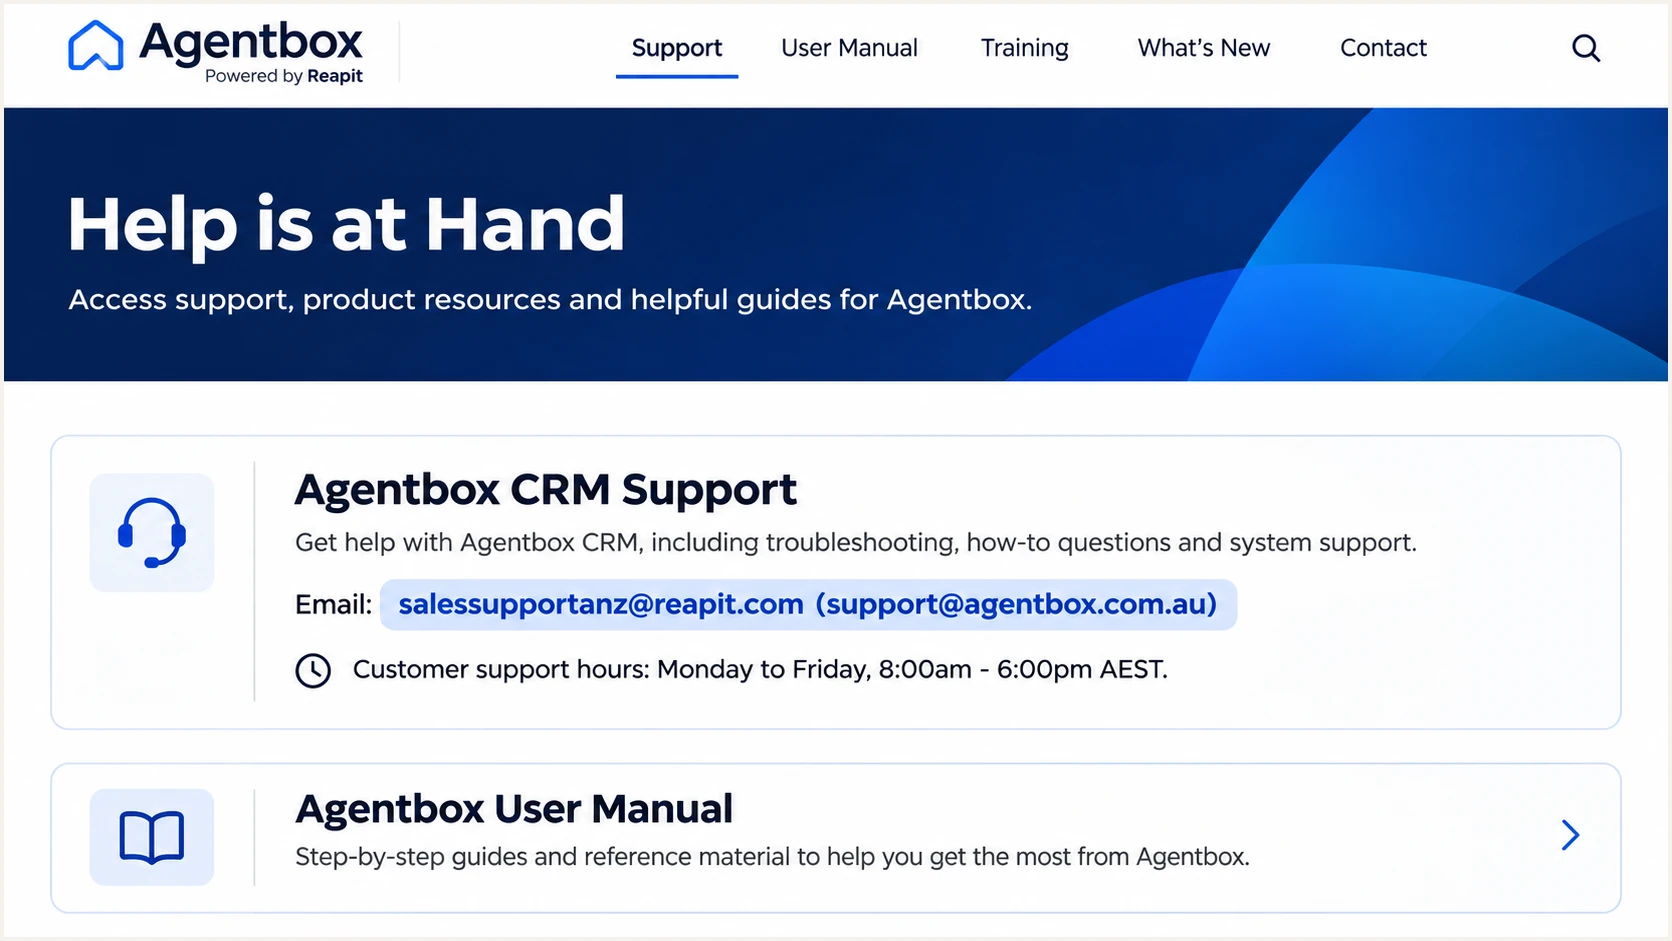
Illustrative Reapit Sales support page highlighting the CRM support contact.
Send support the domain you control, without a website path or an email address in the domain field. For sales@example.com, the sending domain is example.com.
Keep the issued hostnames and targets together. The SPF and DKIM steps below depend on those values; another agency's DNS targets are not substitutes.
Set up SPF
Reapit Sales supports return-path alignment. I request a custom MAIL FROM domain under the agency's domain, then check SPF at that exact hostname. The relevant Agentbox SPF mechanism to confirm with support is include:agentboxmail.com.au.
- Find the hostname. Ask Reapit which MAIL FROM domain it will use. SPF is checked there, not automatically at the visible From domain.
- Publish the requirement. If support requests a TXT record, merge its mechanism into the single SPF record at that hostname, before the final all mechanism. Preserve existing authorized senders.
- Handle delegation. If Reapit supplies a CNAME for the return-path hostname, publish that exact CNAME. Do not add a TXT or other record at the same CNAME owner.
- Check the limit. Keep SPF within the 10 DNS-lookup-term limit, including nested includes. Do not substitute a copied list of shared sending IP addresses for Reapit's maintained records.
The following TXT value is an example for a hostname authorized to send only through Reapit Sales, after support confirms this include. Do not replace an existing multi-sender SPF record with it.
SPF example for a Reapit-only sending hostnametext
v=spf1 include:agentboxmail.com.au -all
Adding this include to example.com does not change the return path that Reapit uses. Support must activate the custom return path; a received message then shows whether the change is live.
Enter the actual MAIL FROM hostname in the SPF checker below. If Reapit still uses its shared return-path domain, checking only your agency's root domain does not test that message's SPF configuration.
SPF checker
Find SPF syntax issues, lookup limits, and weak records.
?/16tests passed
Resolve duplicate SPF records and lookup-limit errors before testing again. A hostname needs one SPF TXT record; unrelated TXT records can remain.
Under default relaxed SPF alignment, bounce.example.com matches a From domain of example.com. With aspf=s, those domains must match exactly. Check your existing DMARC settings before selecting the return path.
Set up DKIM
I enable DKIM for the agency's domain even when custom SPF is available. Reapit controls the signing keys; your DNS publishes the verification records it issues.
- Get both selectors. Ask Reapit for every DKIM selector and its exact DNS target. Some Agentbox configurations use abx and abx2; use the selectors issued for your account.
- Publish the values. Create the supplied CNAME records at the selector hostnames, such as abx._domainkey.example.com. Copy each target exactly and use DNS-only resolution if your DNS host offers proxying.
- Check the owner. If your DNS host appends example.com automatically, enter only the relative hostname. Avoid creating abx._domainkey.example.com.example.com.
- Activate signing. Ask Reapit to validate the records and confirm signing is enabled for the From domain. A published key alone does not prove outgoing messages are signed.
- Inspect a message. Check for dkim=pass and the DKIM-Signature d= domain in a received test. At least one passing signature must match your From domain under the DMARC DKIM alignment mode.
Keep both supplied selectors published during key rotation. An existing selector used by another sender can coexist under a different name; resolve a same-name conflict with Reapit before replacing it.
A branded tracking-link CNAME is separate from DKIM and the return path. Its presence does not prove that either authentication mechanism passes.
Use the account's DKIM targets
There is no universal DKIM target or public key to paste for every Reapit Sales customer. Use the complete records supplied for your agency, and have Reapit confirm the sending account uses them.
Set up DMARC
DMARC is your domain's receiving policy, published in DNS. I check the existing policy before editing it because it applies to every sender using that From domain, including email outside Reapit Sales.
- Read the policy. Look up the TXT record at _dmarc.example.com. Preserve p=quarantine or p=reject if either is already deployed, and retain existing reporting destinations.
- Start monitoring. For a domain without DMARC, create one TXT record at _dmarc.example.com with the p=none value below. A TTL of 3600 seconds is a reasonable starting setting.
- Choose the recipient. Replace dmarc@example.com with a reporting mailbox you control or the address issued by your reporting platform. A mailbox receives XML attachments; it does not automatically analyze them.
- Validate the record. Confirm that the hostname has one valid DMARC policy and that reporting is configured. External report destinations also require authorization from the destination domain.
Initial DMARC TXT value at _dmarc.example.comtext
v=DMARC1; p=none; rua=mailto:dmarc@example.com
The example address is a placeholder, not a working report destination. Keep the record as one TXT value and replace that address before publishing. p=none requests monitoring without asking receivers to quarantine or reject mail because of DMARC failure.
Use the DMARC record generator to construct the policy with your reporting address, then check the published From domain below. A valid DNS policy still needs a live-message test.
DMARC checker
Look up a domain's DMARC record and catch policy issues.
?/7tests passed
Use the domain after the @ in the visible From address. For a subdomain sender, inspect any explicit subdomain DMARC record as well as the organizational domain's inherited policy.
Allow DNS caches to expire, then send a fresh message. Mail received before the change does not demonstrate the result of the new configuration.
Verify and troubleshoot
I test through Reapit Sales itself so the result covers its sending route. Sending a message directly through your usual mailbox tests a different system.
- Get a recipient. Open the email tester below and copy the unique test address it supplies.
- Send through Reapit. Open a Property Card, select Send an Email, then Quick Email. Paste the test recipient, enter the subject Reapit authentication test, add a short message and click Send.
- Test other workflows. Repeat with an e-newsletter and automated property communication where available. A Quick Email pass does not establish that every campaign route uses the same configuration.
- Read the result. Check the receiver's Authentication-Results, the Return-Path domain and the DKIM signing domain. Require dmarc=pass for the agency's From domain.
Reapit's public Quick Email instructions document the Property Card, Send an Email and Quick Email route. Use a recipient you control and the same From identity used for normal agency communications.
The screenshot illustrates that sending workflow. Its sample message is not evidence of successful authentication; the received test report supplies that evidence.
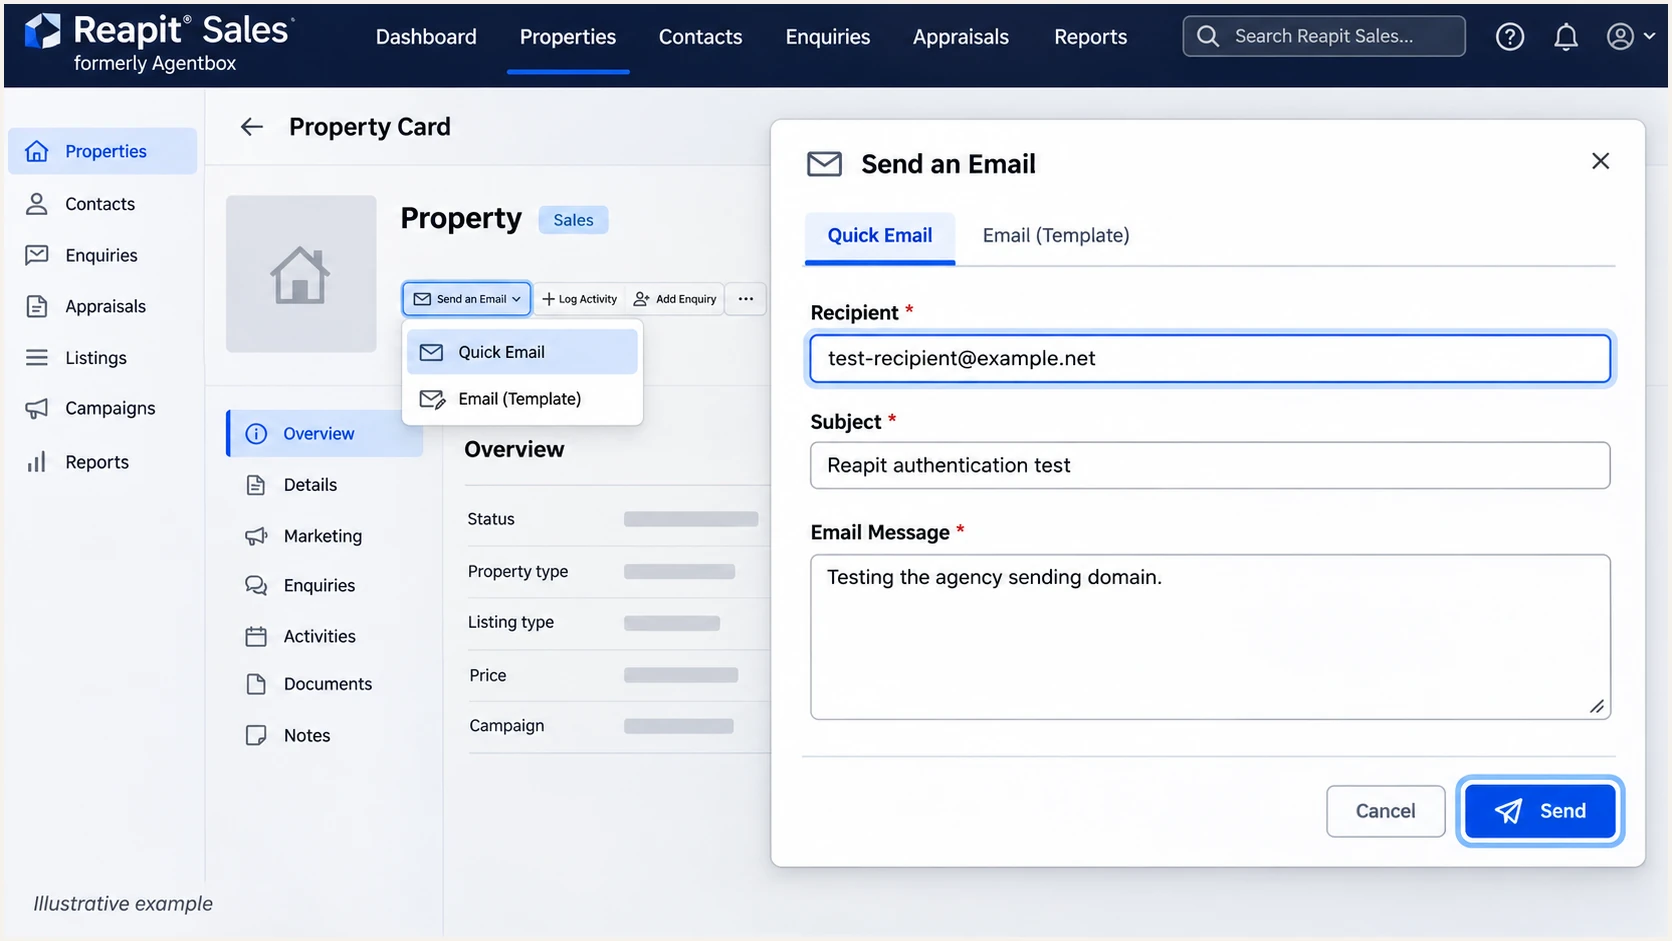
Illustrative Reapit Sales Quick Email workflow for sending an authentication test.
Replace the example recipient with the address generated by the tester. The tester prompts you to send a message and returns a diagnosis of the message it receives.
This is the quickest check of the actual configuration because it evaluates a delivered message, including authentication and the domains used for DMARC alignment.
Email tester
Send a real email to this address. Suped shows a results button when the test is ready.
?/43tests passed
A passing raw SPF or DKIM result is only part of DMARC. Compare the authenticated domain with the visible From domain to distinguish these outcomes.
Use the receiving server's results as evidence. A sender-controlled header or a domain's published DNS alone does not prove that this message passed.
|
|
|
|---|---|---|
SPF pass | Agency return path | Pass if matched |
SPF pass | Shared provider domain | Needs matching DKIM |
DKIM pass | Agency signing domain | Pass if matched |
Neither matches | Unrelated domains | Fail |
Authentication outcomes for an agency From domain.
If SPF has no matching domain but DKIM passes with the correct domain, DMARC passes. For Reapit Sales, still ask support to activate its supported custom return path so direct mail has an SPF route too.
If the test never arrives, give Reapit the recipient, send time and campaign details. Ask them to check delivery events and recipient suppression or bounce status. Inspect recipient quarantine and rejection logs before changing DNS or making broad allow-list exceptions.
Authentication failure
A received test shows SPF errors, DKIM failure or no matching domain. Correct the DNS owner and target, then ask Reapit to confirm activation and send another test.
Delivery failure
A message is suppressed, rejected or filtered. Use Reapit's delivery evidence and the recipient's logs to identify the cause. A DMARC pass does not guarantee inbox placement.
Get alerted when it breaks
Suped is our DMARC platform. For ongoing Reapit Sales monitoring, it connects source-level authentication results with detected issues, fix instructions and notification emails. I keep this monitoring active after the initial test.
- Identify the source. Match Reapit Sales traffic using test-message evidence, sending IPs and signing domains. Verify the source only after confirming it is authorized.
- Enable notifications. Turn on Issues detected and Sending sources need verification emails for the people responsible for the agency's DNS and CRM.
- Investigate failures. Filter Suped's Data view by source, reporter or sending IP. Open Detail view to inspect SPF and DKIM results alongside the DMARC outcome.
- Check DNS changes. Compare failures with DNS history, follow the issue's steps to fix, and verify recovery with a new Reapit test and subsequent reports.
Our DMARC monitoring connects the initial setup to ongoing source review. Aggregate-report alerts depend on receivers submitting reports; they are not an instant delivery trace for each message.
Keep a named owner for each alert. A DNS problem needs whoever controls DNS, while an inactive signing configuration or suppressed recipient needs Reapit support.
Secure your domain with p=reject
I move to p=reject after the agency's legitimate sending sources consistently pass DMARC. Suped's source verification and issue diagnostics make that decision easier to substantiate with real traffic instead of one successful test.
- Review every sender. Account for Reapit Sales, staff mailboxes and other authorized systems. Review a representative business cycle that includes scheduled campaigns.
- Fix legitimate failures. Confirm passing DKIM with a matching domain and check the custom return path. Investigate failures by source instead of requiring a 100% pass rate across unauthorized traffic.
- Stage the policy. Change p=none to p=quarantine, review legitimate failures and recipient feedback, then move to p=reject when they are resolved. Keep an existing enforced policy during Reapit setup.
- Check subdomains. Review inherited policy and any explicit subdomain records. Confirm their senders are ready before enforcing rejection on their traffic.
Suped's Hosted DMARC manages policy staging through the dashboard after its DNS configuration is in place. Use the source results and detected issues to decide when to advance the policy.
For a manually managed DMARC TXT record, the final value looks like the following. Retain your real reporting destinations and any other intentional tags when changing the policy.
Enforced DMARC exampletext
v=DMARC1; p=reject; rua=mailto:dmarc@example.com
Keep alerts enabled after enforcement. A new sending domain, changed selector or replaced DNS record can interrupt previously authenticated Reapit mail.
Rejection is a request to receiving systems for mail that fails DMARC. It does not prevent lookalike-domain impersonation or guarantee delivery of authenticated mail.
Frequency asked questions
The Agentbox mechanism to confirm with Reapit support is include:agentboxmail.com.au. Apply the support-issued requirement at the correct MAIL FROM hostname. Preserve other authorized senders and keep one SPF record at that hostname.
Some Agentbox configurations use abx and abx2, but the records issued for your agency are authoritative. Get the complete selector hostnames and CNAME targets from Reapit. Do not copy another customer's values or generate a separate signing key.
SPF can pass for a provider-owned return-path domain that does not match your visible From domain. DMARC then needs a passing DKIM signature with a matching domain. Reapit Sales supports a custom return path, so ask support to enable it and inspect the received message to confirm.
Keep p=reject or p=quarantine if it is already deployed. Authenticate Reapit Sales under the existing policy and test before sending broadly. The p=none example is for starting DMARC monitoring on a domain without an existing policy.
Agentbox, now Reapit Sales, uses outbound hostnames including o1.outbound.agentboxmail.com.au and o2.outbound.agentboxmail.com.au. If those names appear in rDNS, use them as identification clues, then confirm the sending IP and SPF/DKIM evidence. rDNS alone does not authenticate a message or establish that it belongs to your agency.




