
How to set up DMARC/DKIM/SPF for Proximus

To set up email authentication for a custom domain sending through Proximus, authorize the actual outbound servers in SPF, obtain domain-specific DKIM signing details for your mail service, and publish a DMARC TXT record at _dmarc.yourdomain. Start DMARC with p=none unless you already enforce quarantine or reject. A personal @proximus.be, @skynet.be, or @belgacom.net address uses DNS controlled by Proximus; you cannot change those domains' authentication records.
I check the sending service before editing DNS. Proximus domain registration, a Proximus mailbox, and a business mail service are separate parts of the setup. Owning a domain through Proximus does not prove that Proximus sends its email.
Add your domain
For a custom domain, first confirm that Proximus has provisioned it for the mailbox or business mail service you actually use.
- Confirm the mailbox. Ask Proximus to confirm the custom domain, permitted sender addresses, and outbound service attached to your account. If the domain is already provisioned, keep the existing mailbox setup.
- Get DNS access. For migrated Proximus domains, accept the Cloudflare invitation. In MyProximus Enterprise, open Products, select DNS after migration, sign in, and choose the Proximus account.
- Select the domain. Open Websites, select your domain, then open DNS and Records. If another company hosts your authoritative DNS, edit the records there.
- Verify provisioning. Publish any ownership TXT value issued specifically for your service, then ask Proximus to confirm activation. A domain appearing in the DNS account does not verify permission to send through its mail service.
Missing the migration invitation? Request it through dnsmaster@proximus.com with your customer number and account details. If DNS access is unavailable, ask the account's Digital Access Owner to grant domain management permission.
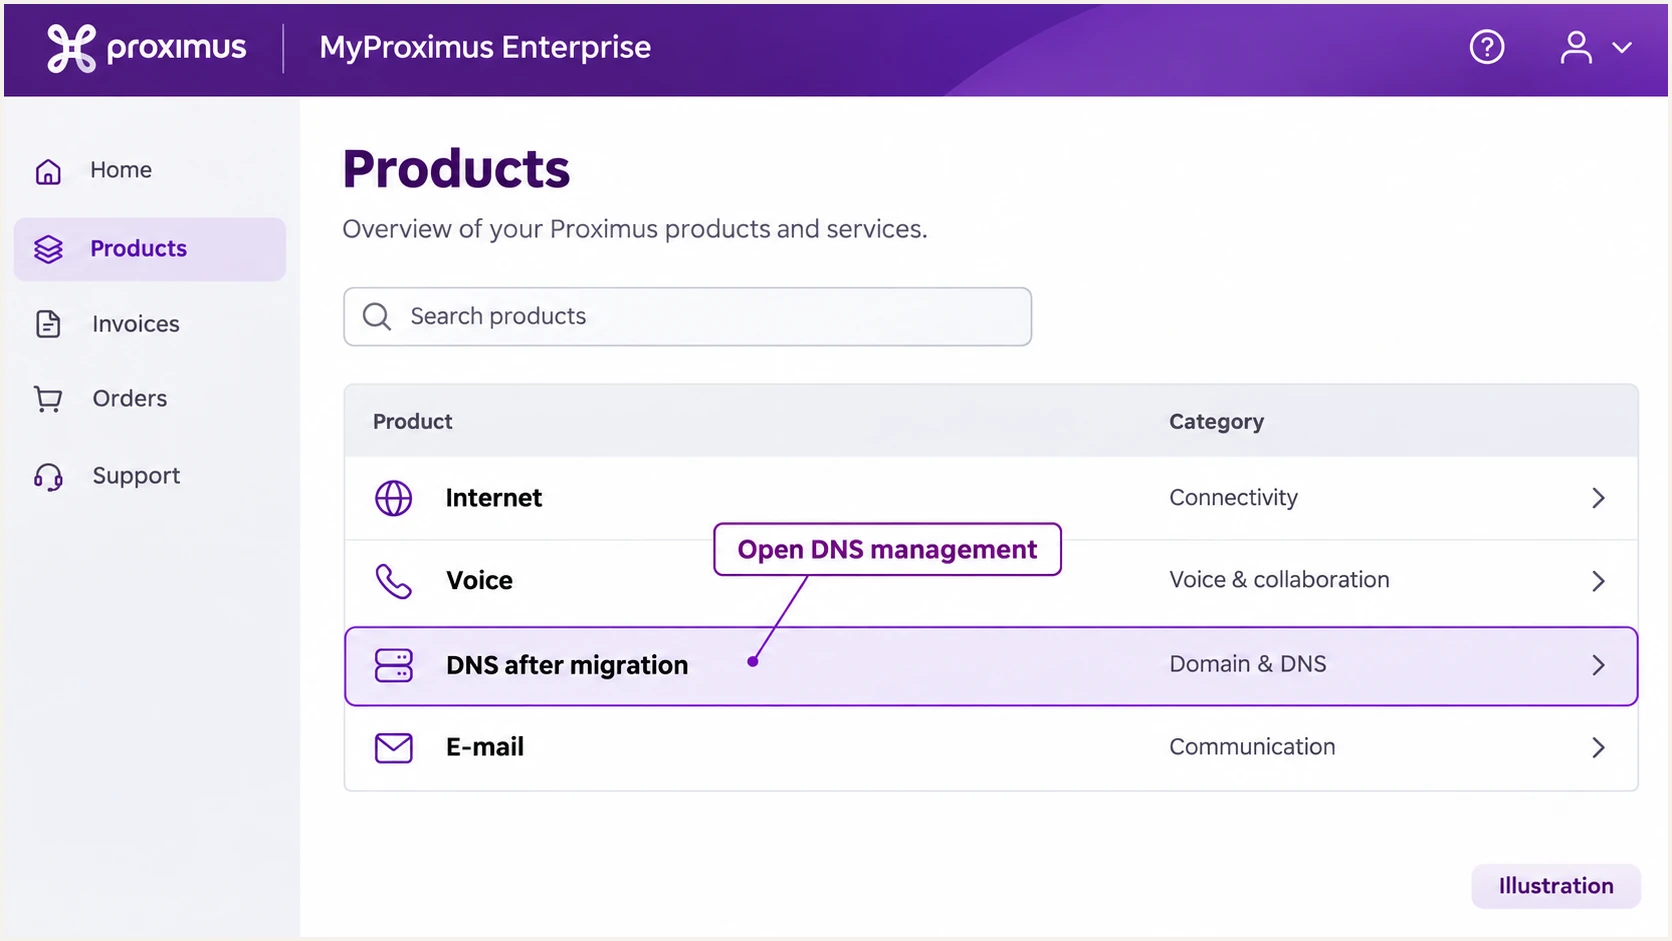
Illustration of the DNS after migration entry in MyProximus Enterprise.
I verify DNS access by reading the current TXT records before making changes. Keep a copy of existing values so other authorized senders remain in the SPF policy.
Read the domain's DNS configurationbash
dig +short NS example.com
dig +short TXT example.com
dig +short TXT _dmarc.example.com
Set up SPF
SPF authorizes servers for the SMTP envelope sender, normally visible as the Return-Path after delivery. For Proximus custom-domain sending, verify that this domain matches your visible From domain under your DMARC matching rules.
- Identify the route. Send a message through the actual mailbox or application. Record the recipient's smtp.mailfrom result and connecting IP. Confirm whether Proximus relays it or your own server sends directly.
- Get the authorization. For a managed Proximus relay, request the approved SPF include or address ranges for that exact service. Do not derive a customer policy by copying proximus.be's corporate SPF record or resolving relay.proximus.be.
- Edit one SPF record. At the envelope sender's domain, merge the approved authorization into the existing TXT value beginning with v=spf1. Keep all legitimate senders and only one SPF policy at that name.
- Check the limit. Keep SPF evaluation within 10 DNS-querying terms, including nested includes. Publish changes at the authoritative DNS host, then send a fresh test.
For a server that sends directly, authorize its fixed public outbound IP. The following example uses a documentation-only address; replace it with your real sending IP. It is not a Proximus relay configuration.
Direct-send SPF example, TXT at example.comtext
v=spf1 ip4:192.0.2.10 ~all
Use the checker on the envelope sender's domain. Checking only your visible From domain misses the relevant SPF policy when a separate bounce subdomain is used.
Proximus supports matching return paths for custom-domain sending, but the delivered message is the proof. Configure the envelope sender through the sending service; adding a Return-Path header in the message body or client does not configure SMTP MAIL FROM.
SPF checker
Find SPF syntax issues, lookup limits, and weak records.
?/16tests passed
A successful result needs both SPF pass and the required domain match. For example, bounce.example.com and example.com share an organizational domain under relaxed matching; strict matching requires the exact same domain.
If a particular service keeps a provider-owned return path, adding Proximus to your From domain's SPF record will not fix that mismatch. An SPF domain-match warning is acceptable for DMARC when DKIM passes with your domain. Keep SPF authorization correct for every envelope domain you control.
Set up DKIM
DKIM needs the sending server to sign messages and DNS to publish the matching public key. Publishing a key alone does not enable signing.
- Request service details. Ask Proximus whether your exact mailbox or business mail plan signs custom-domain messages. Request the signing domain, selector, record type, record name, and public key or CNAME target.
- Publish issued records. In your domain's DNS, add the exact TXT or CNAME records supplied for your account. Preserve long TXT values as one logical record and leave mail authentication CNAMEs unproxied.
- Activate signing. Have Proximus enable or verify signing for the custom domain after DNS is visible. If the plan does not offer custom-domain DKIM, arrange a signing-capable sending service before enforcing DMARC.
- Inspect a new message. Find DKIM-Signature and read d= and s=. Confirm the receiver reports dkim=pass and that the signing domain matches the From domain under your DMARC matching rules.
I use the selector in an actual message or the account's setup instructions. A generic selector guessed from another customer's configuration is not evidence that your DKIM record is missing.
A signature using d=proximus.be does not authenticate a visible From address at example.com for DMARC. The signing domain must satisfy the required relationship to your own From domain.
Get the real selector and key
There is no reusable customer DKIM key to copy into every Proximus domain. Use the values issued for your service. Keep the private key with the signer; publish only the public key or the supplied CNAME delegation.
To inspect publication, replace selector and example.com below with the values issued for your account. A CNAME response delegates the lookup to its target.
Look up the issued DKIM selectorbash
dig +short CNAME selector._domainkey.example.com
dig +short TXT selector._domainkey.example.com
Set up DMARC
Publish DMARC for the domain in your visible From address. For a new policy, collect reports before requesting enforcement.
- Check the existing policy. Query _dmarc.example.com. If it already has p=quarantine or p=reject, keep that policy and correct Proximus authentication without weakening domain protection.
- Prepare reporting. Create a working aggregate-report destination. Use the DMARC record generator to build the policy with your actual reporting address.
- Publish one TXT record. For a domain without enforcement, use the starter value below at _dmarc. Replace example.com and the report address with your own values before publishing.
- Verify the result. Check the authoritative DNS answer and use the checker below. Confirm there is one valid DMARC record and that reports reach the configured destination.
Starter DMARC policy, TXT at _dmarc.example.comtext
v=DMARC1; p=none; rua=mailto:dmarc@example.com
The example address is a placeholder, not a reporting service. If reports go to an external domain, that destination must publish the required reporting authorization.
The checker validates the published policy. It does not prove that Proximus signs your messages or that the envelope sender matches your From domain.
DMARC checker
Look up a domain's DMARC record and catch policy issues.
?/7tests passed
DMARC passes when either SPF passes with the required domain match or DKIM passes with the required domain match. Two standalone pass results for unrelated provider domains still do not authenticate your From domain.
I keep reports enabled throughout deployment. Aggregate reports usually arrive on a daily reporting cycle, so a DNS change and the corresponding report do not appear at the same time.
Verify and troubleshoot
Test the same sending path that production uses. A message sent through webmail does not verify a separate application or a server that bypasses that mailbox.
- Send directly. Send a new message to the tester below using the custom-domain From address and normal Proximus sending route. Avoid forwarding an old message as your initial test.
- Compare identities. Read the receiving system's Authentication-Results, the From domain, smtp.mailfrom, and DKIM d=. Use these to distinguish authentication failure from a domain mismatch.
- Check publication. Confirm record names have not had the domain appended twice. Allow existing DNS cache entries to expire, then query the authoritative nameserver and send another message.
- Escalate precisely. If signing is absent or Proximus uses the wrong envelope domain, send support the message time, Message-ID, full headers, and affected sender. Never include the mailbox password.
For a Proximus Webmail test, compose a fresh message with the exact sender address provisioned for your service. Copy the destination displayed by the tester rather than using an address from an earlier session.
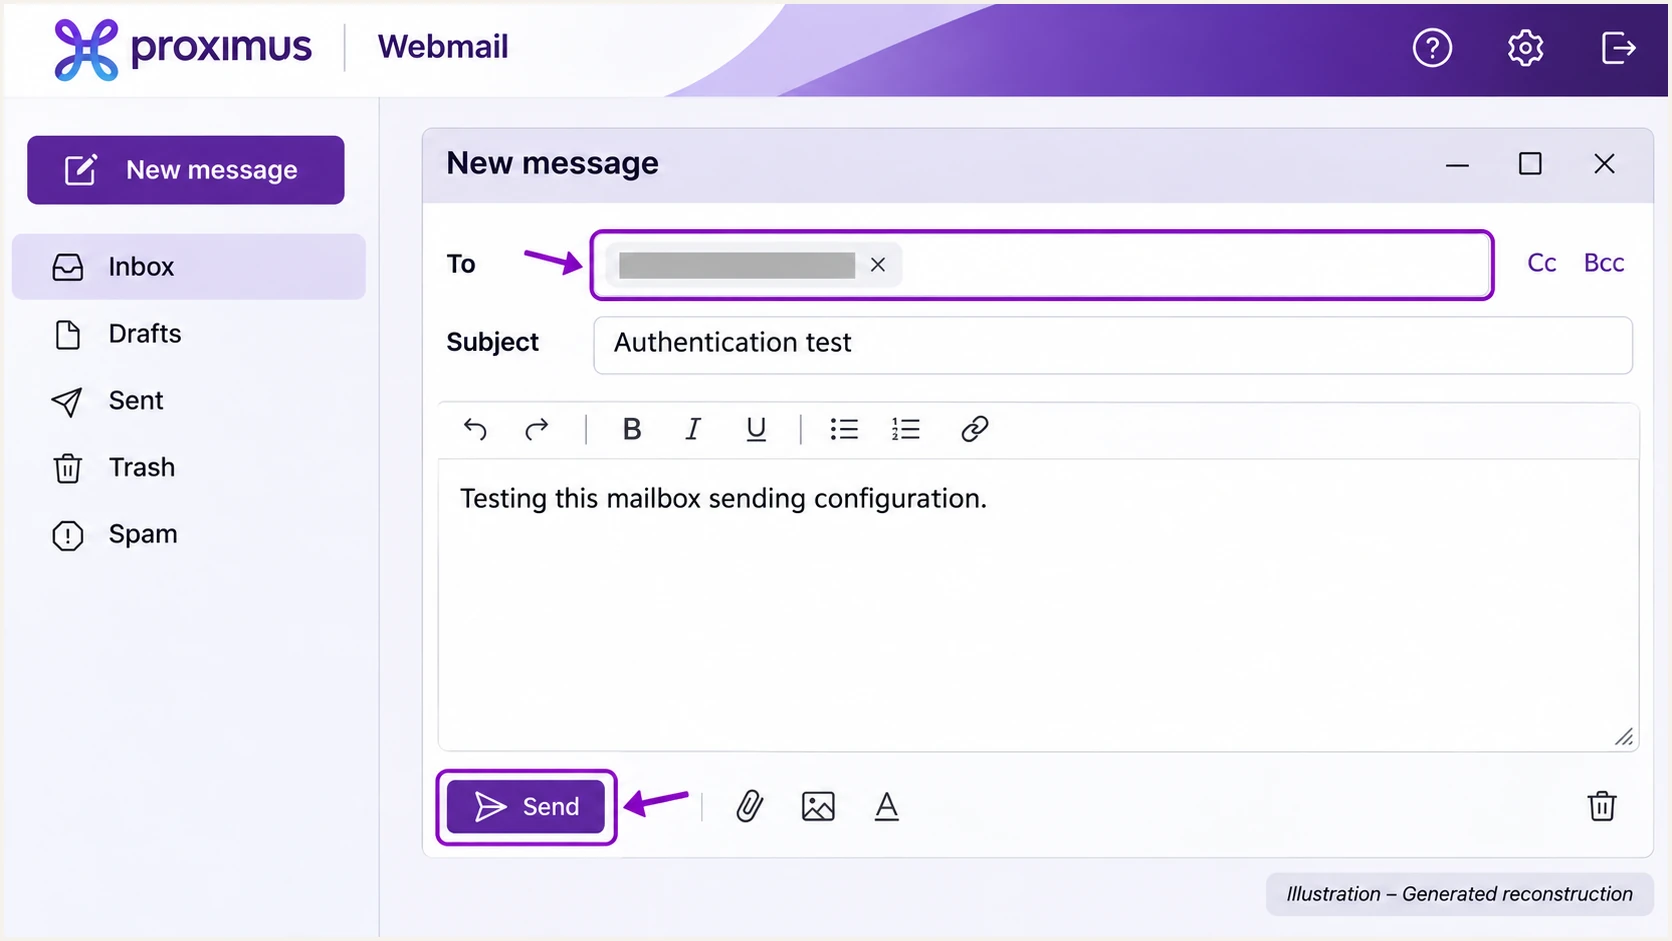
Illustration of a fresh authentication test message in Proximus Webmail.
The email tester below gives you a destination to send to and a diagnosis of the delivered message. It is the quickest check of the authentication produced by that actual send.
I test each distinct route after a change, including webmail and any application using separate SMTP credentials. DNS validation and a live message test check different parts of the setup.
Email tester
Send a real email to this address. Suped shows a results button when the test is ready.
?/43tests passed
If the test passes but a recipient still rejects delivery, read the SMTP rejection text. Authentication does not guarantee inbox placement, and reputation errors need a separate investigation.
Use the failure result to choose the next action. Changing DMARC policy does not repair an invalid signature or authorize a missing SPF sender.
|
|
|
|---|---|---|
SPF permerror | Multiple SPF policies | Merge into one |
SPF fail | Sender not authorized | Confirm outbound route |
SPF domain mismatch | Different envelope domain | Fix MAIL FROM |
DKIM none | Signing absent | Enable service signing |
DKIM fail | Key or message changed | Check selector and signer |
DMARC fail | Neither method matches | Correct domain matching |
Authentication results and the next action
Get alerted when it breaks
Our DMARC platform, Suped, monitors reported authentication results after the initial test. Use it to catch a broken Proximus sending route when keys or DNS change.
- Review the source. In Suped, inspect the Proximus source and its underlying records. Verify it as an authorized sender only after confirming the IP addresses and authentication domains belong to your mail flow.
- Enable notifications. Enable Issues detected notifications and Sending sources need verification notifications. Set recipients who can investigate DNS or contact Proximus.
- Investigate failures. Open the affected DMARC record in Detail view. Compare SPF and DKIM results with the reported source IP, then use DNS history to check changes near the failure.
- Confirm recovery. Apply the issue's fix steps, send a new test, and verify recovery in subsequent reports. Keep DMARC summaries enabled for periodic review.
Suped's DMARC monitoring brings source investigation and issue notifications into one workflow. That is useful when a Proximus mailbox keeps working locally but recipients start reporting authentication failures.
DMARC alerts depend on receiving reports. They do not provide an instant signal for every failed message; retain mailbox bounce messages and service logs for immediate delivery errors.
Secure your domain with p=reject
Move to p=reject after legitimate sending routes pass consistently and valid DKIM signing is active. I require DKIM before enforcement because forwarding often breaks SPF.
- Inventory legitimate senders. Use Suped's source table to review Proximus and every other authorized sender. Cover a full business sending cycle, including infrequent billing or operational messages.
- Fix domain matching. Confirm custom-domain DKIM passes for each route and that Proximus uses the intended envelope domain. Investigate legitimate failures individually instead of treating an overall pass rate as proof.
- Stage enforcement. Change p=none to p=quarantine, review subsequent reports and delivery errors, then move to p=reject when authorized traffic remains healthy. Keep an existing stricter policy while repairing a sender.
- Continue monitoring. Keep reporting and Suped issue notifications enabled. Review subdomain policies and retest after Proximus migrations, selector rotation, or changes to mail applications.
Suped helps connect each failure to a source and a repair step before you increase enforcement. Our Hosted DMARC also lets you manage policy changes in the dashboard once its DNS delegation is configured.
A domain that publishes p=reject must apply valid DKIM signatures under the current DMARC standard. SPF-only success is not a sufficient deployment plan for that policy.
Monitoring policy
p=none requests reporting without DMARC enforcement. Use reports to identify authorized routes and repair failures.
A passing test verifies one message. It does not establish that every application using the domain is ready.
Reject policy
p=reject requests rejection of messages that fail DMARC. Receiving systems still apply their own handling rules.
Keep valid domain-specific DKIM, reporting, and an owner for each legitimate sending route.
The following is the final policy shape after verification. Replace the reporting address with the real destination and update the existing record rather than adding a second DMARC TXT record.
Enforced DMARC policy, TXT at _dmarc.example.comtext
v=DMARC1; p=reject; rua=mailto:dmarc@example.com
Frequency asked questions
Proximus controls those domains' SPF, DKIM, and DMARC records. Personal mailbox users cannot edit them. Run a live message test and send authentication failures to Proximus support. Use your own domain when you need control over authentication policy.
Use the include or outbound address ranges confirmed for your exact Proximus sending service. Domain registration alone does not identify the sender. A server delivering directly needs its own public sending IP authorized; a managed relay needs the relay service's approved authorization. Merge it into the existing SPF policy.
Read s= in a newly delivered message's DKIM-Signature header, or request the selector and public DNS record from Proximus for your custom domain. If no signature exists, publishing a guessed selector will not enable signing. Confirm that your service supports signing with your domain.
Yes. DKIM can provide the required DMARC result when its signature passes and its signing domain matches the visible From domain under the applicable matching rules. A provider-owned return path then does not prevent DMARC success. Fix SPF authorization separately wherever you control the envelope domain.
The suffix isp.belgacom.be is associated with Proximus infrastructure. A reported example is mailsec211.isp.belgacom.be. Treat that as a source-identification clue, then verify the actual sending IP and authentication domains. The suffix alone does not prove a message was authorized by your organization.
Use evidence from a complete business sending cycle rather than a fixed number of days. Confirm valid DKIM signing and investigate all legitimate failures in Suped before enforcement. Aggregate reports usually arrive daily, and infrequent applications require their own test. If the domain already uses reject, keep it while correcting the Proximus route.




