How to set up DMARC/DKIM/SPF for NTT DATA

Published 21 Nov 2026
Updated 21 Nov 2026
10 min read
Summarize with
To authenticate email sent through NTT DATA, authorize the actual outbound relay in SPF, enable DKIM signing with your domain, and publish a DMARC record in DNS. I start with the DNS values issued for the contracted relay or hosted application, because NTT DATA operates different mail configurations.
DMARC passes when either SPF or DKIM passes and its authenticated domain satisfies DMARC alignment with the visible From domain. Do not copy nttdata.com's corporate SPF record into your domain.
Add your domain
Register the sending domain with the team operating your NTT DATA mail service. The steps below use a managed-service request because the company name alone does not identify a shared customer administration screen.
- Identify the service. Record the application name, tenant or contract reference, SMTP relay hostname, and intended From address, such as notifications@example.com.
- Request domain registration. Ask the service team to authorize example.com for outbound sending. If ownership verification is required, publish the exact TXT or CNAME token they issue at the specified DNS name.
- Verify ownership. Check the token in public DNS, then ask the team to complete verification and confirm the application can send using your domain. Keep required verification records in place.
- Collect authentication values. Request the custom Return-Path configuration, SPF include or outbound IP addresses, and DKIM selector plus public DNS value. Confirm who enables signing and manages key rotation.
A domain verification token proves control of the domain. It does not authorize sending IPs or enable DKIM signing. Keep inbound MX routing unchanged unless your service team explicitly requires a mail-routing change.
Details to include in your NTT DATA service requesttext
Service or tenant: <your contracted service>
Visible From domain: example.com
Requested Return-Path domain: bounce.example.com
Please provide SPF authorization and bounce-routing records.
Please provide the DKIM selector and public DNS record.
Please confirm signing activation and a test-send procedure.
The example domains are placeholders. Use the exact names approved for your service, including any required bounce-processing DNS records.
Set up SPF
Publish SPF for the envelope sender domain, visible in a delivered message's Return-Path. For bounce@bounce.example.com, SPF is checked at bounce.example.com, not automatically at example.com.
- Set the Return-Path. Ask the NTT DATA service team to configure a custom envelope sender under your domain. Confirm bounce handling and whether DNS uses TXT records or CNAME delegation.
- Authorize the relay. Use only the service-issued SPF include or confirmed outbound IPv4 and IPv6 addresses. Add authorization to the existing SPF policy at that DNS name; do not create a second SPF record.
- Preserve DNS delegation. If the service requires a CNAME at the Return-Path name, publish that CNAME exactly. Do not add a TXT record at the same name.
- Check lookup limits. Keep SPF within the limit of 10 DNS-lookup-causing terms, including nested includes. Preserve other legitimate senders and the existing terminal all mechanism when editing a shared policy.
Illustration only: SPF for one dedicated outbound IPdns
# 192.0.2.10 is a documentation IP, not an NTT DATA relay.
bounce.example.com. 3600 IN TXT "v=spf1 ip4:192.0.2.10 -all"
Replace the documentation IP with the confirmed relay authorization. A published SPF record does not change the envelope sender used by the application.
Enter the actual Return-Path domain in the SPF checker. Check both record validity and lookup usage before sending a fresh message.
SPF checker
Find SPF syntax issues, lookup limits, and weak records.
?/16tests passed
With default relaxed SPF alignment, bounce.example.com and a visible From domain of example.com share the same organizational domain. Strict SPF alignment requires an exact domain match.
If your specific service cannot use a custom Return-Path, its provider-owned domain can pass SPF while failing SPF alignment. Adding SPF to your root domain will not fix that mismatch. DMARC still passes when DKIM passes with the required domain alignment.
Set up DKIM
DKIM requires configuration on the sending relay as well as a public DNS record. I check the signing domain and selector before treating DNS publication as complete.
- Request custom signing. Ask the service team to sign with example.com, or an appropriate subdomain under relaxed DKIM alignment. For RSA signing, request rsa-sha256 with a 2048-bit key.
- Publish the selector. Add the issued TXT public key or CNAME target at the exact selector hostname. Do not invent a selector or publish a private key.
- Check public DNS. Query the supplied selector. If it is a CNAME, confirm its target resolves to the expected DKIM public key.
- Enable and test signing. Have the service team activate the selector, then send through the application. Confirm dkim=pass and inspect the DKIM-Signature d= and s= values.
Query the issued DKIM selectorbash
# Replace selector1 and example.com with the issued values.
dig +short CNAME selector1._domainkey.example.com
dig +short TXT selector1._domainkey.example.com
The d= domain controls DKIM alignment. A valid signature using only an unrelated provider domain does not satisfy DMARC for your From domain. During rotation, keep the previous public key available until mail signed with it has cleared delivery queues.
A DKIM DNS lookup proves the public key is discoverable. Only a delivered test message proves the relay is signing and the receiving server can validate the signature.
Set up DMARC
For a new DMARC deployment, start with p=none to collect reports while fixing legitimate traffic. If the domain already uses p=quarantine or p=reject, keep that policy while completing the NTT DATA setup.
- Find the existing policy. Query _dmarc.example.com before editing DNS. Update the existing record instead of adding another DMARC policy at the same name.
- Choose a reporting destination. Use a mailbox or report processor that receives aggregate XML reports. Replace the example reporting address before publication.
- Publish the policy. Create the TXT record at _dmarc for the visible From domain. In a DNS panel for example.com, the Host field is commonly _dmarc; check whether the panel appends the domain.
- Verify publication. Look up the full DNS name and confirm the policy and reporting address. Preserve existing intentional settings when updating an established record.
Initial DMARC TXT value at _dmarc.example.comdns
v=DMARC1; p=none; rua=mailto:dmarc@example.com
Replace dmarc@example.com with your real reporting destination. If reports go to another organizational domain, follow the report receiver's external-destination authorization instructions.
DMARC checker
Look up a domain's DMARC record and catch policy issues.
?/7tests passed
Enter the visible From domain in the DMARC checker. A valid record confirms policy discovery; it does not prove the application passes authentication.
Aggregate reports arrive on receiver reporting schedules, commonly daily. Allow a reporting cycle after real traffic, and remember that some receiving systems do not send reports.
Verify and troubleshoot
Send through the actual NTT DATA-hosted application or relay. I test each production sending route, including scheduled jobs, because a successful mailbox test does not validate another application's configuration.
- Inspect the message. Open the delivered message's raw headers. Compare the visible From domain with Return-Path and the DKIM signing domain.
- Read trusted results. Use the receiving system's Authentication-Results header. Expect dmarc=pass and at least one passing mechanism with the required domain alignment.
- Check DNS names. Confirm the Return-Path SPF record, issued DKIM selector, and _dmarc record. Check for duplicated domain suffixes and cached old values.
- Retest every route. Repeat after the DNS cache TTL expires and after relay changes. Include a forwarded message when forwarding is part of the normal workflow.
For a quick configuration check, send a message to the address shown by the email tester. It returns a full diagnosis of authentication and other delivery checks.
Generate that message through the application being configured. Sending it through an unrelated mailbox tests a different route.
Email tester
Send a real email to this address. Suped shows a results button when the test is ready.
?/43tests passed
Use the diagnosis to separate authentication failures from domain mismatches. SPF can break during forwarding; an unchanged, valid DKIM signature with the correct signing domain can preserve a DMARC pass.
These illustrative headers show a passing configuration under default relaxed alignment. Actual headers include the receiver's identity and additional fields.
Example passing message identifiers and receiver resultstext
From: notifications@example.com
Return-Path: <bounce@bounce.example.com>
Authentication-Results: receiver.example.net;
  spf=pass smtp.mailfrom=bounce.example.com;
  dkim=pass header.d=example.com header.s=selector1;
  dmarc=pass header.from=example.com
Use the failing check to choose the next change. Lowering the DMARC policy does not repair SPF or DKIM.
|
|
|
|---|---|---|
SPF permerror | Duplicates / lookups | Repair SPF policy |
SPF mismatch | Return-Path domain | Set custom domain |
No DKIM signature | Relay signing | Enable signing |
DKIM fail | Key / message changes | Check selector |
DMARC fail | Both domain matches | Fix one passing path |
Use receiver-generated authentication results to isolate failures.
For a dedicated sending IP, ask its operator to set a PTR hostname that resolves back to that IP. Reverse DNS supports delivery checks but does not replace SPF, DKIM, or DMARC. An NTT DATA network label alone is not proof that traffic is authorized.
Get alerted when it breaks
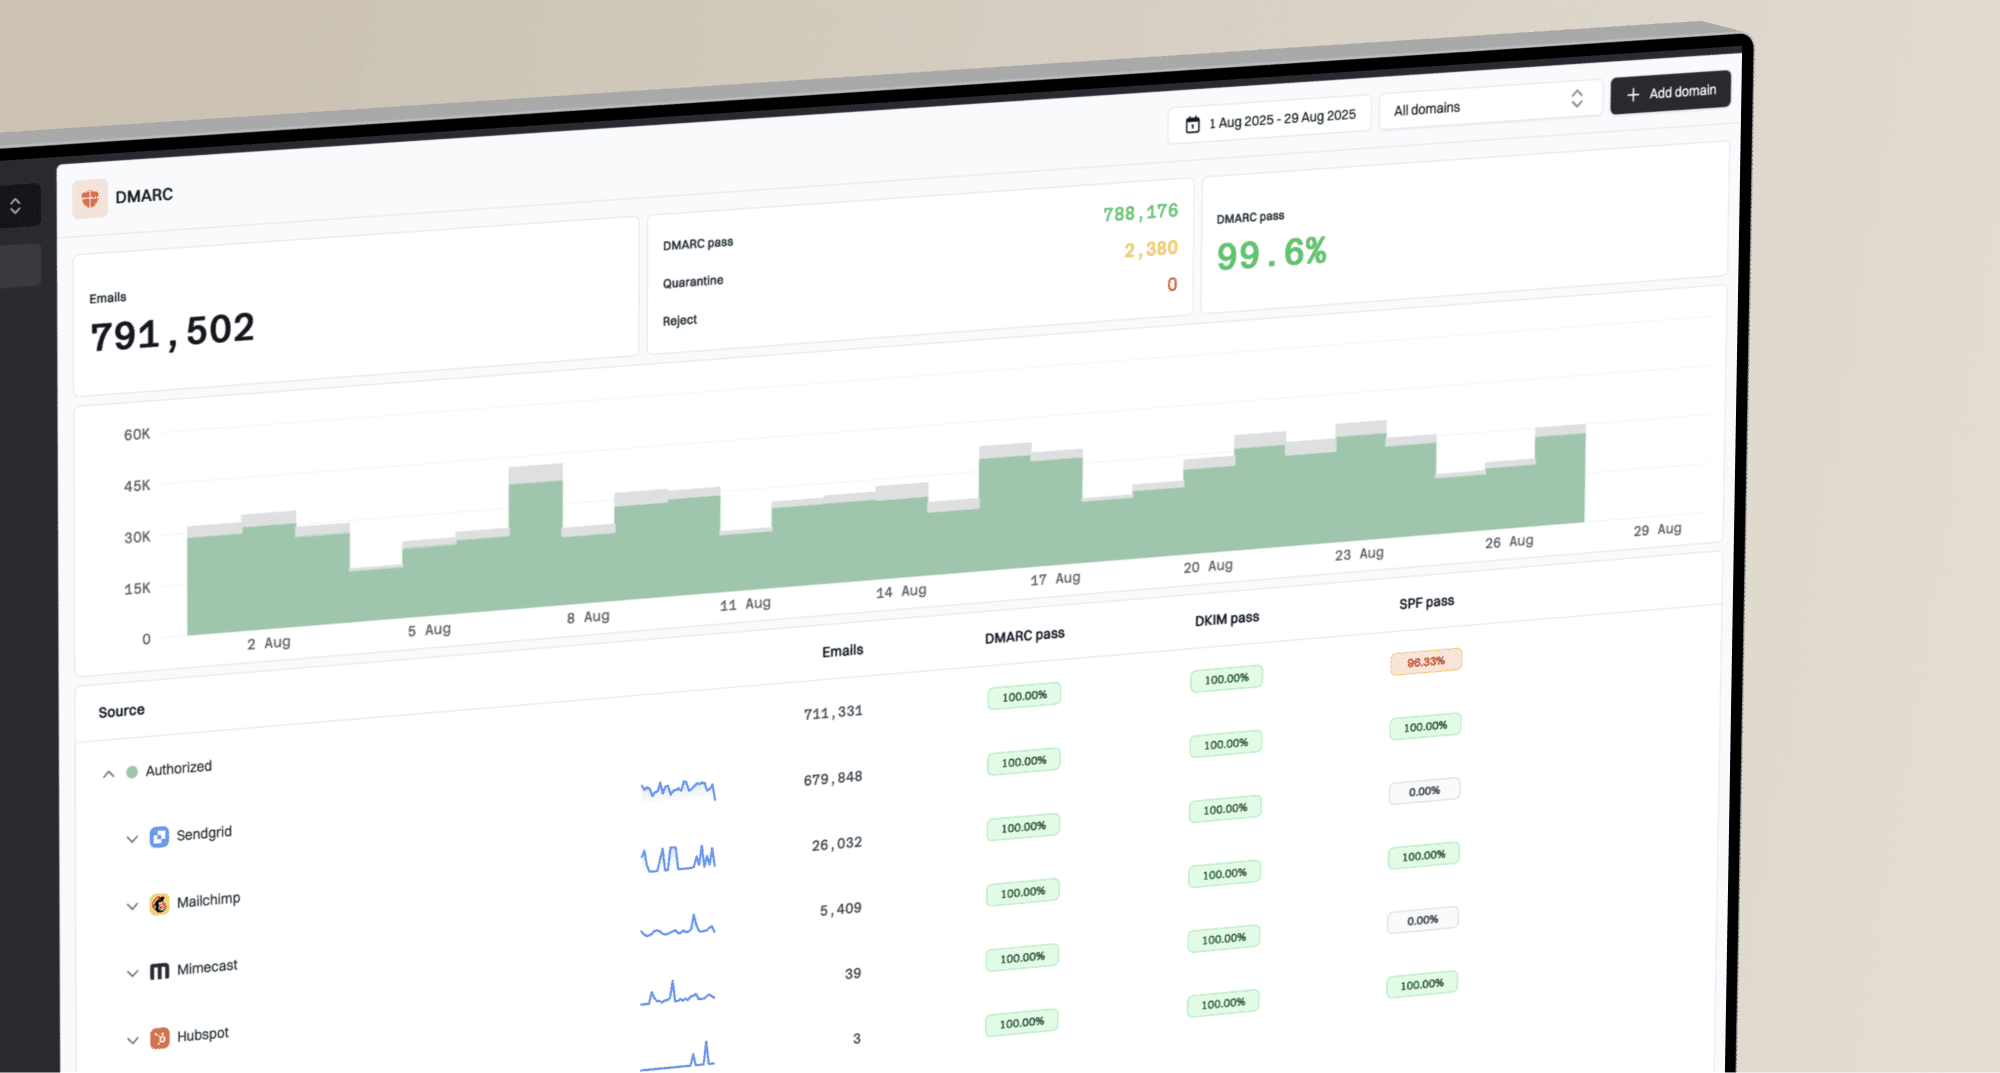
Suped is our DMARC reporting and email authentication platform. For NTT DATA traffic, it turns aggregate reports into source-level failures and fix steps, so a relay change or missing signature has an assigned investigation path.
- Enable issue notifications. In Suped notification settings, enable Issues detected and Sending sources need verification. Confirm the responsible team receives these emails.
- Verify known sources. Match reported IPs and authentication domains to the NTT DATA service inventory before marking a source verified. Do not approve a source solely because of its network owner.
- Investigate changes. Filter the data view by source, IP, or reporter. Open record details to compare SPF, DKIM, and DMARC results, then give the service team the failing domain and selector.
- Confirm the repair. Send another application test and check subsequent report data. Enable DMARC summary emails to review continuing authentication health.
Our DMARC monitoring connects those checks to ongoing source verification and notifications. Keep relay logs available for failures that require message-level investigation.
Report-based alerts depend on receiver reporting and data ingestion. They do not provide an immediate event for every delivered message; use application tests after planned changes.
Secure your domain with p=reject
Move to p=reject after legitimate NTT DATA traffic and your other authorized senders consistently pass DMARC. I base the change on known-source results and business sending cycles, including infrequent billing or batch jobs.
- Inventory every sender. Use Suped's source table to review known applications and investigate unfamiliar traffic. Separate unauthorized attempts from legitimate authentication failures.
- Resolve legitimate failures. Check each sending route for a passing SPF or DKIM path with the required domain alignment. Verify custom DKIM even when direct SPF tests pass.
- Review subdomains. Check existing subdomain DMARC records and the parent policy's sp setting. Confirm which policy each sending subdomain will inherit before changing enforcement.
- Stage enforcement. Change p=none to p=quarantine, review known-source failures and delivery errors across a complete sending cycle, then change to p=reject when unresolved legitimate failures are cleared.
- Keep monitoring. Retain aggregate reporting after enforcement. Recheck authentication after new applications, key rotation, and outbound relay migrations.
Our Hosted DMARC lets teams manage policy changes through Suped after its initial DNS configuration. Use it with source verification and issue diagnostics to control each enforcement change.
The examples below assume a new policy without additional tags. For an existing record, change the intended policy tag and preserve its real reporting destination and other deliberate settings.
Monitor while fixing senders
p=none requests reporting without requesting DMARC-based quarantine or rejection.
Monitoring policy exampledns
v=DMARC1; p=none; rua=mailto:dmarc@example.com
Enforce after verification
p=reject requests rejection of DMARC failures. Receiving systems retain control of final handling.
Enforcement policy exampledns
v=DMARC1; p=reject; rua=mailto:dmarc@example.com
Reject enforcement protects against unauthorized use of your domain in the visible From address. It does not guarantee inbox placement or stop messages sent using a different, lookalike domain.
Before switching production traffic to a new NTT DATA relay, publish its authorization and activate its DKIM selector. Check the first delivered messages and the next aggregate reporting cycle.
Frequency asked questions
Use the include or outbound IP addresses issued for your specific NTT DATA service. The company name does not establish one authorization value for every hosted application. Do not use nttdata.com's corporate SPF record as your customer relay configuration.
Yes. DMARC passes if DKIM validates and the signing domain satisfies DKIM alignment with the visible From domain. This is important when the service uses a provider-owned Return-Path. A DKIM pass using an unrelated domain is insufficient.
No. The public DNS record lets receivers verify a signature. The NTT DATA relay must also sign outbound mail using the corresponding private key and selector. Confirm activation with the service team and test a message sent by the application.
An NTT DATA network attribution or rDNS hostname does not identify one sending platform. Its infrastructure can carry traffic for different customers and applications. Match the connecting IP and full PTR hostname to your service inventory, then inspect the envelope sender and DKIM signing domain. A hostname suffix alone does not establish authorization.
Check authoritative DNS first, then allow existing cached answers to expire according to their TTL. Send a fresh application test after the new records resolve. DMARC aggregate reports follow receiver reporting schedules, commonly daily, so they arrive later than a direct message test.