How to set up DMARC/DKIM/SPF for Redtail

Published 25 Jul 2026
Updated 27 Sep 2026
13 min read
Summarize with
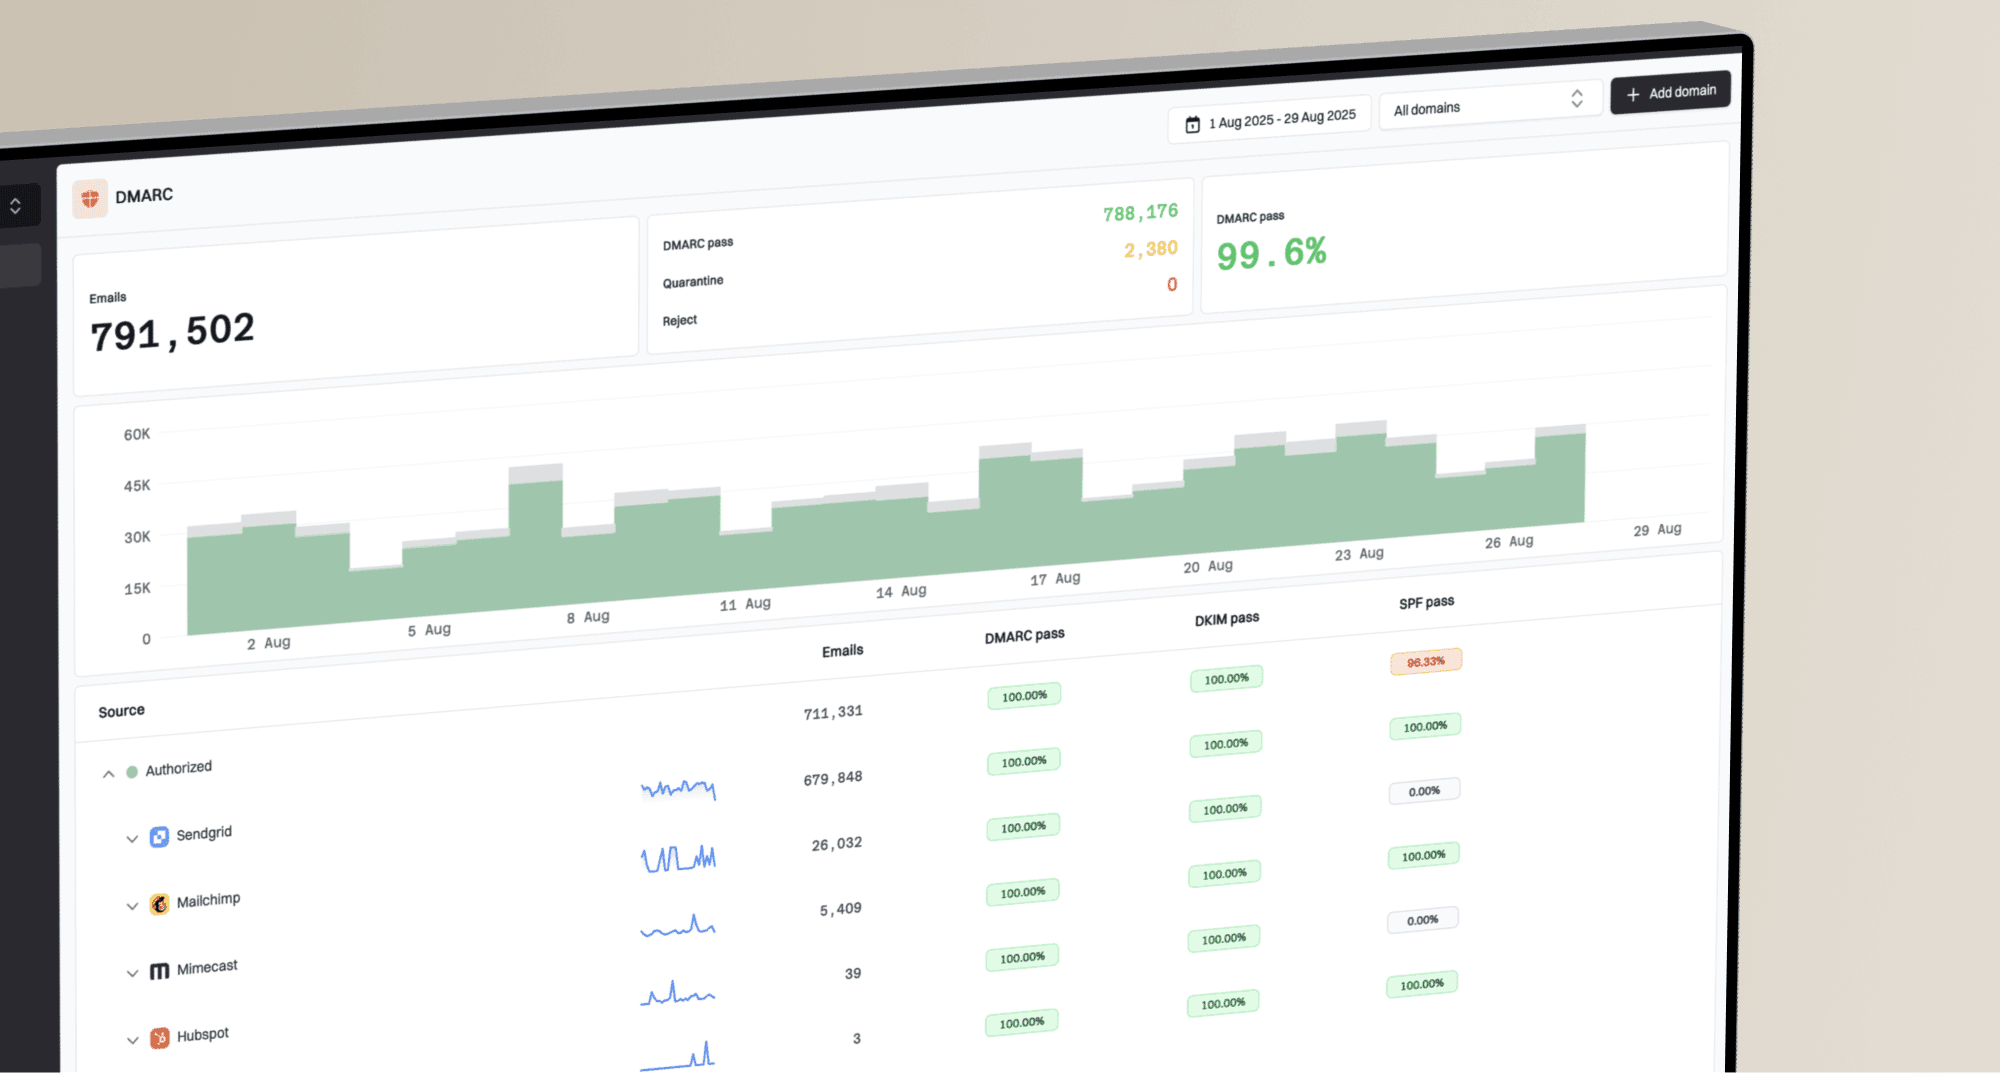
Updated on 27 Sep 2026: We updated this guide for RFC 9989, including t=y test mode and the removal of pct, with added caution for general-purpose domains.
Redtail mail should authenticate with SPF and DKIM using your visible From domain, then pass DMARC through either matching path. Start with Redtail's support-issued DKIM values, authorize only the confirmed Redtail sending ranges in the domain's single SPF record, and publish DMARC in monitoring mode before considering enforcement.
Redtail supports Return-Path alignment, so SPF setup is relevant here. DKIM remains the more durable DMARC path because forwarding often breaks SPF. Keep every other sender that uses the same domain in scope before changing enforcement.
A DMARC pass verifies authorized use of the From domain. It does not guarantee inbox placement, which also depends on sender reputation and whether recipients expect the mail.
Configuration outcome
- SPF. One TXT record authorizes the Redtail ranges confirmed for your account.
- DKIM. A Redtail-issued selector signs with your domain in the DKIM d= value.
- DMARC. A reporting record measures real traffic before policy changes.
- Validation. A live Redtail message confirms pass results and domain matching.
Prepare the sending domain
Redtail's public DKIM path is support-led, so do not expect a generic self-service DNS page in the CRM. Open a Redtail support request for the exact domain shown after the @ in Redtail messages and ask for SPF requirements, the DKIM selector, the DNS record type, the complete host, and the complete value.
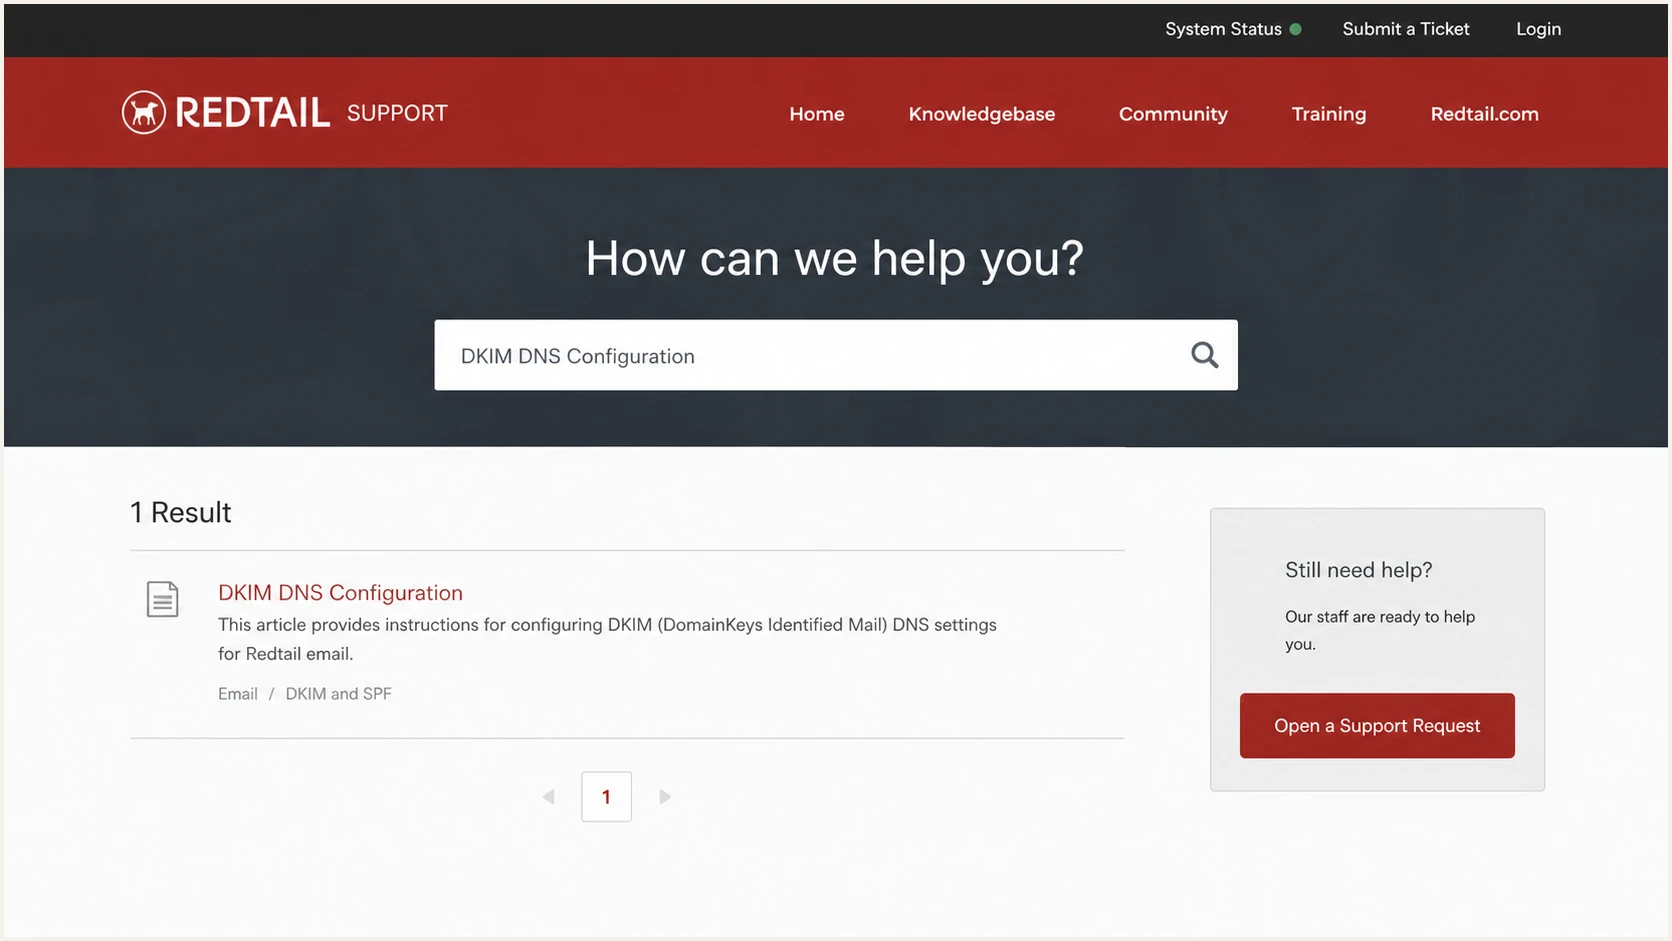
Redtail Support search for DKIM DNS Configuration
- Choose the domain. Use the exact organizational domain in the visible From address, such as example.com, not redtailtechnology.com.
- Open the request. Ask Redtail to enable custom-domain DKIM and confirm the current SPF authorization for your tenant.
- Record every value. Copy the selector, record type, host, value, TTL guidance, and any verification token exactly.
- Confirm DNS control. Identify who can edit authoritative DNS and schedule the change with that owner.
- Limit the scope. List all subdomains used in From addresses because each one needs its own authentication review.
The public Redtail DKIM instructions are the source to keep with the change ticket. If Redtail gives a separate domain-verification TXT value, publish and verify it first. If it gives only a DKIM record, publishing that record proves DNS control for the signing domain.
Do not invent Redtail values
Selector names and DKIM targets can differ by tenant. Publish only the values Redtail provides for your domain. A copied record can resolve correctly and still fail because Redtail does not hold the matching private key.
Set up SPF
Redtail's published SPF authorization has used 65.74.131.96/27 and 65.74.153.192/27. Confirm those ranges with Redtail for the account before editing DNS because sender infrastructure can change. SPF belongs at the root of the domain used by the Redtail Return-Path.
- Query the root. Read all TXT records at the Return-Path domain and identify the one value beginning with v=spf1.
- Keep one record. Merge Redtail authorization into the existing SPF value. Never publish a second SPF record.
- Add the ranges. Place both confirmed ip4 mechanisms before the final all mechanism.
- Preserve other senders. Retain every valid include, ip4, ip6, a, or mx mechanism already needed by authorized mail.
- Check the budget. Keep SPF within the ten-lookup limit. The two Redtail ip4 mechanisms add no DNS lookups.
Redtail-only SPF exampleDNS
example.com. TXT "v=spf1 ip4:65.74.131.96/27 ip4:65.74.153.192/27 -all"
Enter the SPF value as one continuous TXT string unless the DNS console automatically splits long text. If the domain already has SPF, edit that value instead of replacing it with the Redtail-only example.
Safe change
- Single record. Edit the current v=spf1 value.
- Exact ranges. Use the account-confirmed Redtail IP blocks.
- Final qualifier. Keep one all mechanism at the end.
- Change control. Save the old value for rollback.
Unsafe change
- Duplicate record. Publishing two v=spf1 values returns permerror.
- Copied values. Old ranges can authorize the wrong systems.
- Early all. Mechanisms after all are ignored.
- Sender loss. Replacing SPF can break non-Redtail mail.
After saving, wait for the authoritative TTL, then query the exact Return-Path domain. SPF passing alone is insufficient. The Return-Path domain must match the visible From domain under relaxed or strict DMARC mode.
Some sending sources cannot use a customer-owned Return-Path. Those sources can show SPF alignment errors without breaking DMARC when DKIM passes with the correct signing domain. Redtail supports Return-Path alignment, so investigate an SPF mismatch here instead of dismissing it.
SPF checker
Find SPF syntax issues, lookup limits, and weak records.
?/16tests passed
The checker should return one SPF record, valid syntax, and no permerror. Send a new Redtail message after DNS has propagated because a static DNS pass does not prove that Redtail selected the expected Return-Path.
Treat published ranges as account data
The two ranges are concrete Redtail SPF values found in public setup material, but the Redtail support response for your tenant takes precedence. Do not authorize a range merely because it appeared in an older guide.
Set up DKIM
DKIM needs a Redtail-generated key pair. Redtail keeps the private key and signs outgoing mail; DNS publishes the matching public key or a CNAME that reaches it. Use the host and value exactly as supplied, including the selector and every underscore.
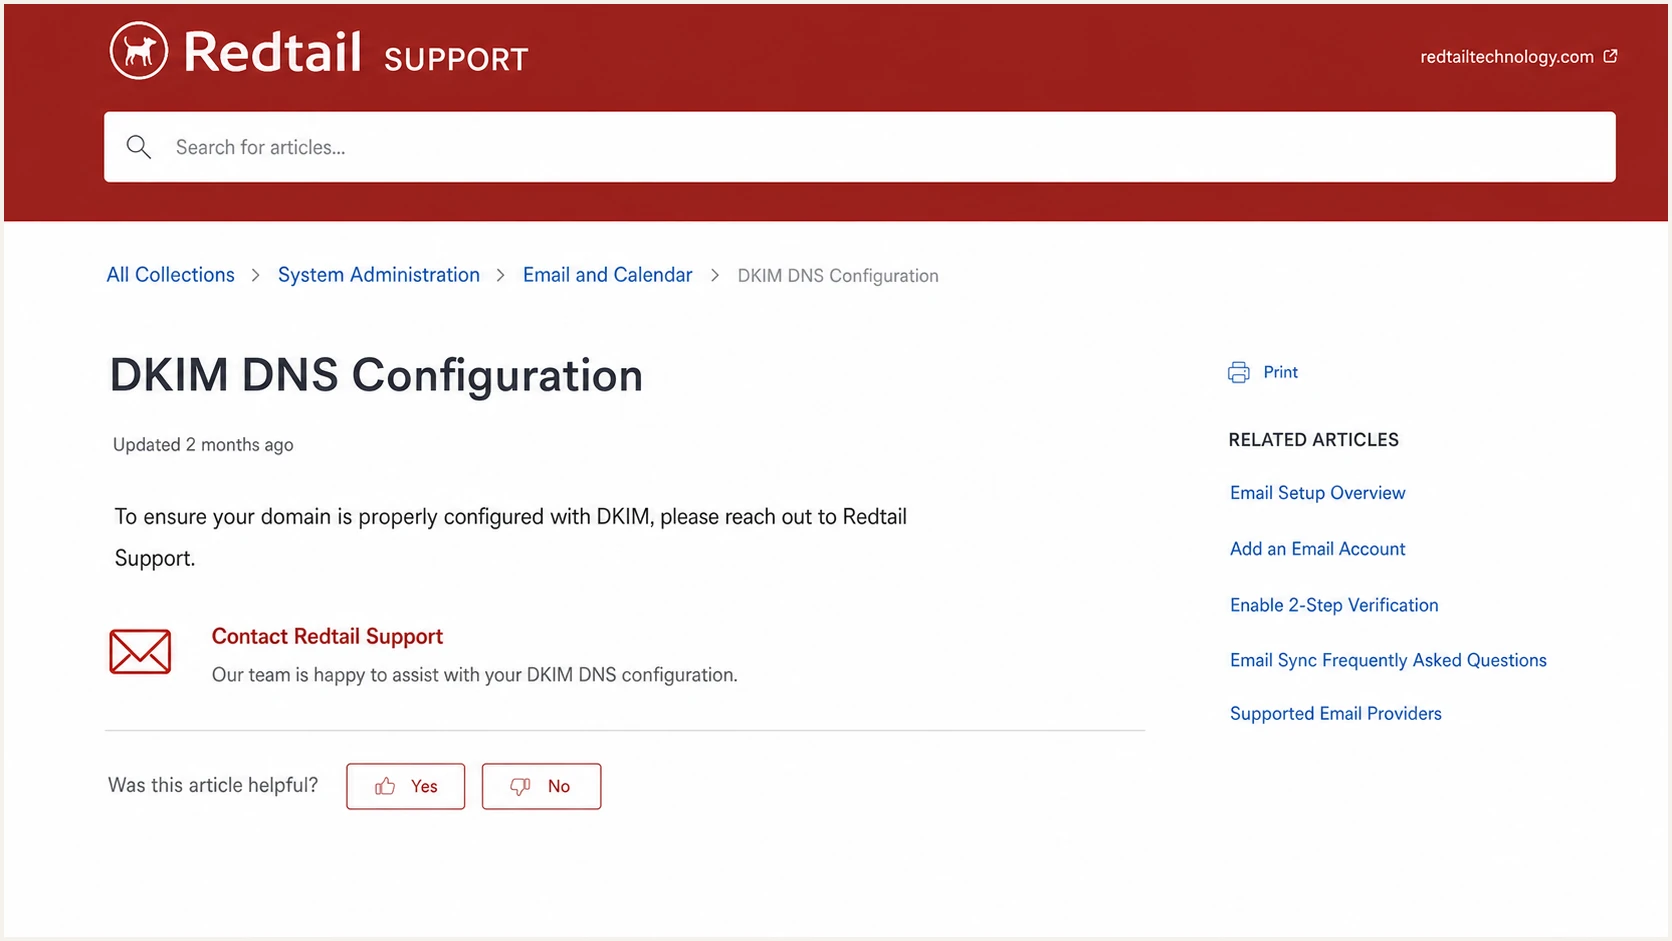
Redtail DKIM DNS Configuration support article
- Request signing. Tell Redtail the exact From domain and ask it to enable DKIM for that domain.
- Inspect the response. Confirm whether Redtail supplied TXT or CNAME, then copy the selector host and value.
- Publish the record. Create the record in authoritative DNS without adding the zone name twice.
- Disable proxying. If the DNS provider can proxy CNAME records, leave the DKIM CNAME DNS-only.
- Ask for activation. Tell Redtail when the record resolves so it can enable or confirm outbound signing.
- Send fresh mail. Check a message sent after activation, not one cached or queued before the change.
DKIM record shapeDNS
Host:  <selector>._domainkey.example.com
Type:  TXT or CNAME, as specified by Redtail
Value: <exact domain-specific value supplied by Redtail>
Do not publish both TXT and CNAME at the same selector host. A DNS name holding a CNAME cannot also hold a DKIM TXT record. If the DNS console automatically appends example.com, enter only the relative host that Redtail supplied.
|
|
|
|---|---|---|
DKIM result | Pass | Signature validates |
Signing domain | Your domain | DKIM alignment |
Selector | Issued value | Correct key lookup |
From domain | Expected domain | DMARC identity |
Use a newly sent Redtail message for the final checks.
A DKIM pass can still fail DMARC
The DKIM d= domain must match the visible From domain under the active DMARC alignment mode. A valid signature using a Redtail-owned domain proves DKIM authentication but does not give your domain a DKIM-aligned DMARC pass.
Set up DMARC
DMARC is one TXT record at _dmarc.example.com. For a domain with no DMARC record, begin at p=none so aggregate reports reveal every sender before enforcement. If the domain already uses p=quarantine or p=reject, keep that policy and repair Redtail without downgrading protection.
- Check for DMARC. Query TXT at _dmarc.example.com and make sure no more than one DMARC record exists.
- Choose the mailbox. Replace dmarc@example.com only if another address will receive and process aggregate XML reports.
- Publish monitoring mode. Create the exact starter record below when the domain has no existing DMARC policy.
- Retain enforcement. If p=quarantine or p=reject is already live, leave it in place.
- Read the reports. Group Redtail traffic by source IP, DKIM domain, Return-Path domain, and authentication result.
Starter DMARC recordDNS
v=DMARC1; p=none; rua=mailto:dmarc@example.com
The DMARC record generator can produce the record when you need reporting or alignment options beyond the starter value. Keep the policy simple during initial collection, and do not add strict alignment until every sender has been tested under it.
DNS publication verifies syntax, not message identity. A new Redtail message must show either SPF alignment and pass, or DKIM alignment and pass. Both passing is preferable because it gives the message two valid DMARC paths.
Bulk sender requirements
For direct bulk mail to personal Gmail accounts, Google requires SPF and DKIM authentication, a DMARC record, and matching between the From domain and at least one authenticated domain. Yahoo also expects bulk senders to use SPF, DKIM, and DMARC. A p=none record meets the minimum DMARC policy requirement, but it does not enforce handling of failures.
DMARC checker
Look up a domain's DMARC record and catch policy issues.
?/7tests passed
The checker should find one record at the correct host, parse the rua address, and show the intended policy. If it finds no record, inspect whether the DNS console appended the domain twice or whether the change was published in the wrong DNS zone.
What DMARC actually evaluates
DMARC passes when SPF passes with a matching Return-Path domain, or DKIM passes with a matching signing domain. It does not require both paths to pass. For Redtail, configure and monitor both where available.
Apply RFC 9989 policy controls
RFC 9989 replaced the earlier DMARC specification in 2026. It removed the pct tag because receivers did not apply percentage enforcement consistently. It also introduced t=y for policy testing and np for non-existent subdomains. These changes affect the enforcement plan, not Redtail's SPF or DKIM records.
- Remove retired tags. Do not add pct, rf, or ri to a new DMARC record.
- Use test mode carefully. With t=y, RFC 9989 asks receivers to apply one policy level below p=quarantine or p=reject.
- Assess indirect mail. Mailing lists, aliases, and forwarders can break DMARC even when the original message was legitimate.
- Choose np deliberately. Use np only after deciding how failures using non-existent subdomains should be handled.
- Expect local decisions. A receiver can use local policy instead of applying the published DMARC disposition exactly.
RFC 9989 test-mode exampleDNS
v=DMARC1; p=quarantine; t=y; rua=mailto:dmarc@example.com
Under RFC 9989, the example asks a receiver to treat failing mail one level below quarantine while reports continue. Remove t=y only after Redtail and the domain's other authorized sources have stable results at the intended policy.
Test mode is not a percentage rollout
Do not treat t=y as a safety net. A receiver that has not implemented RFC 9989 can ignore the unfamiliar tag and process the declared p value under older behavior. Advance only when report evidence supports the next full policy.
Verify and troubleshoot
Verify with a message generated by the same Redtail workflow that matters in production. A manual message, automated notification, and bulk communication can use different infrastructure, so test each Redtail mail stream that uses your domain.
- Send the test. Trigger a fresh message from every Redtail workflow and From domain in use.
- Read Authentication-Results. Confirm spf=pass, dkim=pass, and dmarc=pass where the receiving mailbox reports them.
- Compare identities. Match the From domain against the SPF smtp.mailfrom domain and DKIM header.d domain.
- Check the selector. Query the selector in the DKIM-Signature s= value, not a guessed selector.
- Repeat after TTL. Retest after cached negative or old DNS answers have expired.
- Escalate with evidence. Give Redtail the message ID, UTC timestamp, headers, selector, From domain, and observed sending IP.
DNS verification commandsBASH
dig +short TXT example.com
dig +short TXT _dmarc.example.com
dig +short TXT <selector>._domainkey.example.com
dig +short CNAME <selector>._domainkey.example.com
The fastest end-to-end check is a real message diagnosis. It catches DNS errors, missing signatures, identity mismatches, and header-level failures that separate SPF or DMARC DNS lookups cannot see.
Use a Redtail-generated message, not a message sent directly through the mailbox provider. The sending IP and authentication domains must belong to the Redtail path you are testing.
Email tester
Send a real email to this address. Suped shows a results button when the test is ready.
?/43tests passed
A passing test should show DMARC pass and identify the path that produced it. If SPF passes but its domain differs from the From domain, it does not contribute to DMARC. If DKIM passes under a different d= domain, it also does not contribute.
SPF failure
- No authorization. Confirm the observed IP is in the approved SPF data.
- Permerror. Remove duplicate records and reduce DNS lookups.
- Identity mismatch. Ask Redtail to use your domain in the Return-Path.
- Forwarding. Rely on the valid DKIM path when forwarding changes the IP.
DKIM failure
- No signature. Ask Redtail to activate signing for the From domain.
- Key missing. Query the selector copied from the message header.
- Body hash. Check whether a gateway modified the signed content.
- Identity mismatch. Request signing with your visible From domain.
Production-ready result
At least one DMARC path passes with matching domains, the other path has a documented result, the message comes from the expected Redtail workflow, and aggregate reports classify the source as authorized.
Get alerted when it breaks
Authentication can break after a Redtail infrastructure change, a DNS edit, a DKIM key change, or a new workflow launch. Aggregate DMARC reports expose the failure, but raw XML is too slow for dependable operational response.
- Watch volume. Alert when Redtail's expected source volume drops to zero or changes sharply.
- Watch pass rates. Trigger on SPF, DKIM, or DMARC failure rates above the baseline for Redtail.
- Watch identities. Flag new Return-Path domains, DKIM domains, selectors, and Redtail source IPs.
- Watch DNS. Detect deleted records, malformed policy, extra SPF records, and lookup-limit failures.
- Route ownership. Send alerts to the team that controls DNS and the Redtail account.
Suped is our DMARC monitoring platform. For this Redtail workflow, it converts aggregate reports into source-level issues, sends alerts, and records repair steps. It keeps DMARC, SPF, DKIM, blocklist (blacklist), and deliverability signals in one operational view.
Alert data to keep
- Source identity. Redtail source name, sending IP, and reverse-DNS hostname.
- Authentication. SPF result, DKIM result, DMARC disposition, and affected volume.
- Domain evidence. From, Return-Path, DKIM d= domain, and selector.
- Response context. First seen, last seen, trend, owner, and remediation status.
Use a low-volume warning and a failure-rate threshold together. A rate-only alert can miss a complete stop in Redtail traffic, while a volume-only alert can miss an authentication change that still delivers mail.
For an agency or managed service provider, Suped's multi-tenant dashboard keeps each Redtail domain separate while using one alert process.
Choose DMARC enforcement safely
Move beyond p=none only after Redtail and every other legitimate sender have stable DMARC passes. Use report evidence, not a fixed waiting period. Each known source must be authenticated, unknown volume must be investigated, and important mail streams must have owners.
- Inventory sources. Classify every sending IP and authentication domain in DMARC reports.
- Verify Redtail. Require consistent DKIM alignment and retain SPF alignment where the Return-Path supports it.
- Fix legitimate failures. Correct each sender or move it to a dedicated subdomain with an explicit policy.
- Assess indirect flows. Identify mailing lists, aliases, and forwarding paths that can break DMARC.
- Enforce quarantine. Publish p=quarantine only when valid traffic remains stable under the full policy.
- Decide on reject. Use p=reject only when the domain's mail model can tolerate its effect on indirect mail.
- Keep monitoring. Continue alerts because enforcement does not prevent future configuration drift.
DMARC enforcement stages
Move between stages using authenticated production volume and known-source coverage.
Observe
p=none
Classify Redtail and every other source.
Test quarantine
p=quarantine; t=y
Request one policy level below quarantine.
Enforce quarantine
p=quarantine
Apply quarantine to DMARC failures.
Enforce reject
p=reject
Use only after indirect-flow review.
A full enforcement record is concise. Keep rua reporting active so new Redtail IPs, selector changes, and unauthorized sources remain visible.
Full DMARC enforcementDNS
v=DMARC1; p=reject; rua=mailto:dmarc@example.com
Suped's hosted DMARC workflow keeps policy changes, source classification, repair steps, and alerts together. Use the verified and unverified source views before each policy change, then continue monitoring after enforcement.
Do not publish pct
RFC 9989 removed percentage enforcement because receivers applied it inconsistently. Do not use pct=10, pct=50, or pct=100 in a new record. Test a complete policy with report evidence and account for receivers that do not yet recognize t=y.
General-purpose domains need extra care
RFC 9989 advises against p=reject for domains whose users post to internet mailing lists because legitimate indirect mail can fail DMARC. If the domain is used for general-purpose mail, review those flows before choosing reject and document the user impact.