How to set up DMARC/DKIM/SPF for Exofilter

To set up email authentication for Exofilter, have Exonet provision your sending domain, authorize its outbound relay in SPF, enable DKIM signing with your domain, and publish a DMARC TXT record. DMARC passes when either SPF or DKIM passes and the authenticated domain matches the visible From domain under your DMARC alignment settings.
I first check whether Exofilter handles outbound mail or only filters incoming mail. An inbound-only deployment does not require adding Exofilter to your domain's SPF. Use Exonet's account-specific relay settings and signing records for an outbound deployment.
Inbound filtering only
Exofilter receives and forwards incoming mail. Keep your own sending authentication on the systems that originate outbound messages.
Outbound relaying
Exofilter delivers your outgoing messages. Authorize the assigned relay in SPF and ensure a passing DKIM signature survives the route.
Add your domain
I confirm domain provisioning with Exonet before editing DNS. Exofilter is a filtering and relay service, so registering a domain and enabling an outbound route are separate tasks.
- Confirm access. Sign in to your existing Exonet Portal account using your customer credentials.
- Request provisioning. Ask Exonet support at support@exonet.nl to add your sending domain to Exofilter and enable outbound relaying for your authorized mail server. Supply the domain and your server's public sending IP addresses.
- Obtain settings. Request the SMTP relay hostname, port, TLS requirements and authorization method. Also request the outbound SPF mechanism, envelope sender requirements and available DKIM signing options.
- Verify provisioning. Complete any ownership check Exonet requests, using its exact DNS name and value. Have Exonet confirm the domain and sending server are authorized, then submit a test message through the assigned relay.
Successful verification means the service accepts your authorized sender and routes the message to an external recipient. A published TXT record alone does not establish that the relay is enabled.
I ask Exonet to confirm the account's actual configuration rather than assuming an unverified domain-management menu or a universal verification token.
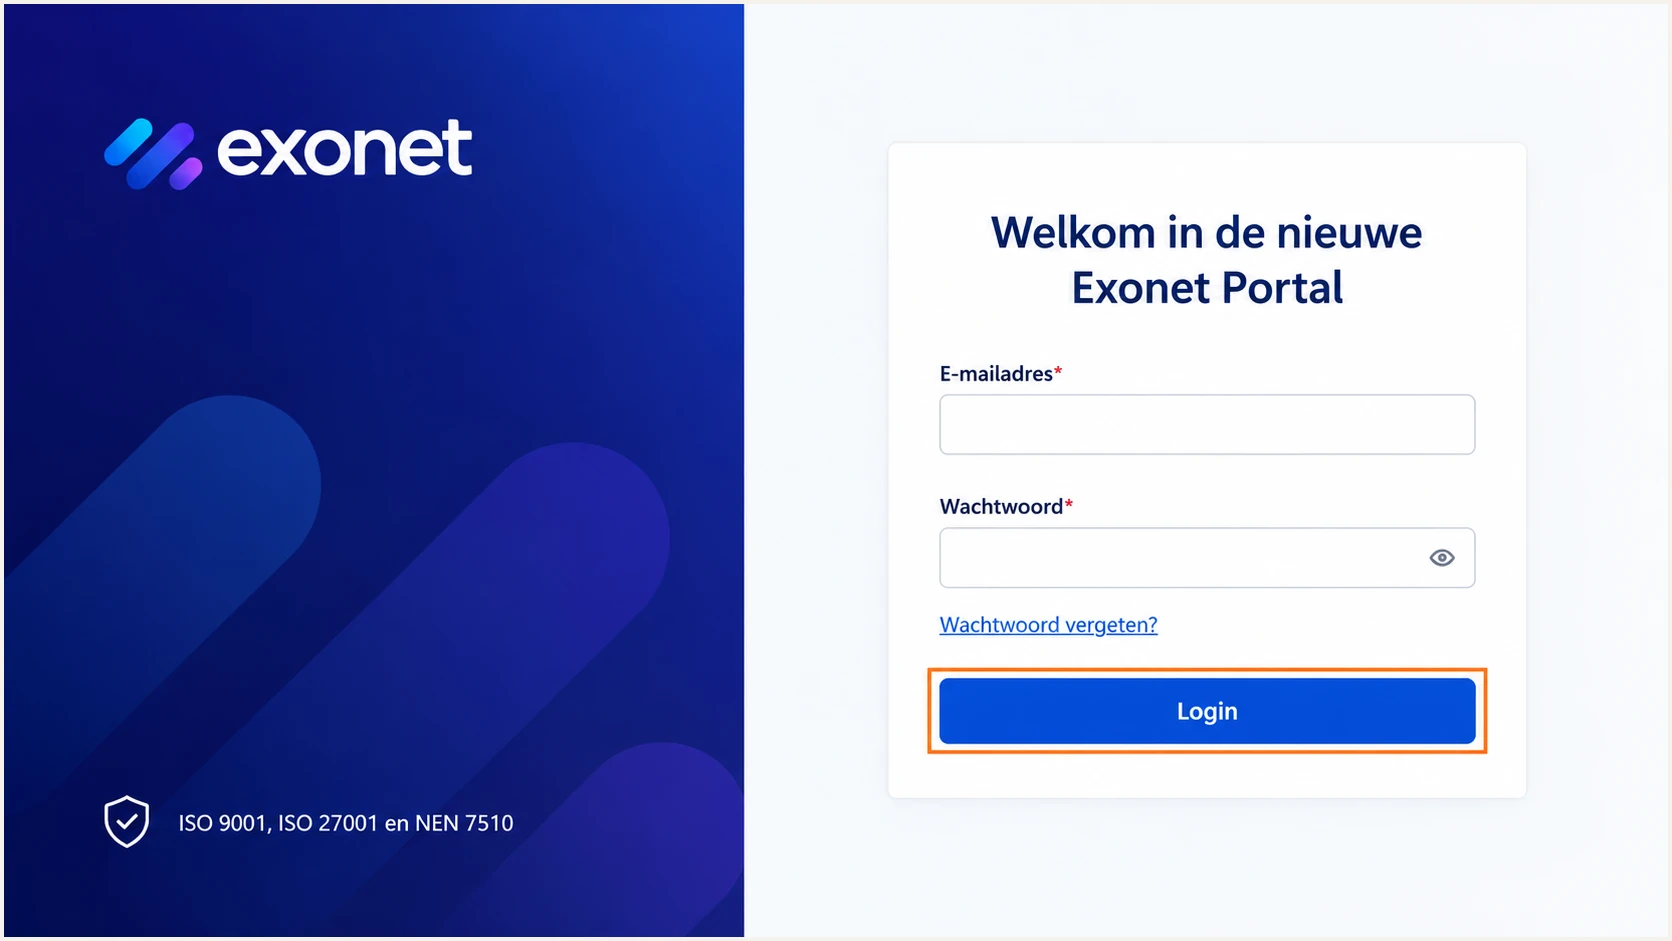
Exonet Portal sign-in screen used to access an existing customer account.
Keep DNS management with the provider hosting your authoritative nameservers. Buying the domain through Exonet does not establish where its active DNS zone is hosted.
Keep existing MX records unless Exonet is also migrating your inbound filtering. SPF, DKIM and DMARC setup does not itself require an MX change.
Set up SPF
Exofilter supports SPF alignment for outbound sending. I verify that the envelope sender uses your domain and that its SPF record authorizes the final relay IP seen by the recipient.
- Find the owner. Send a message and inspect Return-Path or smtp.mailfrom in the receiving server's Authentication-Results. Edit SPF at that domain, including a separate subdomain if one is used.
- Confirm authorization. Ask Exonet whether include:_spf.exonet.nl covers your assigned outgoing relay. Publish that mechanism only after confirmation; an Exofilter MX hostname is not an SPF include.
- Merge the record. Add the confirmed mechanism before the existing all mechanism in your single SPF TXT record. Preserve other authorized senders and the existing ending. Do not create a second SPF record.
- Check limits. Validate the complete record, including nested includes, against SPF's limit of 10 DNS-lookup-causing terms during evaluation. Confirm the relay's actual IPv4 or IPv6 address is covered.
New record example, only if Exonet confirms this includedns
example.com. 3600 IN TXT "v=spf1 include:_spf.exonet.nl ~all"
This example applies when example.com is the envelope sender domain and Exonet is its only authorized sender. For an existing record, merge the mechanism instead of replacing the whole value.
Enter the envelope sender domain below. If it is a subdomain, check that subdomain rather than assuming the parent domain's SPF record applies.
SPF checker
Find SPF syntax issues, lookup limits, and weak records.
?/16tests passed
A valid DNS result does not prove SPF alignment. Compare the authenticated envelope sender domain with the visible From domain. Relaxed alignment accepts the same organizational domain; strict alignment requires an exact domain match.
If a particular route rewrites the envelope sender to an unrelated provider domain, SPF alignment fails even when SPF passes. A passing DKIM signature with matching domain alignment still passes DMARC. Adding more includes at your From domain does not repair that mismatch.
Set up DKIM
I configure DKIM at the system that signs outbound mail. That is your original mail platform unless Exonet confirms that Exofilter signs with your domain for this account.
- Identify the signer. Inspect DKIM-Signature on a delivered message. The d= value identifies the signing domain and s= identifies the selector. Ask Exonet which system should sign your outbound route.
- Obtain DNS values. Copy the exact selector and TXT public key or CNAME target issued by that signer. There is no verified universal Exofilter selector to substitute for those values.
- Publish and enable. Add the issued record at selector._domainkey.yourdomain, then enable signing on the mail platform. A DNS public key without its matching active private key does not sign messages.
- Test after relaying. Send through Exofilter and require dkim=pass at the external recipient. Confirm the passing signature's d= domain matches your visible From domain under the configured alignment mode.
If Microsoft 365 is your upstream mail platform, Microsoft's DKIM guidance describes enabling Exchange Online signing with two DNS CNAME records. Use your tenant's issued values and verify that the signature survives the Exofilter relay.
Replace SELECTOR below with the message's s= value and example.com with its d= domain. These commands inspect the published key or delegation without guessing a selector.
Inspect the actual DKIM selectorbash
dig +short TXT SELECTOR._domainkey.example.com
dig +short CNAME SELECTOR._domainkey.example.com
For a CNAME, also check that its target resolves to the signer's public key. For a TXT key, preserve the complete value supplied by the signer. Publish only the public key.
If DKIM passes before Exofilter but fails afterward, compare the signed headers and body. A footer or other content rewrite after signing breaks the signature unless the signing arrangement accommodates that change.
Set up DMARC
For a domain without DMARC, I start with p=none to collect reports before enforcement. If your domain already has p=quarantine or p=reject, keep that policy while configuring Exofilter.
- Read the policy. Query TXT at _dmarc.example.com and inspect any existing record. For a sending subdomain without its own record, also check the parent domain's applicable policy.
- Publish once. For a new setup, add one TXT record at _dmarc using the monitoring value below. Use the DNS provider's expected name format so it does not append the domain twice.
- Set reporting. Replace dmarc@example.com with your real aggregate-report destination. An ordinary mailbox receives report files; a reporting platform processes them. External reporting destinations require the applicable authorization DNS record.
- Generate and check. Use our DMARC record generator to prepare the value, then validate the published record below. Keep exactly one DMARC policy record at that name.
Monitoring TXT value at _dmarc.example.comdns
v=DMARC1; p=none; rua=mailto:dmarc@example.com
The record above is an example, not a reporting address for your organization. Publish the value with your actual destination at the visible From domain's DMARC name.
Enter that From domain below to inspect the public policy. Confirm the reporting address and syntax after cached DNS answers expire according to their TTL.
DMARC checker
Look up a domain's DMARC record and catch policy issues.
?/7tests passed
A valid DMARC record establishes policy and requests reports. It does not enable SPF authorization or DKIM signing, and p=none requests no quarantine or rejection based on DMARC failure.
Aggregate reporting is delayed and depends on participating receivers. I use a live message test for immediate configuration checks, then reports to assess normal sending over time.
Verify and troubleshoot
I send a fresh message through the production route and inspect the external recipient's results. DNS checks alone cannot prove which relay sent the message or whether DKIM signing is active.
- Use the real route. Send directly from the actual mailbox or application through Exofilter. Repeat for each distinct sender and for any fallback route.
- Inspect trusted results. Read the receiving server's Authentication-Results for spf=pass, dkim=pass and dmarc=pass. Check smtp.mailfrom, header.d and header.from rather than the display name.
- Trace the relay. Compare the receiving server's connection IP and Received headers with Exonet's outbound logs. A hostname ending in .exofilter.com identifies relay infrastructure, not permission to send as your domain.
- Fix the failed layer. For SPF errors, check the envelope sender's record and lookup count. For DKIM errors, check the selector, published key and post-signing changes. For DMARC errors with authentication passes, compare the authenticated domains with From.
|
|
|
|---|---|---|
Pass + match | Fail | Pass |
Fail | Pass + match | Pass |
Pass, mismatch | Pass, mismatch | Fail |
Fail | Fail | Fail |
Match means the authenticated domain satisfies DMARC alignment with From.
Our email tester is the quickest practical check of a real message. Open it, copy the generated recipient address, and send a new email there using your normal Exofilter route.
Review the authentication diagnosis and the domains used for each check. Do not forward an old message to the test address, because forwarding changes the delivery path.
Email tester
Send a real email to this address. Suped shows a results button when the test is ready.
?/43tests passed
Retest after a DNS or relay change with another new message. A previously delivered message retains its original results even after the configuration is fixed.
If your own inbound filter forwards outside mail, an SPF failure at the next hop does not justify authorizing that filter to send all mail as your domain. Diagnose the original sender and the surviving DKIM signature before changing SPF.
Get alerted when it breaks
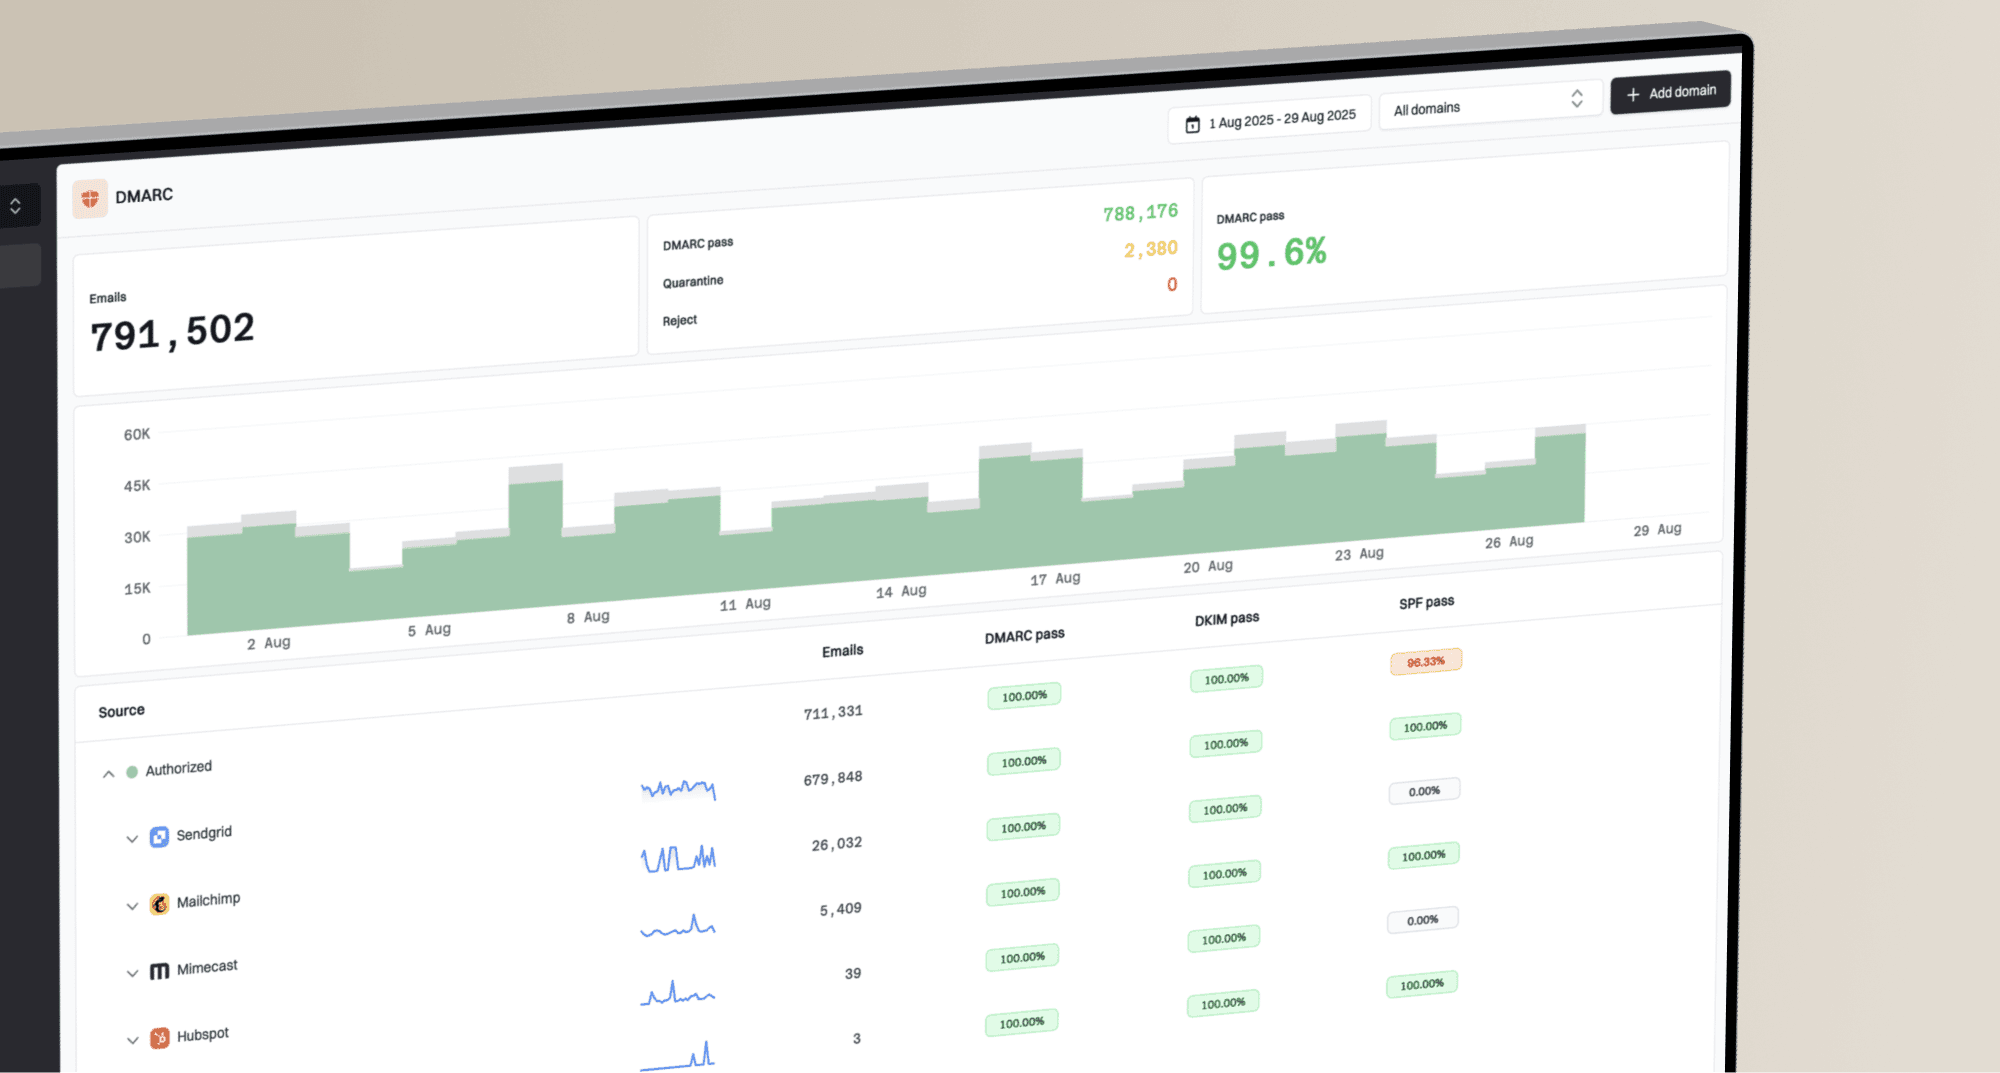
Suped, our DMARC platform, connects recurring authentication failures with the sending source and the records that need attention. I keep ongoing monitoring in place because a successful setup test does not cover later relay or signing changes.
- Enable notifications. In Suped's notification settings, enable DMARC failure alerts and summary report emails. Use alerts for investigation and summaries to review authentication trends.
- Verify the source. Confirm Exofilter traffic against your Exonet configuration and message logs before marking it as a verified sending source. Review unfamiliar traffic separately.
- Open the details. Filter reported failures by source or IP, then inspect SPF, DKIM and DMARC results in Suped's detail view. Check whether the failure is authentication or domain alignment.
- Close the loop. Follow the detected issue's fix steps, update the responsible DNS record or signer, then confirm a fresh test passes and subsequent aggregate reports improve.
Suped's DMARC monitoring brings source review and authentication diagnostics into the same workflow. This makes it practical to identify which Exofilter route needs a fix before changing your policy.
Keep Exonet's relay logs available during an investigation. Use the sending IP and message timestamp to connect a reported failure with the original application or mailbox.
Allow for reporting delay
DMARC failure alerts depend on incoming aggregate reports. They do not provide instant notification for every failed message. Use relay logs and fresh message tests when diagnosing an active delivery problem.
Secure your domain with p=reject
I move to p=reject after every legitimate sending route has a tested DMARC pass. Exofilter passing by itself is insufficient if another application still sends unauthenticated mail as the same domain.
- Inventory senders. Use Suped's source table to identify the Exofilter route and every other authorized sender. Investigate unknown sources without automatically authorizing them.
- Resolve failures. Require passing SPF or DKIM with domain alignment for each legitimate route. Prefer having both working, and check fallback servers and infrequent automated sends.
- Observe normal traffic. Review enough reporting periods to cover your full sending cycle, including billing runs. Resolve unexplained legitimate failures instead of choosing an arbitrary overall pass-rate threshold.
- Stage enforcement. For a new monitoring deployment, move to p=quarantine, review real delivery and report results, then move to p=reject. Keep an existing quarantine or reject policy while repairing Exofilter.
- Keep reporting. Retain your rua destination after enforcement and continue Suped failure alerts. Review subdomain policy inheritance and any explicit subdomain records before relying on domain-wide protection.
Our Hosted DMARC lets teams manage the DMARC policy in Suped after the hosted DNS configuration is in place. Combined with source diagnostics, it provides a practical workflow for staging quarantine and reject policies while checking legitimate traffic.
Use your actual reporting address in the enforcement record. Retain any other deliberate settings in an existing policy instead of replacing it blindly with this example.
Final TXT value after verifying all legitimate sendersdns
v=DMARC1; p=reject; rua=mailto:dmarc@example.com
p=reject requests rejection of messages that fail DMARC, subject to the receiver's local policy. It does not prevent display-name impersonation or sending through a lookalike domain.
Keep a record of the previous policy and its change time. If legitimate delivery breaks, inspect the failed route in Suped and correct its authentication before making further policy changes.