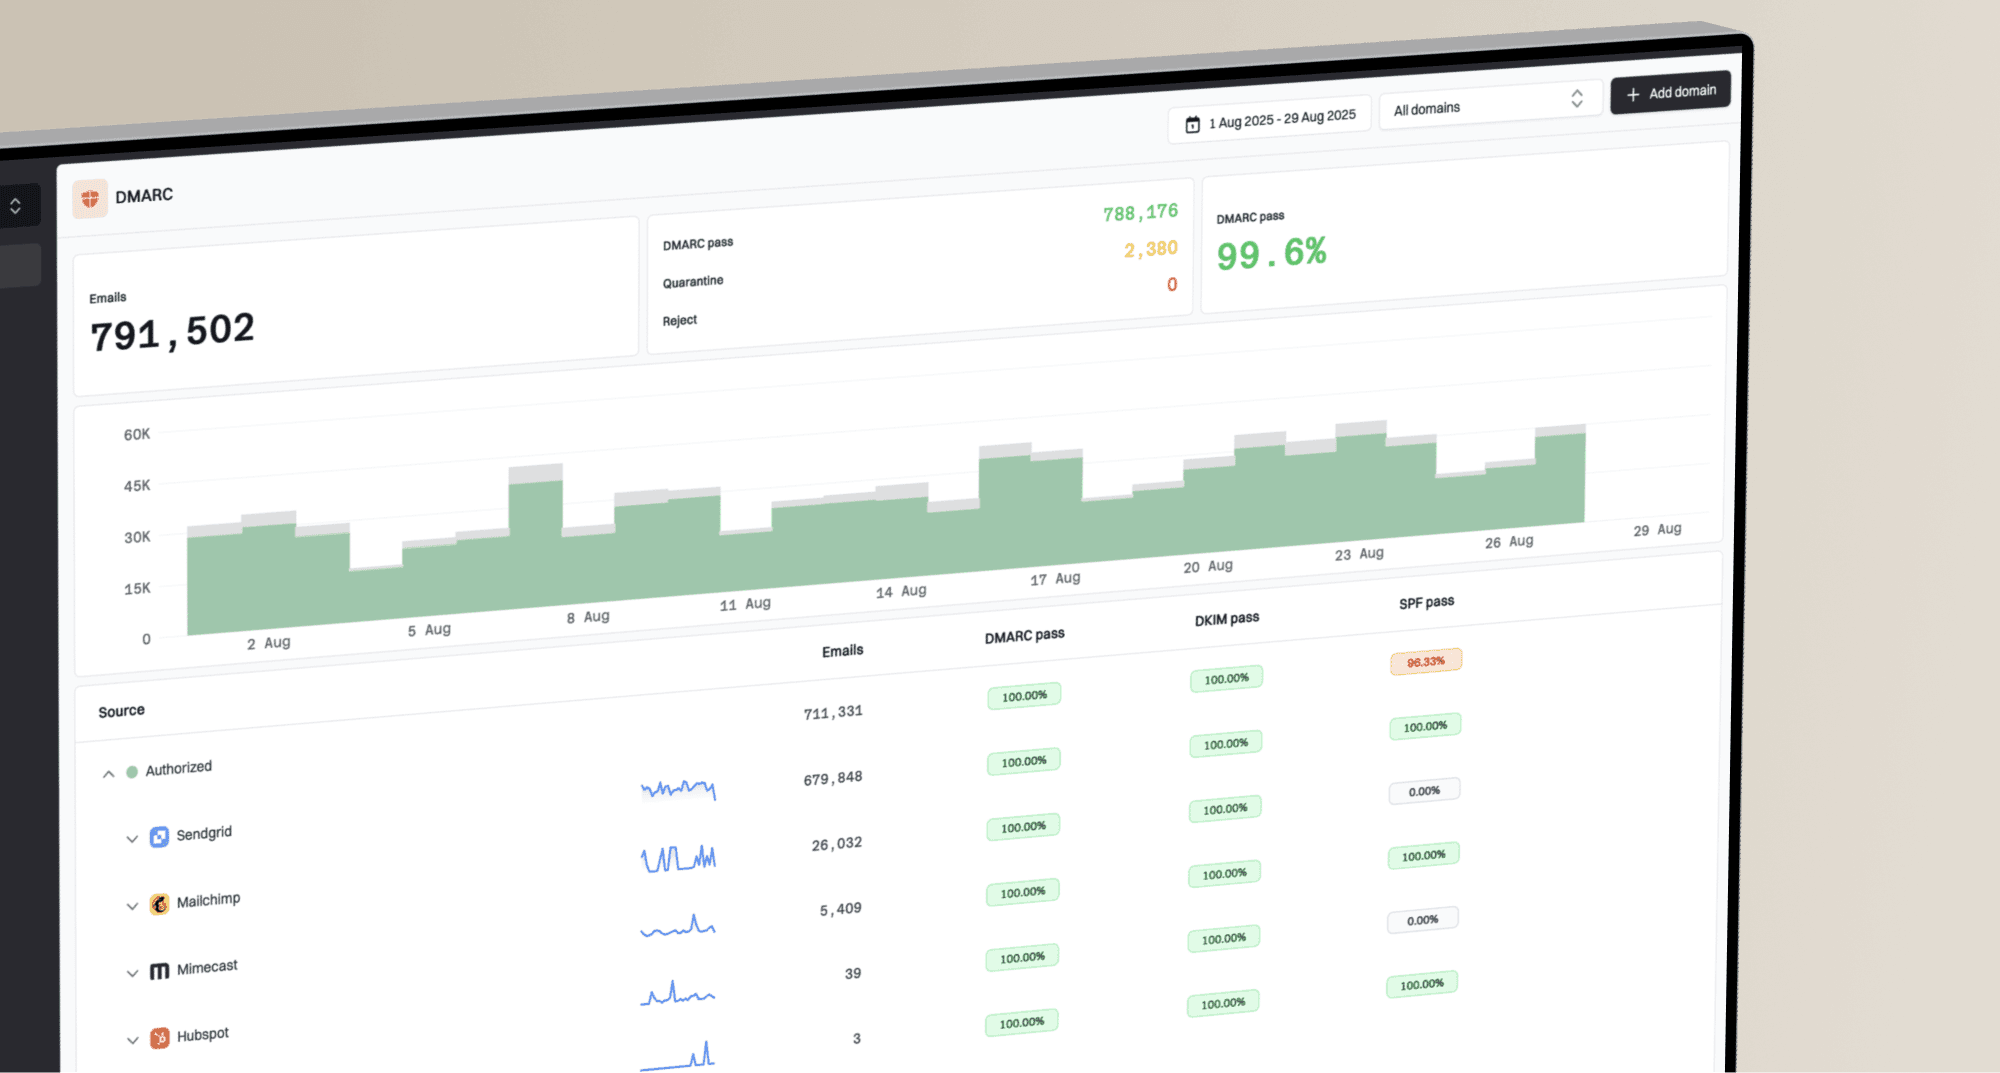
How to set up DMARC/DKIM/SPF for Catapult eLearning

Published 18 Oct 2026
Updated 18 Oct 2026
10 min read
Summarize with

Set up Catapult eLearning email authentication by requesting your sender-domain records from Catapult support, publishing them in DNS, and asking support to confirm activation. Configure a custom return path for SPF alignment, enable DKIM signing with your domain, then publish DMARC and test an actual notification.
I check a delivered message before treating the setup as complete. DMARC needs a passing SPF or DKIM result with domain alignment to the visible From address. Publishing DNS records alone does not prove that Catapult is using them.
Add your domain
Catapult manages the notification sender address through its support team. Supply the address during account setup, or request a change by emailing support@catapult-elearning.com with the current and replacement addresses.
- Choose the sender: Use a monitored address on a domain you control, such as training@example.com. Arrange access to that domain's authoritative DNS.
- Request authentication: Ask support for the exact DNS names, record types and values for your sender domain, including DKIM and a custom return-path domain.
- Publish the records: Send the supplied values to your DNS administrator. Preserve existing mail records and confirm whether the DNS editor appends the domain automatically.
- Confirm activation: Ask support to verify the published records and confirm which From domain, DKIM signing domain and return-path domain your notifications will use.
Sender authentication request for Catapult supporttext
Current sender: CURRENT_ADDRESS
Requested sender: training@example.com
Please provide sender authentication DNS records for this account.
Include DKIM selectors, record types and complete values.
Include the custom return-path domain and its DNS requirements.
Please confirm verification and activation after publication.
Catapult's public support articles "Managing the sender address for notifications" and "How to get started with Catapult" describe this support-managed process. They do not supply a universal SPF include, DKIM selector, or self-service domain verification screen.
Keep the support reply as your account-specific configuration reference. The example addresses and domains below are illustrative; replace them with your own details and the values Catapult supplies.
Set up SPF
Use Catapult's return-path alignment support to request an envelope sender under your domain, for example bounce.example.com when the From address is training@example.com. SPF checks that envelope domain, which normally appears in Return-Path.
- Confirm the hostname: Ask support which custom return-path hostname it will activate and whether its DNS setup uses TXT, CNAME, or additional records.
- Publish exact values: Create the records support supplies at that hostname. If it uses a CNAME, keep other record types off that same DNS name.
- Preserve existing senders: If support explicitly requires an SPF change at an existing hostname, merge its authorization into the single SPF record before the final all mechanism. Keep other legitimate senders authorized.
- Check lookup limits: Keep SPF evaluation within the 10 DNS lookup limit, including nested includes. Multiple SPF records at one hostname cause a permanent error.
Inspect the actual SPF domain, replacing this examplebash
dig +short CNAME bounce.example.com
dig +short TXT bounce.example.com
Enter the actual return-path hostname in the SPF checker below. A check of example.com alone does not validate SPF for mail using bounce.example.com.
I compare the lookup with the support reply before changing the root SPF record. A dedicated return-path setup does not automatically require adding Catapult to your root domain's SPF.
SPF checker
Find SPF syntax issues, lookup limits, and weak records.
?/16tests passed
Resolve any syntax or lookup-limit errors, then ask support to confirm the custom return path is active. Inspect a fresh notification for spf=pass and the expected smtp.mailfrom domain.
With default relaxed SPF alignment, bounce.example.com and example.com share the same organizational domain. An existing aspf=s setting requires an exact domain match, so review that requirement with support.
SPF alignment depends on the active return path
If a notification still uses a provider-owned return path, adding an SPF include to your From domain will not fix SPF alignment. DMARC still passes when DKIM passes with the required domain alignment. Confirm the account's return-path configuration with Catapult support.
Set up DKIM
Ask Catapult support to enable DKIM signing with a domain matching your visible From domain. Use the selectors and DNS values supplied for your account.
- Collect every selector: Get each selector hostname, its TXT or CNAME type, and its complete value. Do not assume a selector name or reuse another account's key.
- Publish without conflicts: Add the supplied records. Enter a relative hostname only when your DNS editor appends the domain; keep CNAME records free of conflicting data.
- Activate signing: Tell support when DNS resolves and request confirmation that notifications now use your domain in the DKIM signature's d= value.
- Verify the message: Send a new notification and inspect dkim=pass plus its signing domain. A passing signature for Catapult's own domain alone does not establish alignment to your domain.
Inspect the selector Catapult suppliesbash
dig +short CNAME SELECTOR._domainkey.example.com
dig +short TXT SELECTOR._domainkey.example.com
Replace SELECTOR with the value from support or the s= tag in a real DKIM-Signature header. Catapult controls the signing key; publishing an unrelated generated public key will not configure its mail servers.
I check DNS publication and active signing separately. Both are necessary for reliable DKIM verification.
DNS publication
The supplied selector resolves to the expected public key. This confirms the DNS side of the setup.
Active signing
A fresh Catapult notification has a valid signature using your domain. This confirms the sending side of the setup.
Set up DMARC
DMARC is published in your domain's DNS. Start a new deployment with p=none and aggregate reporting. If the domain already uses p=quarantine or p=reject, keep that policy while configuring Catapult.
- Inspect existing policy: Look up the From domain's DMARC record and any inherited organizational-domain policy. Do not weaken an existing policy or create duplicate DMARC records.
- Choose reporting: Use a working mailbox that receives aggregate reports, or the address issued by your reporting platform. Preserve existing reporting destinations when updating a record.
- Publish one record: For a new deployment on example.com, add the following TXT value at _dmarc.example.com. Replace dmarc@example.com with your real reporting address.
- Keep default alignment: Leave aspf and adkim omitted for relaxed alignment unless your existing policy or requirements specify otherwise.
Initial DMARC record for a new deploymenttext
Name: _dmarc
Type: TXT
Value:
v=DMARC1; p=none; rua=mailto:dmarc@example.com
Use the DMARC record generator to build the record with your actual reporting address. In a DNS editor that appends example.com, enter _dmarc as the name.
Run the DMARC checker against the visible From domain. It checks DNS syntax and policy discovery; a message test is still necessary to verify Catapult's authentication.
DMARC checker
Look up a domain's DMARC record and catch policy issues.
?/7tests passed
Confirm that the lookup returns one valid DMARC record with the intended policy and reporting destination. If reports go to a different domain, confirm that the reporting destination authorizes external reports.
Aggregate reports arrive after receivers process mail, commonly on a daily cycle. Keep sending controlled tests while waiting for the first reports.
Verify and troubleshoot
Test an original Catapult notification after support confirms activation. I use a dedicated test learner so the test does not change a real learner's login or enrolment details.
- Prepare the recipient: Open the email tester below and copy its generated address. Use that address only for a dedicated Catapult test profile.
- Trigger a fresh email: For an unactivated test profile, log out of Catapult, choose "Didn't receive confirmation instructions?", enter the test address, and click "Resend confirmation instructions".
- Inspect the diagnosis: Require dmarc=pass and check which SPF or DKIM result provides domain alignment. Use the receiver's Authentication-Results header for message-level evidence.
- Repeat notification types: Test welcome emails, enrolment notifications, assessment updates and reminders that your account sends. Confirm that each uses the intended sender configuration.
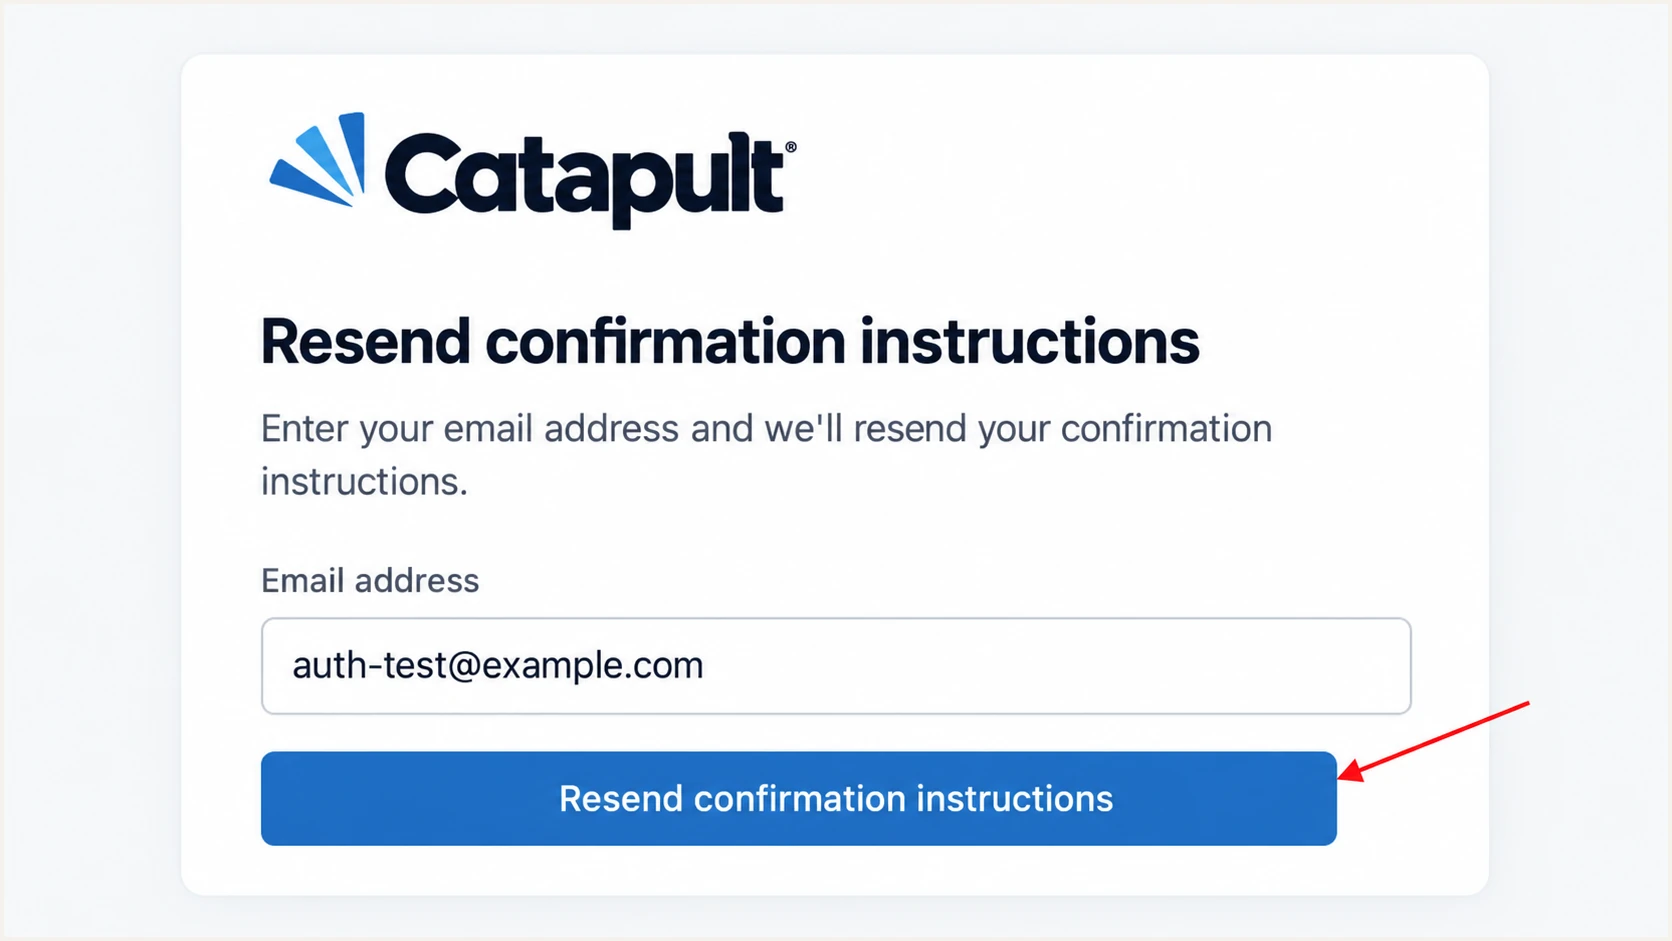
Catapult confirmation-resend form used to trigger a fresh test notification.
Use the tester's address as the recipient of the original notification. Forwarding an old notification changes the delivery path and does not test the current Catapult configuration reliably.
The email tester gives a diagnosis of the received message, including authentication results. Review the actual SPF domain and DKIM signing domain when a check passes but DMARC still fails.
Email tester
Send a real email to this address. Suped shows a results button when the test is ready.
?/43tests passed
A successful result for a typical relaxed-alignment setup looks like the header example below. These are illustrative domains, not Catapult's assigned hostnames.
If DKIM passes with your domain and DMARC passes, an SPF alignment failure alone does not mean DMARC is broken. Still finish the custom return-path setup if both authentication paths are required.
Illustrative receiving-server authentication resultstext
Authentication-Results: receiver.example;
  spf=pass smtp.mailfrom=bounce.example.com;
  dkim=pass header.d=example.com;
  dmarc=pass header.from=example.com
After changing DNS, allow existing cached records to expire before retesting. A successful DNS lookup does not replace a fresh message test.
For a failed test, collect the full headers and Message-ID. Send them to Catapult support with the sender address, recipient and timestamp.
|
|
|
|---|---|---|
SPF permerror | Duplicates or lookups | DNS administrator |
DKIM fail | Selector and signing | Catapult support |
DMARC fail | Domain alignment | Your team |
Missing reports | Reporting destination | Your team |
Start with the failing check, then retest a new notification.
Get alerted when it breaks
Suped is our DMARC platform. Its DMARC monitoring connects report data with automated issue detection and fix steps, so your team can investigate Catapult authentication failures after setup.
- Enable failure alerts: Open Suped's notification settings and enable DMARC failure alerts. Configure alert recipients and failure thresholds for the team responsible for email.
- Enable summaries: Turn on summary emails to review authentication changes even when a failure does not trigger an alert.
- Investigate the source: Inspect the affected records by source and sending IP. Compare the SPF domain and DKIM signing domain with the configuration Catapult confirmed.
- Verify the repair: Follow the issue's fix steps, involve Catapult support for signing or return-path changes, then send another original notification and review subsequent reports.
Keep your existing aggregate reporting destination active. Suped's DMARC alerts depend on reports received from mailbox providers, so use a fresh email test for immediate validation after a change.
I keep alerts active after authentication passes. A sender-address change or removed DNS record can break a previously working notification stream.
Secure your domain with p=reject
Move to p=reject only after legitimate senders using the domain pass DMARC consistently. Suped groups sources and exposes authentication issues, giving your team evidence to review before each policy change.
- Review all senders: Check every authorized source using the domain, including ordinary business mail and other automated systems. Verify Catapult's different notification workflows.
- Resolve legitimate failures: Fix missing signing and domain mismatches before enforcement. Investigate unknown sources instead of authorizing them solely because they appear in reports.
- Stage enforcement: For a new deployment, observe a complete business sending cycle at p=none, then review p=quarantine before p=reject. Include infrequent notifications and forwarding paths in the review.
- Apply and monitor: Change the existing policy record, preserve reporting, and watch Suped for new issues. If an authorized stream fails, repair that stream and retest.
Final DMARC value after legitimate sources are verifiedtext
v=DMARC1; p=reject; rua=mailto:dmarc@example.com
Suped's Hosted DMARC lets your team manage policy in the dashboard after its DNS delegation is configured. Use its policy controls alongside source verification and issue details to manage each enforcement stage.
I use passing legitimate traffic as the readiness check. A high overall pass rate alone can hide a failing, low-volume learner notification.
Enforcement affects every sender using the domain
p=reject expresses a rejection preference for messages that fail DMARC. Receivers apply their own handling rules. Review forwarding and mailing-list traffic before enforcement; successful authentication also does not guarantee inbox placement.
After publication, repeat the notification tests and confirm the intended policy is discoverable in DNS. Keep aggregate reporting and failure alerts enabled during enforcement.
For a From address on a subdomain, inspect the policy discovered for that exact domain. Review the parent domain's sp setting and any explicit subdomain DMARC record before changing enforcement.