How do I properly set up SPF and DKIM records for email marketing, including handling multiple SPF records, IP ranges, bounce capturing, and Google Postmaster Tools verification?

Updated on 10 Aug 2026: We updated this guide for current Google Postmaster Tools verification, 2048-bit DKIM key rotation, Gmail sender requirements, and RFC 9989 DMARC guidance.
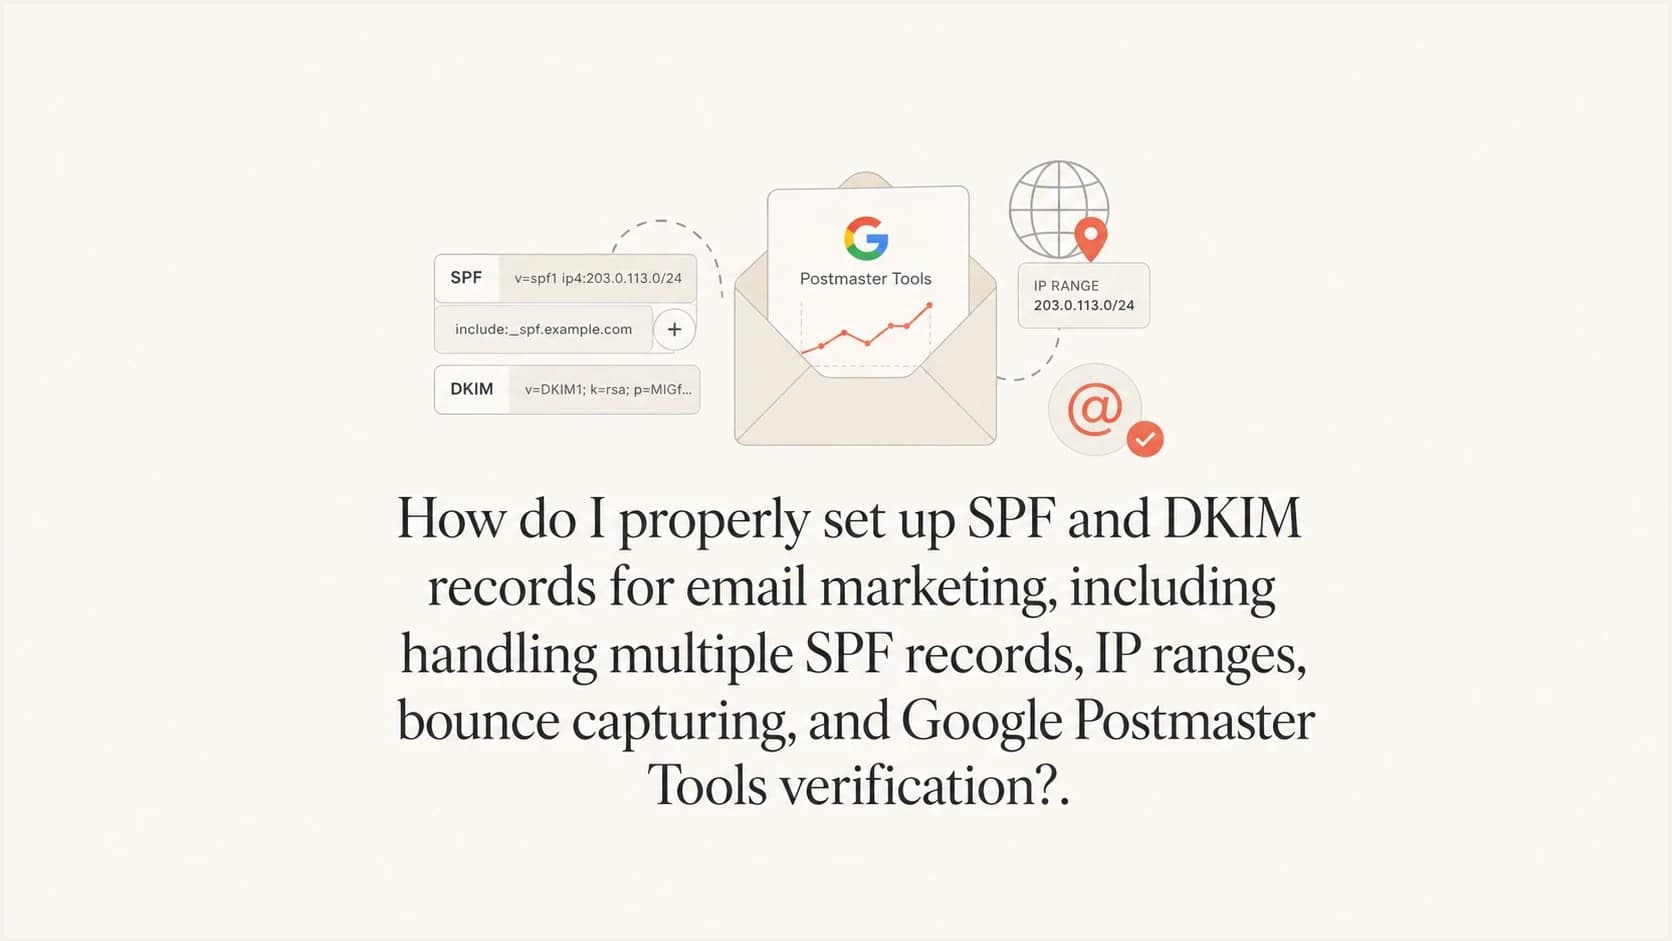
The proper setup is simple in principle: publish one SPF record per sending domain or subdomain, publish separate DKIM records for each selector, keep Google verification in its own TXT record, and put SPF only on the domain used in the envelope sender or bounce address. If your DNS zone has two TXT records that both start with v=spf1, receivers return an SPF permerror. Merge the authorized senders into one SPF value or remove the sender that does not belong.
Start by separating four jobs that often get mixed together: SPF authorizes the servers allowed to send for the envelope sender domain, DKIM signs the message with a domain in the signature, bounce handling returns delivery failures to the platform that sent the mail, and Google Postmaster Tools verification proves domain ownership. These are related, but they are not the same DNS record.
A good first pass is to test the domain, then send a real message and inspect the headers. Suped's email tester helps with that send-and-check workflow because DNS can look correct while the actual message still uses the wrong Return-Path or DKIM domain.
The direct fix
If the DNS currently has an SPF record for Google, an SPF record for an IP range, and a Google verification token all pasted together, split them by purpose. The SPF mechanisms go in one SPF TXT record. The Google verification token goes in a different TXT record. DKIM gets its own TXT record or CNAME at the selector host.
Incorrect mixed TXT valuesDNS
v=spf1 include:_spf.google.com include:_spfprod.ngpvan.com ~all
google-site-verification=provided-token
v=spf1 ip4:66.96.128.0/18 ?all
Corrected root TXT recordsDNS
@  TXT  "v=spf1 include:_spf.google.com include:_spfprod.ngpvan.com ~all"
@  TXT  "google-site-verification=provided-token"
Do not keep the IP range unless that range is actually assigned to your mail servers. A /18 block contains 16,384 addresses. Authorizing an entire hosting or colocation range means another sender in that range can pass SPF for your domain.
- Keep it: Use an IP mechanism only for mail servers directly assigned to your organization.
- Remove it: Delete broad hosting ranges when the provider already gives you an SPF include.
- Check it: Confirm the actual sending IPs from message headers, not from old DNS notes.
|
|
|
|
|---|---|---|---|
SPF | Root or bounce | Authorize sender | Two records |
DKIM | Selector host | Sign mail | Wrong selector |
Bounce | Subdomain | Return failures | No routing |
Google token | Verified domain | Prove ownership | Inside SPF |
A compact map of what belongs where.
How SPF should be structured
SPF is evaluated against the envelope sender domain, also called the Return-Path or 5321.MailFrom domain. That detail matters because the visible From address can be your campaign domain while the bounce address uses a different subdomain or a vendor domain. SPF only contributes to DMARC when the SPF domain matches the visible From domain under DMARC rules.
For a domain that sends through Google Workspace and NGP VAN, a syntactically valid SPF record looks like this if both services really send with your domain as the envelope sender:
Single SPF recordDNS
@ TXT "v=spf1 include:_spf.google.com include:_spfprod.ngpvan.com ~all"
That record has one start tag, two include mechanisms, and one ending qualifier. Keep ~all while you are testing. Move to a stricter ending only after DMARC reports show every legitimate sender passing SPF or DKIM with the correct domain match.
- One record: A domain or subdomain must have only one TXT value that starts with v=spf1.
- Right domain: Publish SPF at the envelope sender domain, not blindly at every domain.
- Low scope: Prefer provider includes or exact assigned IPs over broad network ranges.
- Lookup limit: SPF limits DNS-querying mechanisms and modifiers to ten during evaluation. Nested includes count, and exceeding the limit returns permerror.
IP range risk
SPF should authorize the smallest sender scope that still covers real mail.
Good
Exact sender
A single dedicated outbound IP or a provider include.
Watch
Narrow CIDR
A small assigned CIDR used only by your mail service.
Bad
/18 block
A full hosting or colocation block shared with unrelated senders.
When the record gets crowded, test it with a focused SPF checker before publishing. Suped's Hosted SPF and SPF flattening help when a team has several senders, a strict DNS change process, or a record that is close to the lookup limit.
How DKIM should be structured
DKIM is different from SPF because multiple DKIM records are normal. Each DKIM record sits at a unique selector host, such as a Google selector or a marketing platform selector. The receiving server reads the selector in the DKIM-Signature header, queries that selector, and uses the public key to verify the message.
Typical DKIM DNS recordsDNS
google._domainkey  TXT  "v=DKIM1; k=rsa; p=provider-public-key"
selector1._domainkey  CNAME  provider-dkim-target
For Google Workspace, generate the DKIM key in the admin console, add the TXT record at the selector host Google gives you, then turn signing on. For the email marketing platform, add the TXT or CNAME records it provides. The domain after d= in the DKIM signature should match the visible From domain closely enough for DMARC.
SPF
- Limit: One SPF record is allowed at each DNS host.
- Checked against: The envelope sender domain and connecting IP.
- Breaks when: There are duplicate records, too many lookups, or broad stale IP ranges.
DKIM
- Limit: Multiple DKIM records are allowed when selectors are unique.
- Checked against: The DKIM signature domain and public key.
- Breaks when: The selector is wrong, the key is copied badly, or signing is not enabled.
After publishing a DKIM selector, use a DKIM checker to confirm the record parses correctly, then send a live message and inspect the signed domain in the headers. DNS validation alone does not prove the platform is signing outgoing mail.
DKIM key length and rotation
Use a 2048-bit RSA DKIM key when the sending platform and DNS host support it. Google recommends 2048-bit keys and offers 1024-bit keys only when the DNS host cannot handle the longer record. The private key stays with the sender. DNS contains only the public key or a CNAME that points to it.
- Create: Generate a new key under a new selector in the sending platform.
- Publish: Add the new TXT or CNAME record and confirm that it resolves.
- Switch: Enable the new selector, then verify the d= and s= values on a live message.
- Retire: Keep the old public key available for in-flight mail, then remove it after the provider's overlap period.
Do not overwrite an active selector with a new public key before the sender starts using the matching private key. That creates DKIM failures during DNS caching and message transit. A new selector gives both keys a safe overlap period.
Bounce capturing and sender domains
Bounce capturing is where many marketing setups fail quietly. The bounce address is the envelope sender, so it controls where delivery failures go and which domain SPF checks. If the marketing platform uses your domain in the Return-Path, it needs SPF authorization there and it needs DNS routing that sends bounces back to the platform.
If the platform uses its own bounce domain, adding the platform's SPF include to your visible From domain does not make SPF pass for your domain. In that case, DKIM is the safer route for DMARC because the DKIM signing domain can match your visible From domain while the platform still handles bounces.
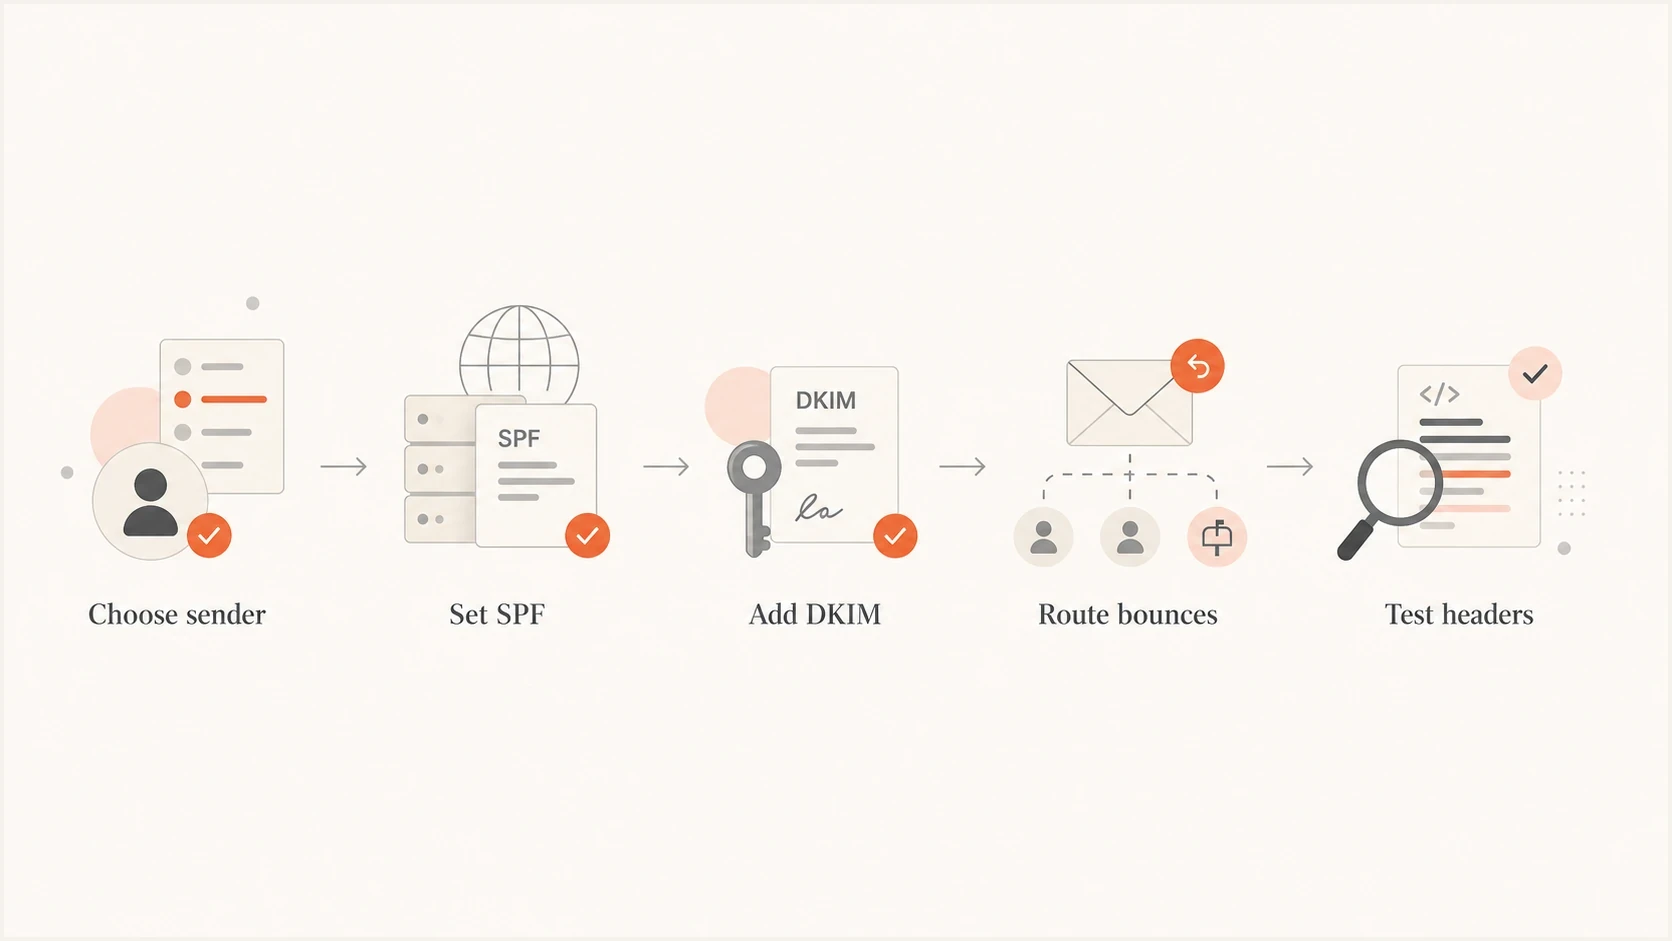
Flowchart showing sender selection, SPF, DKIM, bounce routing, and header testing
Check bounce handling with one practical test: send a campaign-style message to a mailbox that does not exist, then confirm the marketing platform records the bounce and suppresses the address. If the bounce lands in a general inbox or disappears, the DNS routing is wrong.
- Inspect headers: Find the Return-Path domain on a delivered test message.
- Check DNS: Make sure that domain has the provider's required MX or CNAME records.
- Confirm logging: Verify the platform captures the bounce and updates suppression status.
- Match DMARC: Rely on DKIM when the bounce domain belongs to the sending platform.
For a new marketing subdomain, use a dedicated sending identity such as a subdomain for campaigns and a separate bounce subdomain when the platform supports it. The related email subdomains setup should be documented so the main website, Google Workspace mail, and campaign mail do not overwrite each other's records.
Google Postmaster Tools verification
Google Postmaster Tools verification is separate from SPF and DKIM. Add either the DKIM d= domain or the SPF Return-Path domain used to authenticate outgoing mail. Copy Google's verification value into its own TXT record at that domain, then retry verification. Do not paste the verification string into the SPF value.
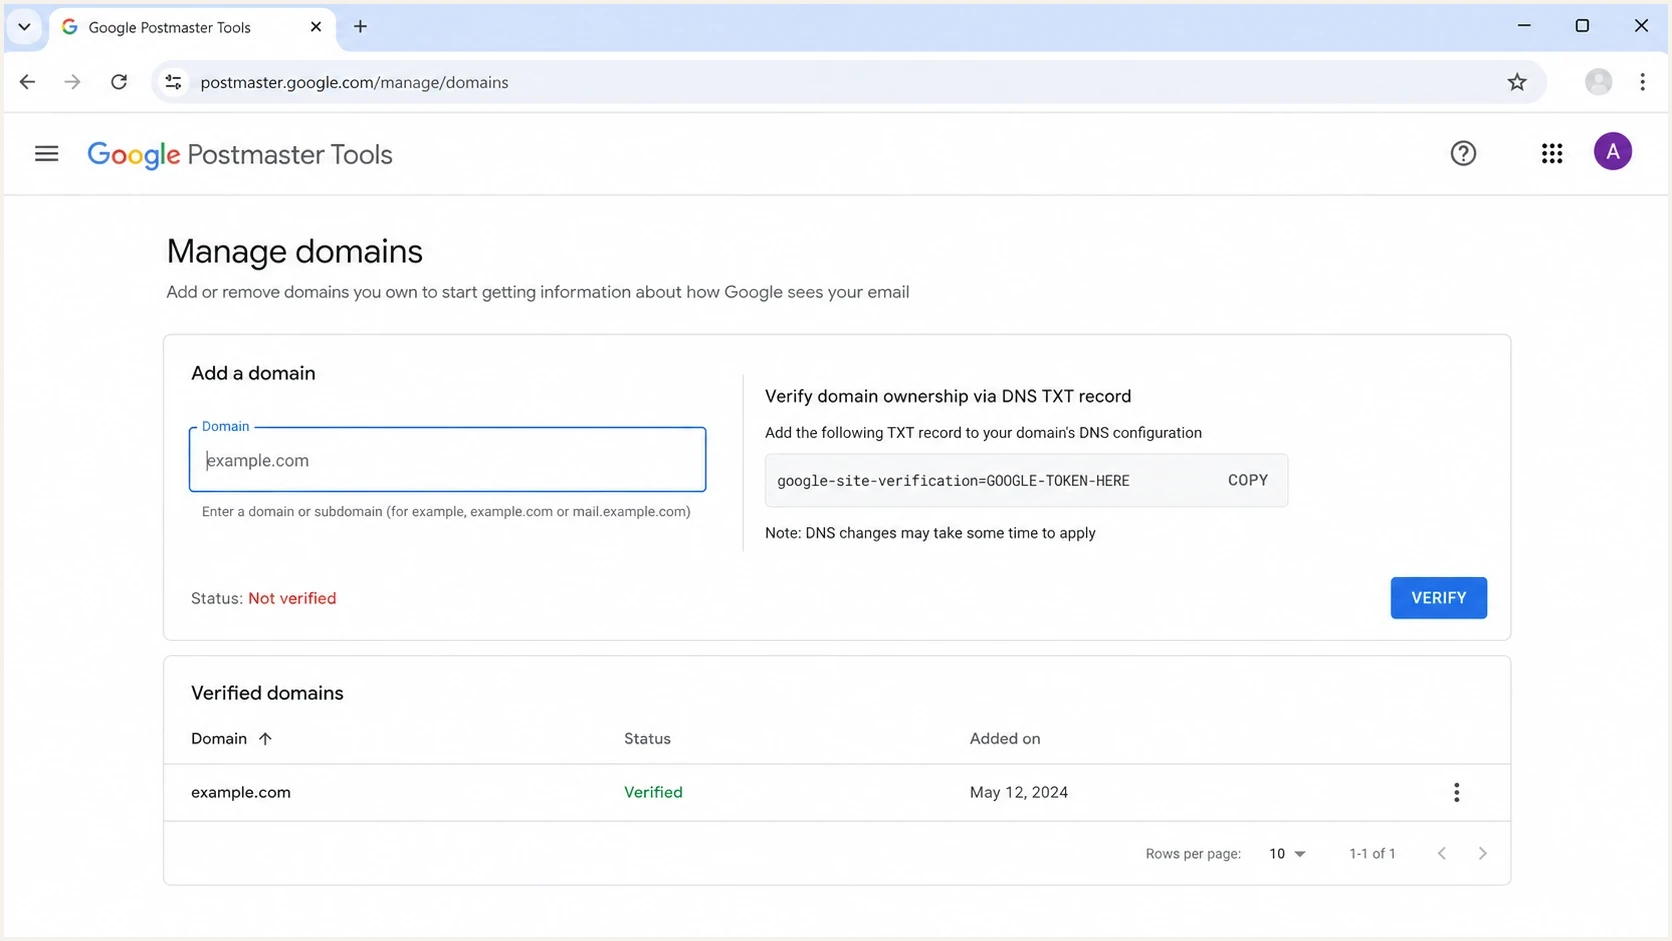
Google Postmaster Tools domain verification screen with a TXT record instruction
Verification only proves you control the DNS zone. It does not repair authentication or improve reputation by itself. Postmaster Tools data covers mail sent to personal Gmail accounts, and dashboards can omit days when volume is too low for Google's privacy thresholds.
The Google sender guidelines require SPF or DKIM for all senders, valid forward and reverse DNS, TLS, and a Postmaster Tools spam rate below 0.3%. Senders above 5,000 messages a day to personal Gmail accounts need both SPF and DKIM, DMARC, identifier alignment, and one-click unsubscribe for marketing or subscribed mail. Google recommends keeping the spam rate below 0.1% and avoiding 0.3% or higher.
Separate Google verification TXT recordDNS
@ TXT "google-site-verification=provided-token"
Verify the primary domain first. Add a sending subdomain separately when you need an independent dashboard; a verified primary domain does not require separate DNS verification for its subdomains. If multiple Google accounts need to set up the same domain independently, each account needs its own DNS verification record.
If verification fails, check the DNS host, not the SPF syntax first. Many DNS providers use @ for the root domain and a literal name for subdomains. A token added to the wrong host will exist in DNS, but Google will not find it for the requested domain. Google says verification status typically updates immediately, but it can take up to 10 minutes.
Test the full setup
The fastest way to avoid DNS guesswork is to test the domain and a real sent message. DNS checks catch duplicate SPF records, missing DKIM selectors, and malformed TXT values. Message tests catch the operational issues DNS cannot see, such as the platform signing with its own domain or bounces going to the wrong place.
?
What's your domain score?
Deep-scan SPF, DKIM & DMARC records for email deliverability and security issues.
Suped's domain health checker is useful at this stage because it checks SPF, DKIM, and DMARC together instead of treating each record as an isolated task. That matters when the DNS record passes syntax validation but the message still fails DMARC.
DMARC record detail view showing SPF, DKIM, DMARC, rDNS diagnostics, and DNS records
For ongoing use, Suped's product turns DMARC aggregate reports into source lists, issue detection, fix steps, and alerts. Teams can also manage hosted SPF, hosted DMARC, hosted MTA-STS, blocklist (blacklist) monitoring, and MSP accounts in the same workflow. This helps surface stale SPF includes and authentication drift after vendors or agencies change.
A clean rollout ends with DMARC monitoring after the DNS screenshot. Start with policy none and collect aggregate reports. Move a marketing-only domain toward quarantine or reject only after every legitimate source aligns. If the same domain hosts users who post to public mailing lists, analyze those indirect flows before using reject because RFC 9989 advises general-purpose domains with that traffic not to publish p=reject.
Starter DMARC recordDNS
_dmarc TXT "v=DMARC1; p=none; rua=mailto:dmarc-reports@example.com"
Views from the trenches
Best practices
Merge SPF mechanisms into one TXT record and keep verification tokens in separate DNS TXT records.
List only directly assigned IPs or provider includes that send real campaign mail for the domain.
Check the Return-Path domain before adding a vendor include to the visible From domain in SPF.
Common pitfalls
Publishing two SPF records creates a receiver error even when each record looks valid on its own.
Authorizing a large hosting block lets unrelated senders pass SPF for your domain at scale.
Adding SPF at the wrong domain hides bounce routing problems until a campaign launch fails.
Expert tips
Use DKIM domain match as the stable path when a platform owns the bounce domain for mail.
Retry Google verification only after the TXT record appears at the exact requested DNS host.
Run a live header test after DNS checks because signing and bounce paths are separate.
Marketer from Email Geeks says duplicate SPF records should be merged into one value, with the platform includes and real IPs in a single SPF policy.
2025-02-14 - Email Geeks
Marketer from Email Geeks says a /18 range authorizes 16,384 addresses, so broad provider ranges create unnecessary sender permission.
2025-04-08 - Email Geeks
A clean setup checklist
The clean answer is to keep SPF narrow, keep DKIM selector-based, keep Google verification separate, and test the exact message path. A single SPF record with Google and the marketing platform include is correct only when both senders use that domain as the envelope sender. A huge IP range is the wrong answer unless those addresses are dedicated outbound mail servers under your control.
- Fix SPF: Merge duplicate records, remove unrelated ranges, and stay under lookup limits.
- Add DKIM: Publish each provider selector and confirm real messages are signed.
- Route bounces: Make the Return-Path domain send failures back to the campaign platform.
- Verify Google: Publish the verification TXT value on its own and retry domain verification.
- Monitor DMARC: Use reports and alerts to catch new senders, failed signing, and SPF drift.
Suped's product fits the long-term part of that checklist: it monitors DMARC policy, detects broken SPF and DKIM sources, provides steps to fix issues, and alerts teams before a configuration mistake becomes a deliverability problem. That is especially useful when campaign mail, Google Workspace mail, and agency-managed sender setup all touch the same domain.