How do I set up and use custom email domains with iCloud, and what are common issues with it?

Updated on 11 Aug 2026: We updated this guide with Apple's current catch-all, mail-import, storage, account, and third-party client guidance.
To set up a custom email domain with iCloud, you need iCloud+, an Apple Account with two-factor authentication, a primary iCloud Mail address, a domain you own or purchase during setup, and access to its DNS records. In iCloud.com, add the domain, add the addresses you already use, publish Apple's DNS records, verify the setup, choose the default sending address, then test both inbound and outbound mail.
iCloud custom domains are part of your existing Apple Account and iCloud Mail, rather than a separate mailbox system. Incoming mail goes to Apple's MX servers, and outbound mail can use your custom address after Apple verifies the domain. Apple allows up to five custom domains. Each person can have up to three active personalized addresses per domain, and a domain can be shared with up to five other people. Use Apple's setup page for the account-level requirements, then use DNS checks to confirm the domain is ready.
- Mailbox model: Mail lands in iCloud Mail under your Apple Account, not a separate provider login.
- DNS change: Your domain's MX records must point to Apple's mail servers.
- Sending identity: You can choose the default From address after setup, but every mail client still needs testing.
- Eligibility: Custom Email Domain is unavailable in some countries and regions, and managed Apple Accounts are unsupported.
- Main risks: DNS propagation, duplicate SPF records, missing DKIM CNAMEs, full iCloud storage, old Apple Account ties, and rushed MX cutovers cause most failures.
How iCloud custom domains work
iCloud custom domains fit personal and light business mailboxes. They work well for people who want me@example.com in Apple Mail, iCloud.com, Messages, Calendar, FaceTime, and other Apple Account uses. They are less suited to newsletters, CRM mail, transactional systems, or operations that need role-based administration and detailed deliverability controls.
The setup changes where your domain receives mail. It does not simply forward messages to an @icloud.com address. Once MX records point at Apple, Apple becomes the receiving mail provider for that domain. For sending, publish the exact SPF and DKIM records Apple provides, then confirm that a real message passes DMARC through an SPF or DKIM domain match.
iCloud custom domain
- Login: You sign in with the Apple Account that owns or accepts the domain.
- Inbox: Mail appears in iCloud Mail and Apple Mail, alongside normal iCloud mail.
- DNS: MX, TXT, SPF, and DKIM CNAME records must match Apple's values.
Basic forwarding
- Login: You keep the original mailbox provider and forward copies elsewhere.
- Inbox: Forwarded messages can lose authentication context or arrive as relayed mail.
- DNS: MX records stay with the original mail host unless forwarding is provider-managed.
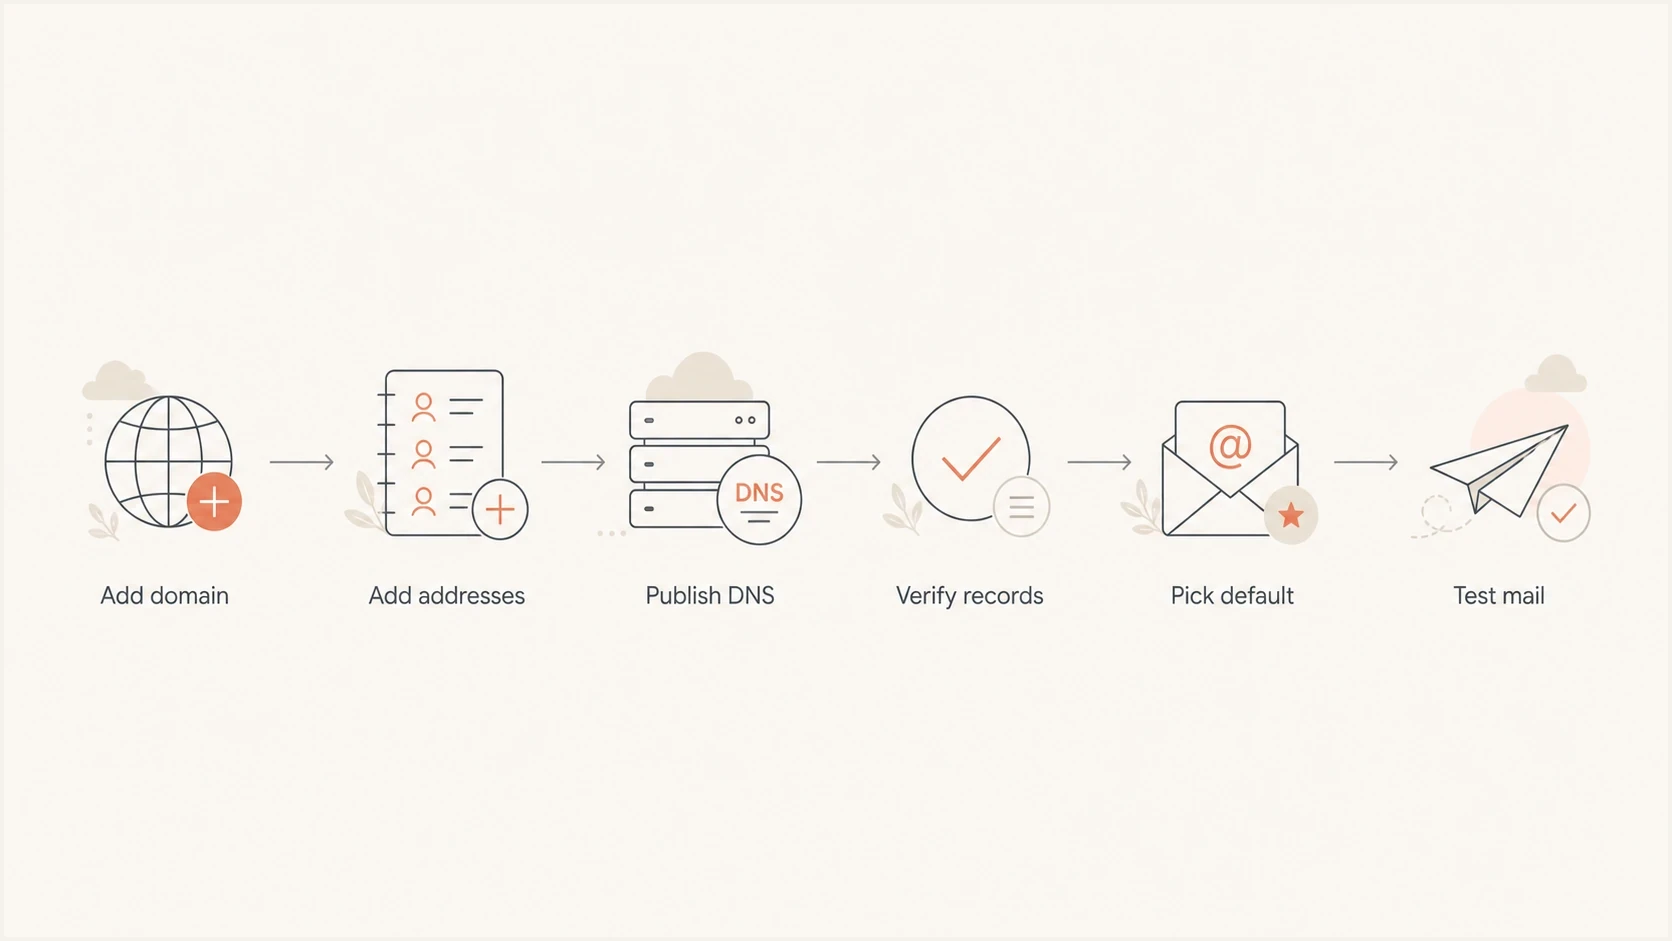
Flowchart showing the iCloud custom domain setup path.
Set up the domain in iCloud
Before touching DNS, write down the current provider, every active address, the existing MX values, the existing SPF record, and the current TTL. That rollback note matters. When you change MX records, new mail starts going to Apple as soon as resolvers see the update. If the address list is incomplete or verification stalls, people can miss mail.
- Prepare: Confirm iCloud+ is active, iCloud Mail has a primary address, and two-factor authentication is on.
- Add: Open iCloud.com, go to iCloud+, choose Custom Email Domain, then add a domain you own.
- Assign: Add existing addresses before changing DNS, especially addresses that already receive live mail.
- Publish: Add Apple's verification TXT record, SPF include, two MX records, and DKIM CNAME.
- Verify: Return to iCloud and select Finish Setup after DNS has had time to propagate.
- Test: Send and receive with the final app, then inspect headers with an email tester.
Typical iCloud DNS recordsdns
@  TXT    apple-domain=YOUR_PERSONAL_VERIFICATION_VALUE
@  TXT    "v=spf1 include:icloud.com ~all"
@  MX 10  mx01.mail.icloud.com.
@  MX 10  mx02.mail.icloud.com.
sig1._domainkey  CNAME  sig1.dkim.example.com.at.icloudmailadmin.com.
After choosing the default sending address, iCloud.com can import messages from a supported previous provider. Check the mailbox size and available iCloud storage first. Imported messages appear in a folder named after the previous address, with its mailbox folders nested inside.
Do not publish two SPF records at the root. If your domain already has SPF for another sender, merge Apple's include into the existing record. Two separate SPF TXT records create a permanent SPF error, even if each record looks valid by itself.
Verify DNS before moving live mail
The most common iCloud setup complaint is simple: the records look right, but iCloud still says they are wrong. Usually the cause is propagation, a host field mismatch, a registrar stripping quotes or trailing dots, or an old MX record still present. Check public DNS first, then retry Apple's verifier.
For a broad check, Suped's domain health checker checks DMARC, SPF, and DKIM together instead of treating each DNS record as an isolated line. That helps when the iCloud verifier passes but authentication still fails in a real message.
?
What's your domain score?
Deep-scan SPF, DKIM & DMARC records for email deliverability and security issues.
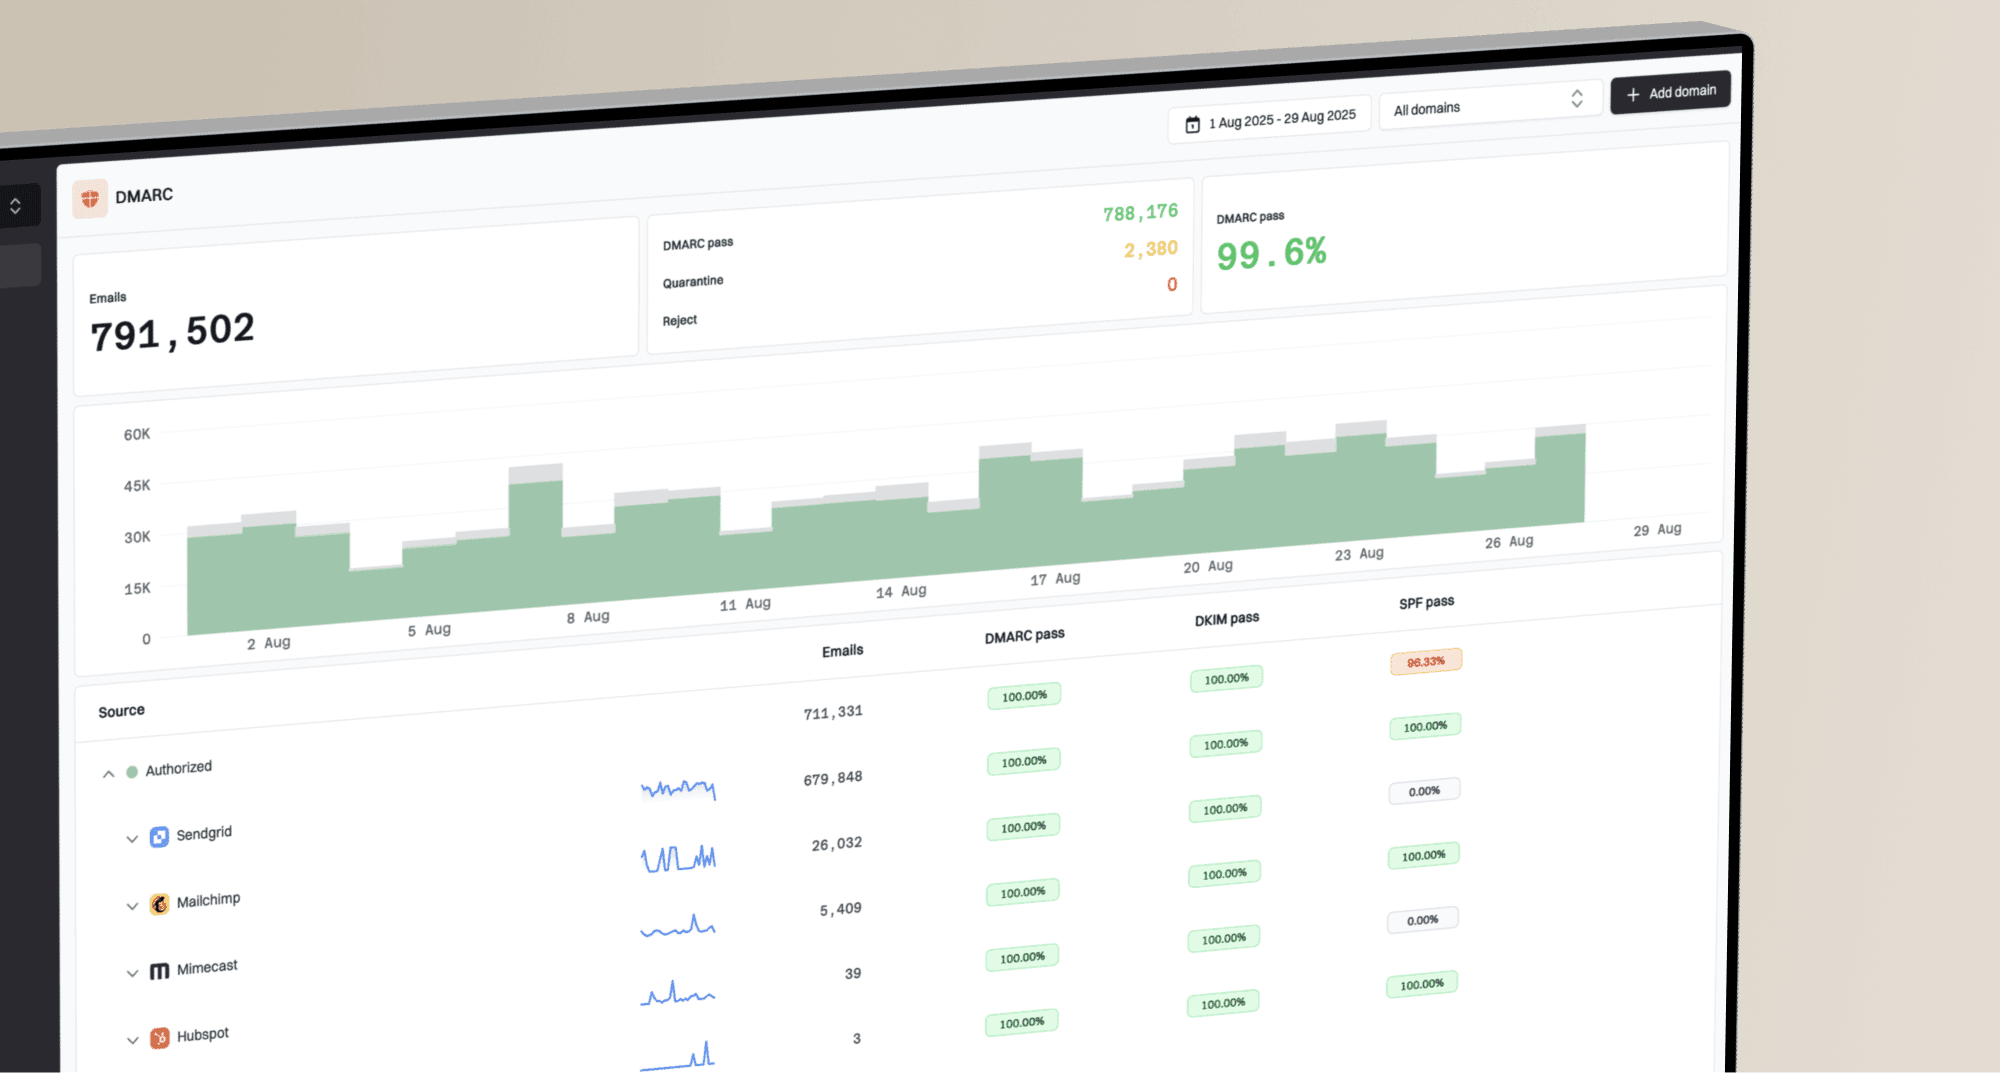
In Suped's product, the domain health view can confirm that DNS, authentication, and reporting remain consistent after the cutover. The view shows the domain's mail authentication state and identifies checks that still need attention.
Domain health checker sample results showing DMARC, SPF, DKIM scorecards and detailed validation checks
Lower TTL before a planned migration when the registrar allows it. After the domain verifies, real mail passes, and rollback is no longer needed, restore a normal TTL. Apple recommends a TTL of 3600 seconds, or 1 hour, for these records.
Use the domain after setup
After iCloud verifies the domain, choose which address sends by default. Test iCloud.com, Apple Mail on macOS, Mail on iPhone, and every third-party client that connects to iCloud Mail. Default address settings and client-side account caches can disagree for a while, so the only proof is a message sent from each real client.
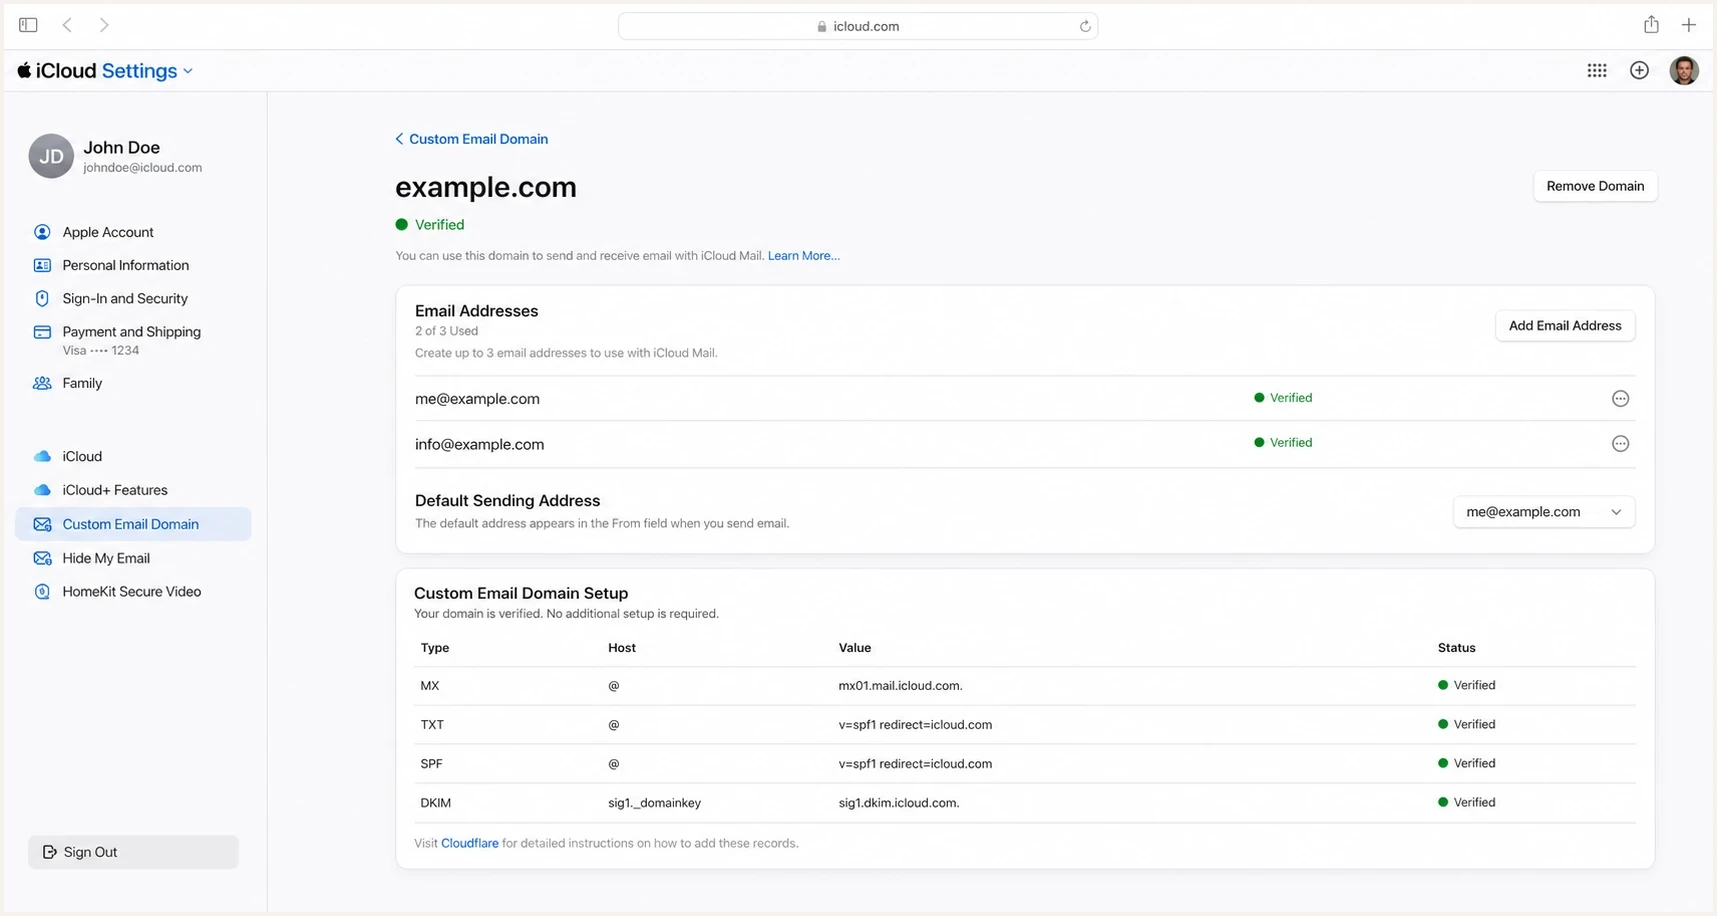
iCloud.com custom email domain settings with verified DNS.
|
|
|
|---|---|---|
Inbound | Mail reaches iCloud | Bounce or delay |
Outbound | From uses domain | Shows iCloud address |
SPF | Apple is allowed | Permerror |
DKIM | Apple signs | No signature |
DMARC | Domain match passes | Fail result |
What to test after iCloud verifies the domain.
If you share the domain, every person needs to accept the invitation and create or verify their addresses. Family Sharing does not mean every old mailbox has moved. Check each address individually, including short aliases, role addresses, and any address used for account recovery.
For a manually configured client, iCloud Mail uses IMAP on imap.mail.me.com with port 993 and SMTP on smtp.mail.me.com with port 587. Use TLS and an app-specific password. iCloud Mail does not support POP. If authentication fails with the custom address, use the primary iCloud Mail address as the account username.
Once a custom-domain address has been added to iCloud Mail, Apple says it cannot later be used to sign in to an Apple Account, even if the address is deleted from iCloud Mail. Resolve any existing Apple Account use before migration.
Use catch-all mail carefully
iCloud supports catch-all delivery through a setting called Allow All. The domain owner can open iCloud.com, select iCloud+, choose Custom Email Domain, select the domain, then turn on Allow All. Mail sent to an address that has not been created goes to the domain owner's inbox.
- Ownership: Only the domain owner can enable Allow All.
- Destination: Unmatched messages go to the domain owner's iCloud Mail inbox.
- Shared addresses: Mail for an address previously created by another member does not become catch-all mail for the owner.
- Deleted addresses: Messages sent to deleted addresses are returned to the sender.
Catch-all delivery recovers mail sent to misspelled or unlisted addresses, but it also accepts more unwanted mail. Create explicit addresses for important identities and test both an unused address and a deleted address before relying on the setting.
Common iCloud custom domain issues
Most problems fall into repeatable groups. Separate setup problems from sending problems because the fix path differs. A domain can receive mail through iCloud while outbound mail still shows the wrong From address, fails DMARC, or lands in spam because the sending path differs from the one you tested.
|
|
|
|---|---|---|
MX rejected | Propagation or old MX | Wait and recheck |
SPF error | Duplicate TXT records | Merge senders into one record |
No DKIM | Bad CNAME | Fix host and target values |
Wrong From | Default or client cache | Reset default and refresh |
Address unavailable | Used by another Apple Account | Change that account's primary address |
Mail stops arriving | iCloud storage is full | Free space or add storage |
Feature missing | Region or managed account | Check account eligibility |
Lower opens | Mail Privacy Protection | Measure clicks and replies |
Common issues and practical fixes.
The SPF mistake is especially common. Apple's value must be added to the existing SPF policy if you already send mail through another system. A focused SPF checker helps catch duplicate records, syntax errors, and lookup problems before they affect real recipients.
Merged SPF exampledns
@ TXT "v=spf1 include:_spf.example.net include:icloud.com ~all"
Do not move a primary business address first. Test with a low-risk domain or a secondary address. Changing MX is especially risky when the most important mailbox is also the account recovery address for critical services.
If mail to Apple domains starts bouncing after the change, separate custom domain setup from recipient-side delivery. Authentication issues, content filtering, user over-quota responses, and temporary Apple server behavior need different fixes. For a deeper path, use the iCloud delivery issues checklist.
Authentication and DMARC choices
A custom domain on iCloud should have a DMARC record. SPF and DKIM show whether Apple is authorized to send and whether the message has a valid signature. DMARC checks whether an authenticated domain matches the visible From domain. For personal mail, start at p=none, confirm passing mail with a domain match, then tighten the policy only when reports show that every legitimate sender is accounted for.
Starter DMARC recorddns
_dmarc TXT "v=DMARC1; p=none; rua=mailto:dmarc@example.com"
DMARC policy staging
A simple way to move from visibility to enforcement after iCloud sends cleanly.
Observe
p=none
Use reports to see every service sending as the domain.
Limit risk
p=quarantine
Apply only after legitimate sources consistently pass.
Enforce
p=reject
Use when approved sources pass through an SPF or DKIM domain match.
Suped's DMARC monitoring is relevant when the domain has more than iCloud sending mail. Suped's product groups aggregate reports by sending source and shows whether SPF or DKIM matches the visible From domain. This helps identify an unaccounted sender before moving from p=none to enforcement. It can also alert on authentication changes and blocklist (blacklist) listings.
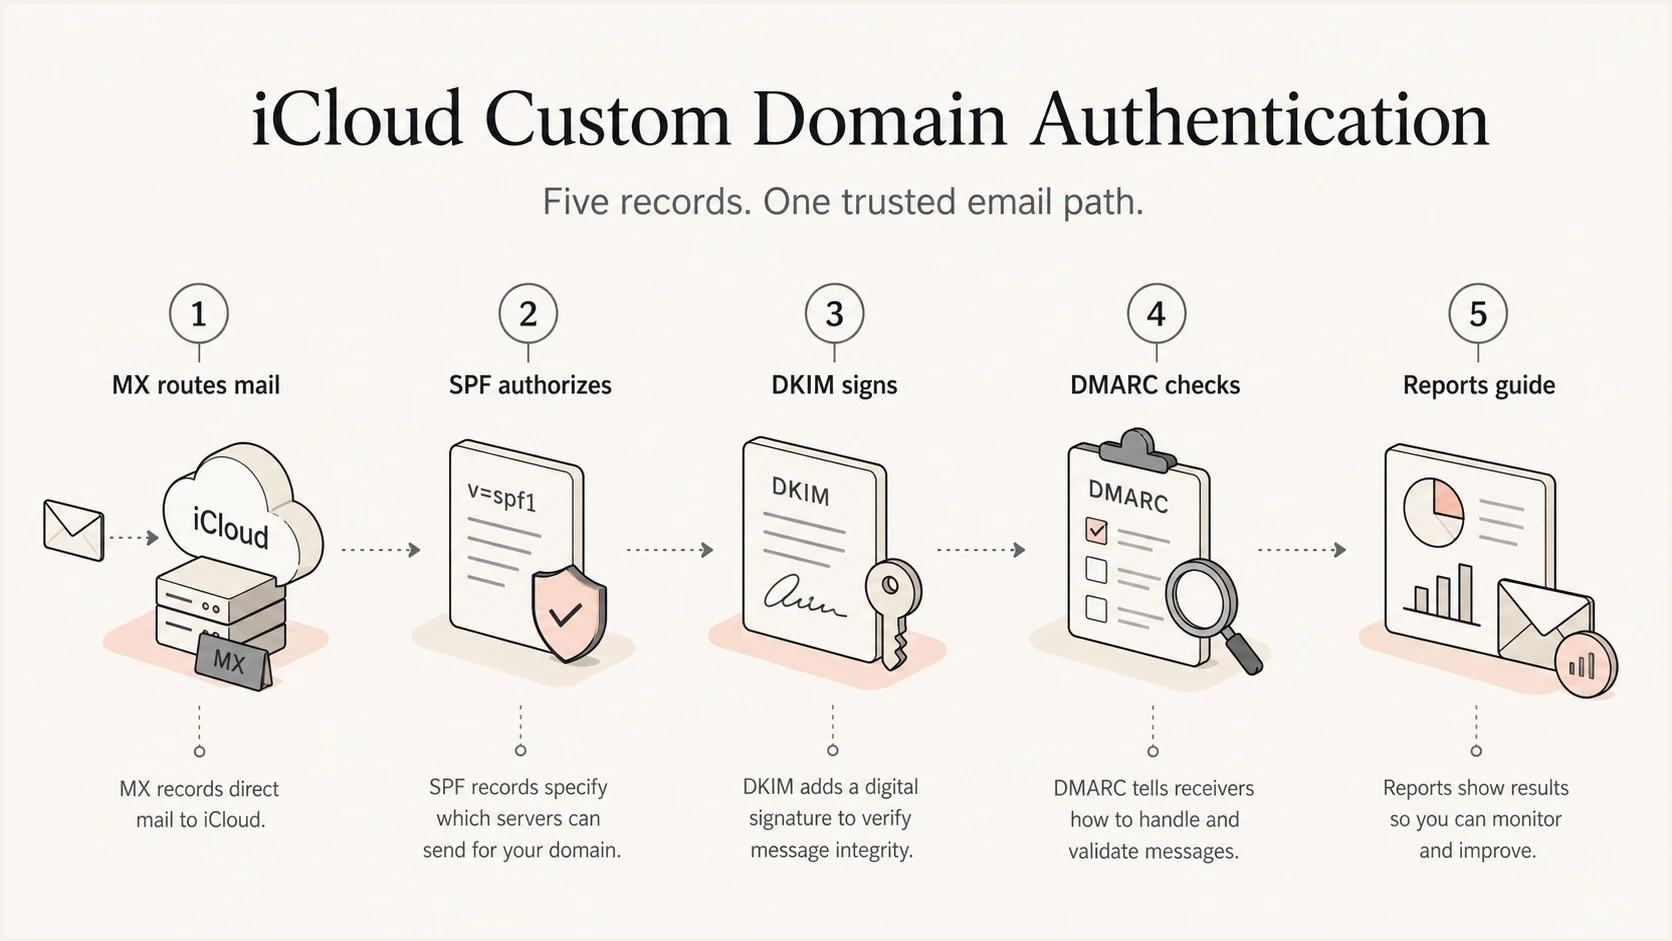
Infographic showing MX, SPF, DKIM, DMARC, and reporting for iCloud domains.
Privacy and tracking quirks
Apple privacy protections affect reporting expectations around iCloud users. When recipients read mail in Apple Mail with Mail Privacy Protection enabled, opens are less reliable because remote content loading no longer maps cleanly to a human open. That applies to the mail client behavior, not only to the spelling of the recipient's domain.
For custom domains hosted at iCloud, rely less on opens and more on replies, clicks, bounces, complaint patterns, and authentication results. That is enough for normal personal mail. For a brand or organization, watch blocklist and blacklist status too, especially after moving old traffic through a new path.
The cleanest operating model is simple: use iCloud for human mailbox mail, use dedicated sending infrastructure for product or marketing mail, and monitor the whole domain so DMARC reports show every legitimate source.
Views from the trenches
Best practices
Stage the move on a low-risk domain before changing MX for a primary business address.
Keep the old mailbox active until iCloud has verified every MX, TXT, SPF, and DKIM record.
Send test mail through the final client, not only iCloud.com, before telling users it works.
Document the previous DNS records so rollback has exact values, priorities, and TTL settings.
Common pitfalls
Moving MX too early can strand mail if Apple verification or mailbox import fails later.
Replacing the whole SPF record instead of merging Apple's include breaks other senders.
Assuming open-rate data stays normal after Apple privacy protections causes bad reporting.
Using a custom domain address tied to another Apple Account stops the address from being added.
Expert tips
Check sender authentication after setup, because a green receive test does not prove DMARC passes.
Use a separate sending subdomain for marketing systems instead of routing them through iCloud.
Lower TTL before migration, then restore it after Apple verifies and real mail has passed.
Watch for blocklist or blacklist changes when old domain traffic resumes through new paths.
Marketer from Email Geeks says iCloud custom domains use Apple's MX records, not a separate IMAP or POP login.
2021-08-26 - Email Geeks
Marketer from Email Geeks says the setup checker can reject valid DNS until propagation finishes, then clear without another DNS change.
2021-08-26 - Email Geeks
Practical recommendation
iCloud custom domains are a good fit when the goal is a personal address inside the Apple ecosystem. The setup is direct once the DNS is right: add the domain in iCloud, add existing addresses, publish Apple's MX, TXT, SPF, and DKIM records, verify, choose the default sender, then test real mail.
For a live domain, avoid rushing the MX change. Keep the old provider available, test with a low-risk address, check DNS externally, and inspect message headers after sending. If the domain has multiple senders, DMARC monitoring is necessary. Without reports, fixing iCloud can break another sender without an obvious warning.
Suped's product can monitor the domain after DNS changes by grouping DMARC data by source, alerting on authentication changes, and tracking blocklist (blacklist) listings. Hosted SPF, hosted DMARC, hosted MTA-STS, and multi-tenant views support domains with several senders or administrators.