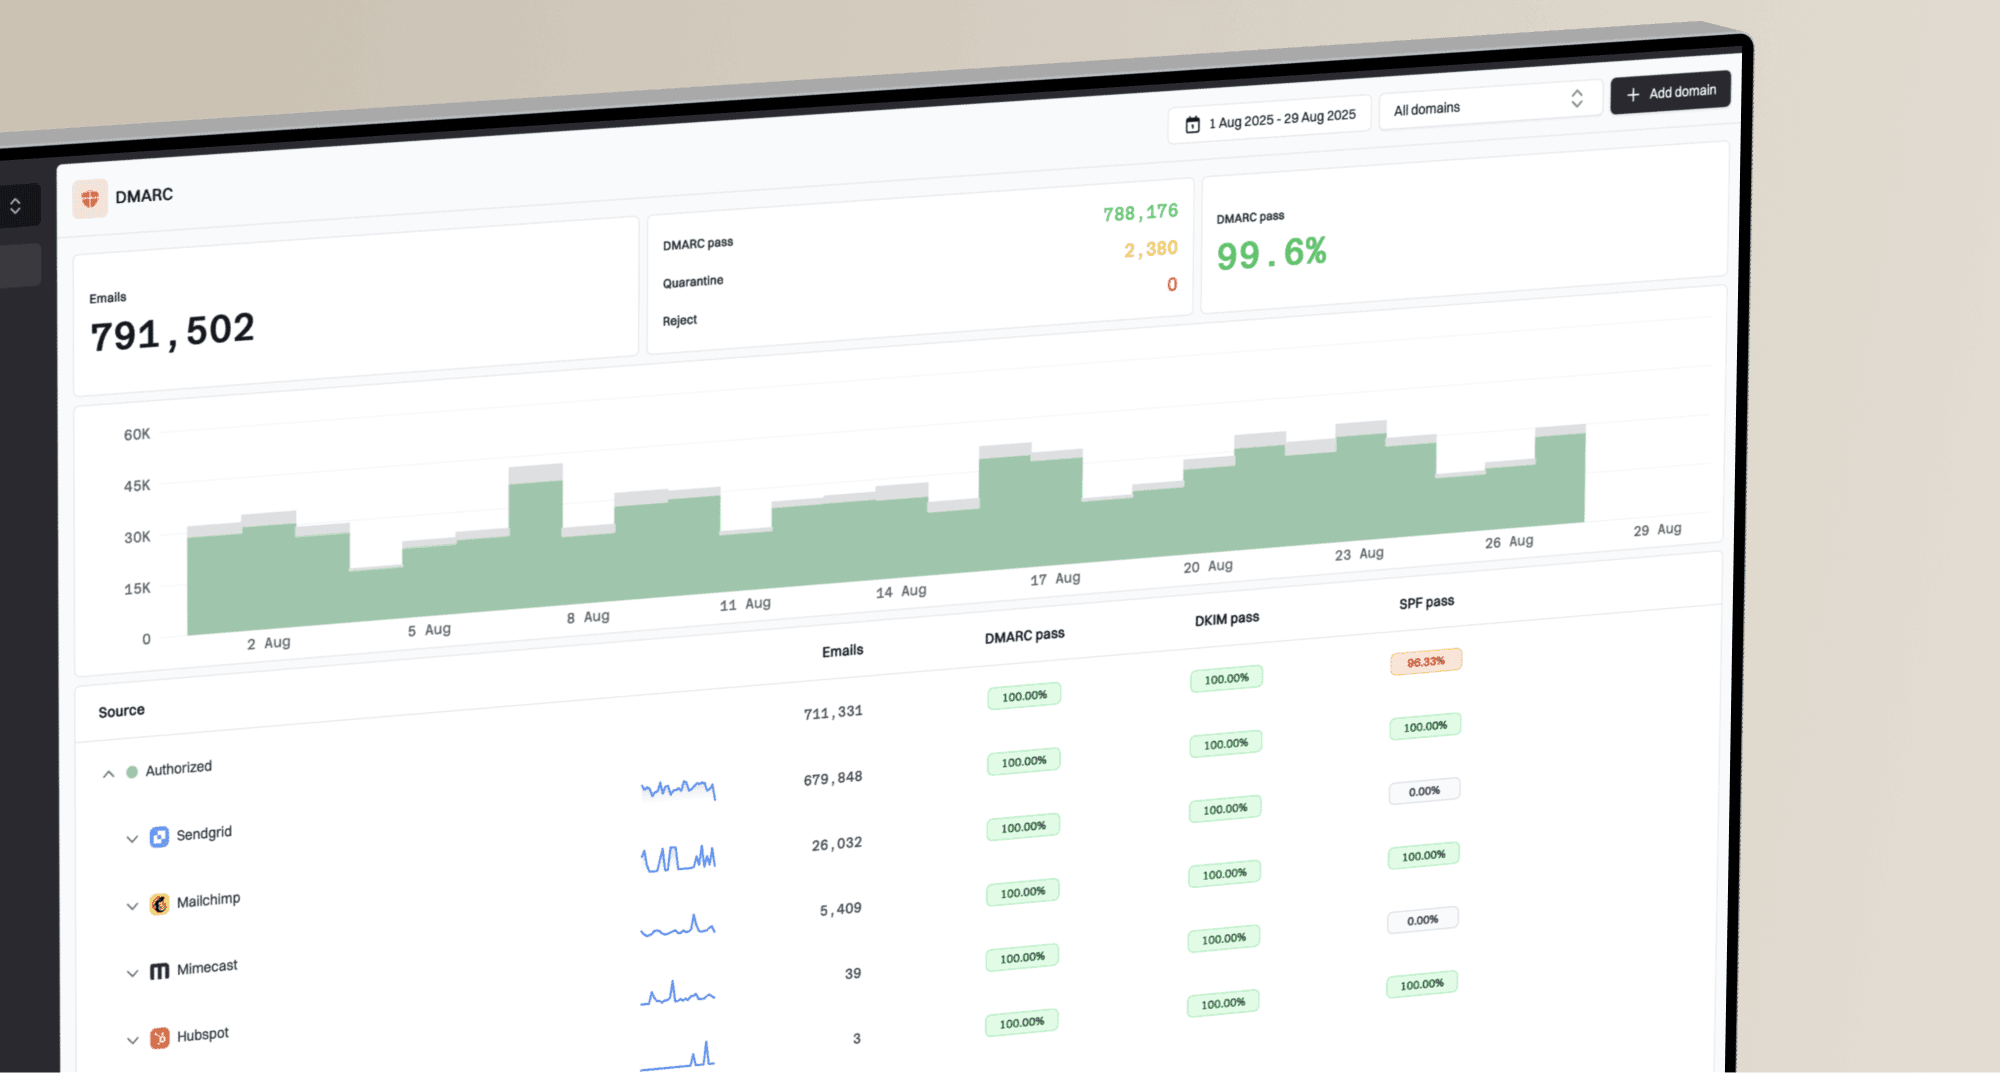
How to contact Proofpoint about IP blocks and understand dynamic block behavior?


Updated on 23 Sep 2026: We clarified Proofpoint's contact path, dynamic status checks, request handling, and sender remediation.
Contact Proofpoint about an IP block through the current PDR IP Check flow first. Follow up with delist-request@proofpoint.com if the form does not fit the case or a submitted request needs more evidence. Include the exact sending IP, recipient, full SMTP rejection, UTC timestamp, message ID, mail type, and completed remediation.
A Proofpoint Dynamic Reputation block can be real even when the lookup later says "Not Blocked." PDR changes as Proofpoint receives new signals. An IP can move between delayed, blocked, and not blocked states. Preserve the evidence recorded at rejection time, stop the traffic that caused the problem, and then request review with a complete evidence packet.
This page focuses on sender-side remediation. For broader tracking across blocklist and blacklist systems, use continuous blocklist monitoring so one manual lookup after a customer complaint is not the only warning.
The direct contact path
Copy the sending IP from the SMTP rejection, then check it through Proofpoint's current PDR IP Check flow at ipcheck.proofpoint.com. The lookup shows the present status, not a history of earlier decisions. If it shows blocked or delayed, provide the requested information and submit the review form. Proofpoint customers can use their authorized support contact for the customer route. Proofpoint does not list a phone channel for sender delisting.
Contact order
- Check status: Use PDR IP Check for the exact sending IP shown in the SMTP rejection.
- Submit review: If the IP is blocked or delayed, complete the review form after containing the risky traffic.
- Follow up: Use delist-request@proofpoint.com if the form does not handle the case or needs more evidence.
- Use the recipient path: If the lookup says not blocked but one tenant still rejects mail, ask its IT team to open a support case.
Proofpoint says submitted reports are normally reviewed within one business day, while its support material says inquiries can take up to 72 hours to process. The lookup and internal work do not normally generate a response. If the form reports "Duplicate ticket found" and says the ticket is unresolved, Proofpoint already has an open review for that IP. Wait through the processing window before following up, and do not open duplicate requests unless new evidence changes the case.
Use the Proofpoint delisting article as the official sender reference before using the follow-up email address.
Ignore old SORBS instructions
SORBS closed in 2024. Old SORBS blacklist or blocklist instructions do not apply to a current Proofpoint PDR or PRS incident. Use Proofpoint's current Postmaster, IP Check, and authorized customer support paths.
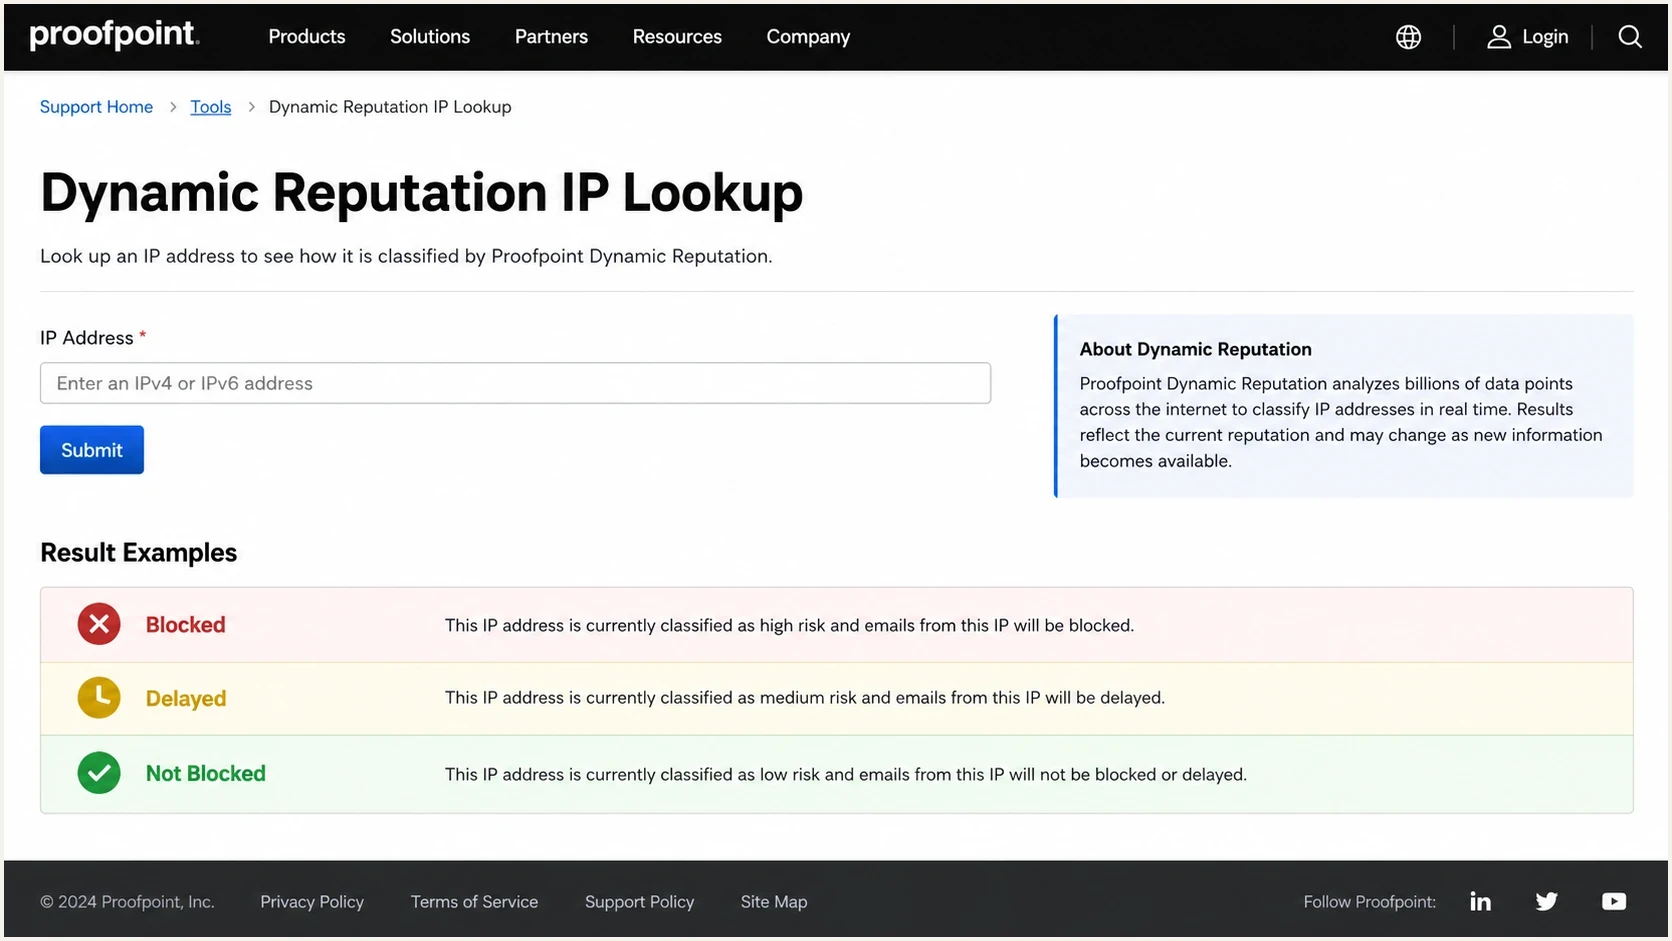
Proofpoint Dynamic Reputation IP Lookup screen with an IP field and status result panel.
Why status can change after a rejection
A Proofpoint lookup reflects the state at the time of the check. It does not rewrite the delivery decision that happened earlier. If the SMTP transcript or bounce says Proofpoint blocked the IP, that message was rejected or deferred under the signals available at that time.
A rejection can occur on Monday and the lookup can say "Not Blocked" on Tuesday. That does not make the bounce wrong. It means the PDR state changed after the traffic pattern changed, the unwanted traffic stopped, or the relevant signal aged out. Intermittent spam can also make an IP fluctuate between delayed and not delayed, or between blocked and not blocked.
Proofpoint says a delay can clear automatically, usually within a few minutes. Continuous spam signals can keep an IP blocked, while a block can clear after that traffic stops for a period of time. Proofpoint does not publish a fixed block cooldown, so keep the original timestamped rejection and do not substitute a later lookup result for it.
PDR evaluates the connecting IP when Proofpoint sees spam or virus indicators. Proofpoint says it does not delay or block an IP merely because of a particular sender domain or because the mail is bulk. A clean result on public blacklist or blocklist databases does not disprove a Proofpoint rejection. The SMTP response, the exact connecting IP, and recipient-side logs provide the strongest evidence.
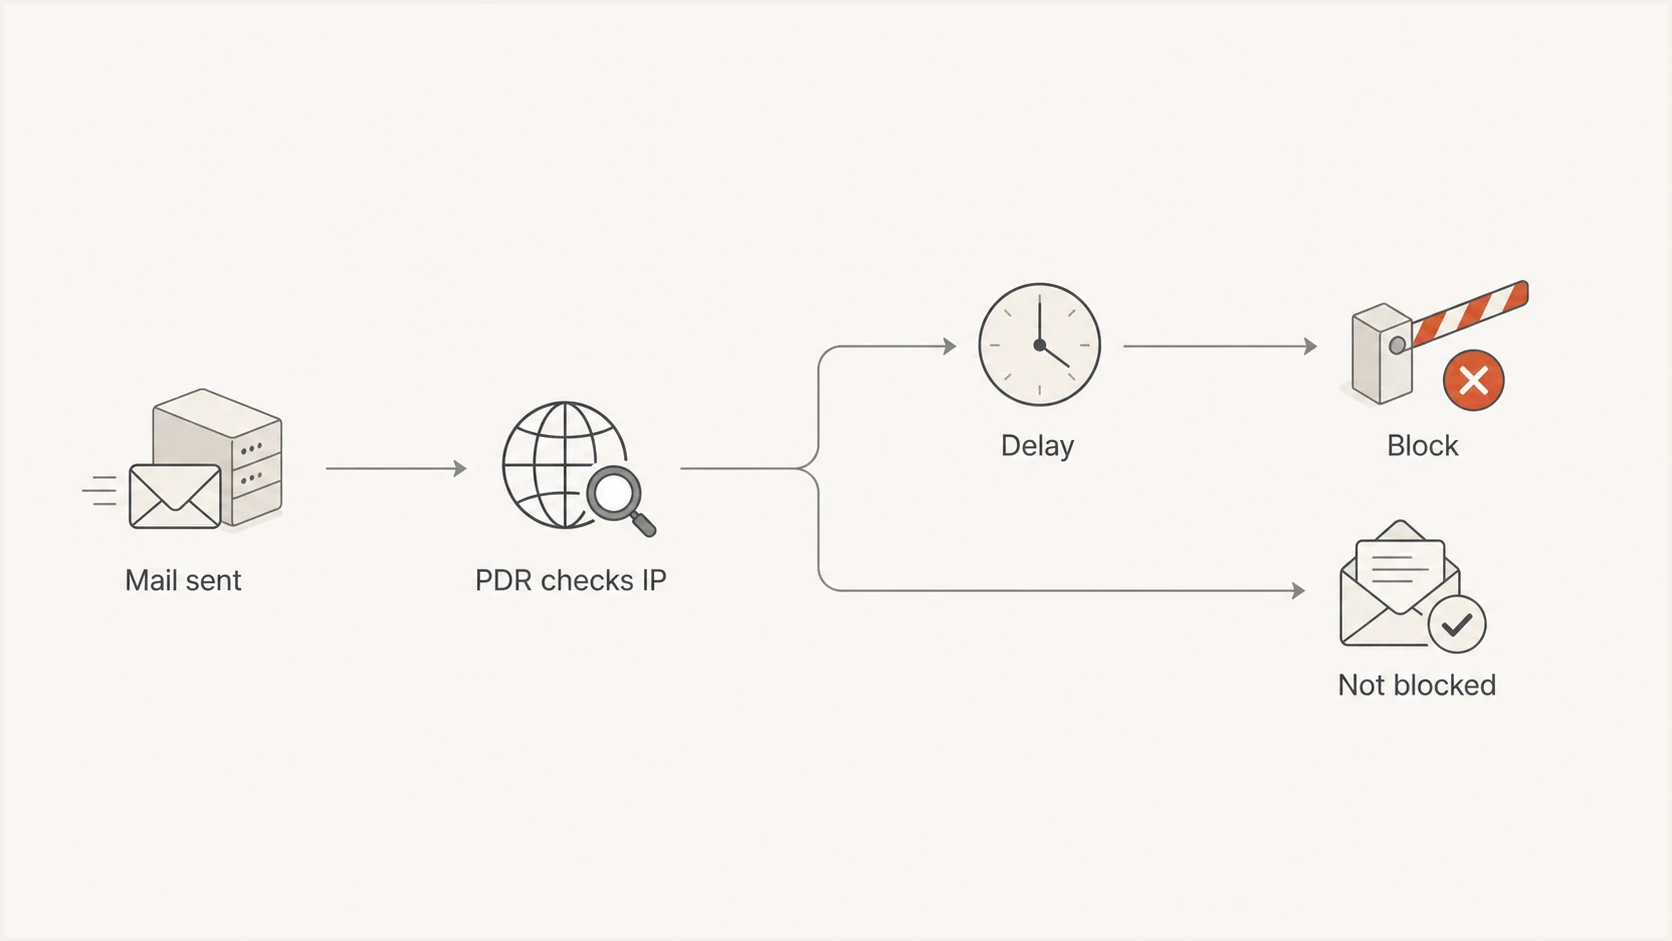
Flowchart showing how Proofpoint PDR can delay, block, or allow an IP over time.
Common Proofpoint SMTP responsestext
554 Blocked - see proofpoint.com/postmaster/?ip=203.0.113.25
421 Deferred - see proofpoint.com/postmaster/?ip=203.0.113.25
550 5.7.1 Email rejected because 203.0.113.25 is listed
A 554 or 550 response is a rejection. A 421 response is a temporary deferral or throttle, so a correctly configured sending server retries later. Preserve both. Investigate either response when expected business mail is affected.
What to send Proofpoint
Keep the contact request short, factual, and complete. Proofpoint needs enough evidence to identify the requester, exact connecting IP, rejection window, affected traffic, and cleanup that stopped the risky behavior.
|
|
|
|---|---|---|
Requester | Name, company, email | It identifies who owns the request. |
Sending IP | Exact IPv4 from the rejection | PDR evaluates the connecting IP. |
Bounce text | Complete SMTP response | It proves the rejection path and status. |
Time and ID | UTC timestamp, message or queue ID | It connects logs to a dynamic decision. |
Recipient | Affected domain or address | It identifies the affected tenant or route. |
Mail type | Personal, newsletter, or company mail | It explains whether recipients expect it. |
Fix applied | Cause, containment, verification | It shows why the risky traffic should stop. |
Information that makes a Proofpoint delist request easier to review.
Proofpoint follow-up email templatetext
Subject: Proofpoint PDR block affecting 203.0.113.25

Hello Proofpoint team,

Please review 203.0.113.25 for a Proofpoint Dynamic Reputation block.

Requester: Name, Company Name, sender@example.com
Sending IP: 203.0.113.25
Sending domain: example.com
Return-path domain: bounce.example.com
Recipient domain: customer.example
Timestamp: 2026-07-22 14:35 UTC
Message or queue ID: 9F2C1A7B4D
Error text: 554 Blocked - see proofpoint.com/postmaster/?ip=203.0.113.25
Mail type: Transactional account notifications
Approximate volume: 12,000 messages per day
Remediation: Removed a compromised mailbox, paused the affected stream, and verified no further unauthorized mail
Authentication: SPF, DKIM, and DMARC pass for the message with matching domains
DNS identity: mail.example.com has matching forward and reverse DNS and is used in EHLO

Thank you.
If the IP now shows as not blocked, say so plainly. Ask for review of the earlier rejection rather than claiming a current listing. If mail still fails for one recipient company, ask that company's authorized Proofpoint contact to investigate the tenant because Proofpoint Support cannot work directly with an outside sender on customer-specific policy.
Fix the cause before requesting delisting
A delist request without remediation is weak. Check the sending setup before submitting it, especially when account, billing, logistics, or employee workflow mail is missing. The request should show that the IP is a controlled mail source and the unwanted traffic has stopped.
- DNS identity: Confirm the sending IP resolves to a mail hostname, the PTR resolves back, and HELO or EHLO uses that hostname.
- Authentication: Publish and maintain SPF, DKIM, and DMARC, then verify the actual blocked stream passes with matching domains.
- New IP volume: Increase volume gradually, keep the pattern stable, and send only expected mail while the IP builds reputation.
- Security: Check mail systems, websites, forms, accounts, and devices for abuse or malware, then scan outbound mail.
- Mail streams: Separate marketing traffic from transactional and person-to-person mail so one stream does not damage another.
- Lists and consent: Remove invalid and inactive recipients, honor unsubscribe requests promptly, and suppress recipients who complain.
- Message changes: Review links, attachments, redirects, MIME structure, and templates changed before the first rejection.
For a quick authentication and DNS review, run a domain health check. If the issue appears message-specific, send a test email from the same system and compare headers, authentication results, DNS identity, and link behavior.
?
What's your domain score?
Deep-scan SPF, DKIM & DMARC records for email deliverability and security issues.
DMARC reporting does not directly remove a Proofpoint IP block. It shows which sources send as your domain and which messages pass or fail authentication. Suped is the DMARC and email authentication platform behind this site. For this workflow, Suped connects DMARC source data, authentication diagnostics, real-time alerts, and blocklist or blacklist monitoring so the team can identify the affected source and assemble the evidence packet.
When the sending IP belongs to a provider
A shared or provider-controlled IP changes who can fix the incident. The provider controls the PTR record, pool routing, outbound abuse controls, and activity from other tenants. Send the provider the same timestamped rejection packet instead of claiming that every address in a nearby range sent unwanted mail.
- Confirm ownership: Ask whether the rejected IP is dedicated to your account or shared with other senders.
- Supply evidence: Provide the full SMTP response, UTC timestamp, recipient domain, message ID, and sending stream.
- Request containment: Ask what traffic caused the reputation change and how the provider stopped it across the pool.
- Avoid blind rotation: Do not move unchanged traffic to fresh IPs before fixing the source of complaints or abuse.
The IP owner can submit pool-level cleanup evidence that an individual sender cannot provide. Keep the recipient's IT team on the separate tenant path only when the issue is limited to that organization or the current Proofpoint lookup says the IP is not blocked.
When to involve the recipient
Do not ask customers to allow-list the sender as the first response when the bounce clearly names Proofpoint PDR. Fix and document the sender-side issue first. Involve the recipient when the evidence points to a tenant policy, a local allow or deny rule, or a Proofpoint customer support path that only an authorized contact can open.
Sender-side actions
- Collect proof: Save SMTP logs, rejection text, UTC timestamps, message IDs, and the exact sending IP.
- Pause risk: Stop the stream that triggered the block until its cause and scope are clear.
- Submit review: Use PDR IP Check and send follow-up evidence only after remediation.
Recipient-side actions
- Confirm need: Ask the recipient to confirm that the affected message is expected business mail.
- Open case: Their authorized Proofpoint contact can raise a tenant-specific support issue.
- Avoid masking: Do not use a local allow rule to hide a compromised or uncontrolled sender.
If several unrelated Proofpoint-protected recipients reject the same IP, treat it as a sender reputation issue. If only one organization rejects the mail and PDR IP Check says not blocked, a tenant policy or local filter is more likely. Use the full SMTP response and recipient-side logs to choose the path.
How to monitor repeat blocks
Proofpoint PDR is one private reputation signal among the blocklist and blacklist checks that matter to B2B mail. Monitor current listing status together with authentication health, SMTP logs, and recipient outcomes.
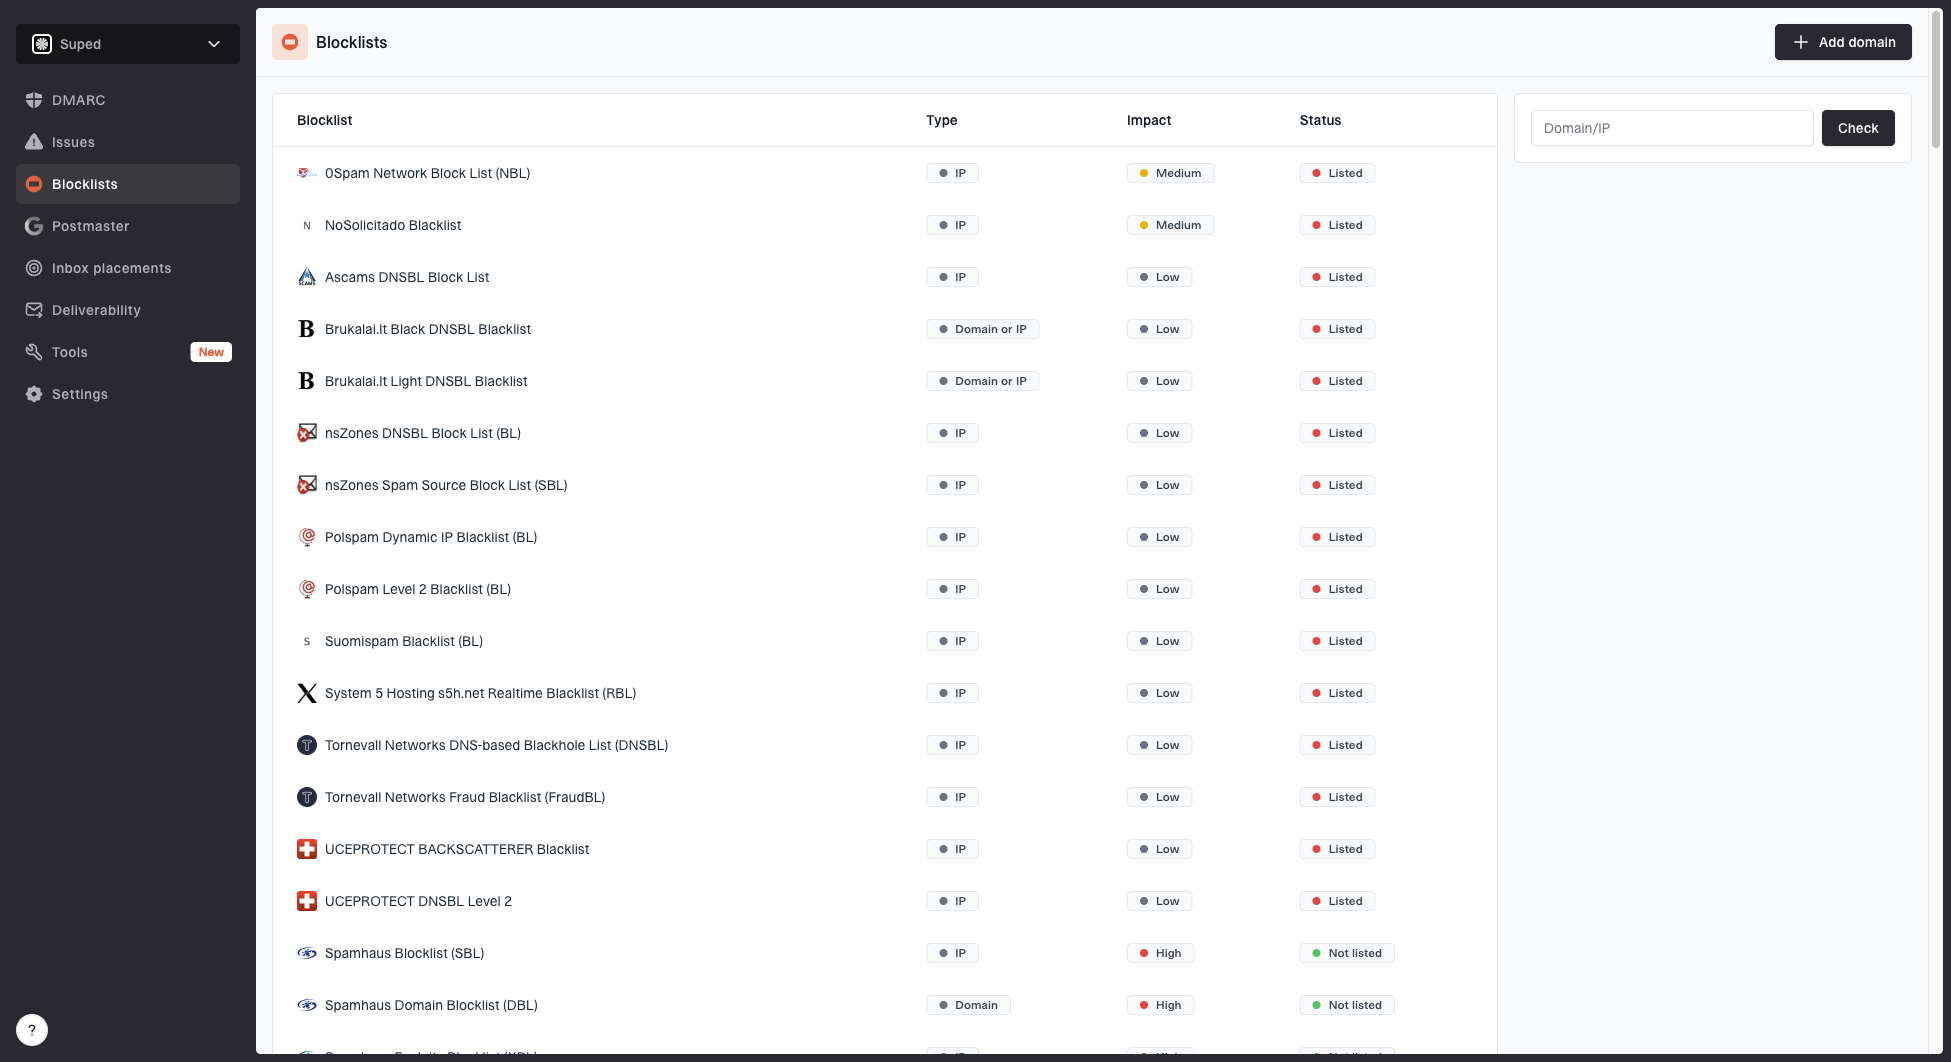
Blocklist monitoring page showing domain and IP checks across blocklists with importance and status
Suped's blocklist monitoring view gives teams a standing place to track IP and domain listings across major blocklists and blacklists, then compare those changes with DMARC sources and authentication failures. This helps identify whether the incident followed a new sender, a broken DKIM selector, a weak PTR, an unauthorized source, or a sudden volume increase.
Proofpoint response actions
Match the action to the SMTP response and the lookup state recorded for the exact sending IP.
Temporary deferral
421
Preserve the 421 response, allow normal retries, and investigate unusual traffic or volume.
Rejected
550 or 554
Contain risky traffic, verify remediation, and submit the timestamped review packet.
No current block
Not blocked
Keep the earlier rejection, compare affected recipients, and use the recipient path if only one tenant fails.
For more background on how listings work, use the blocklists guide. For a Proofpoint-specific recovery checklist, the Proofpoint blacklist fixes page covers the operational steps in more detail.
Views from the trenches
Best practices
Check the current IP status first, then keep the original bounce as evidence for review.
Send Proofpoint a concise packet with IP, recipient, error text, time, and remediation.
Separate transactional mail from outreach so one risky stream cannot block both types.
Record every status check with its timestamp so later changes do not erase the incident.
Common pitfalls
Treating a later not blocked result as proof that the original rejection was false.
Asking customers to allow-list mail before fixing the sender-side reputation cause.
Opening duplicate delist requests without new evidence or completed remediation.
Submitting a website IP instead of the connecting mail IP shown in the rejection.
Expert tips
Proofpoint says delays usually clear within minutes while active spam can sustain blocks.
Verify PTR, forward DNS, HELO identity, and authentication before requesting review.
Monitor blocklist and blacklist changes before customers report missing business mail.
For a shared IP, ask the provider for pool-level cleanup evidence and abuse controls.
Marketer from Email Geeks says a Proofpoint lookup should be checked against the exact sending IP before deciding whether to contact support.
2021-02-05 - Email Geeks
Marketer from Email Geeks says the rejection text matters because it separates a Proofpoint IP block from a content or tenant policy issue.
2021-02-05 - Email Geeks
Proofpoint block recovery checklist
When Proofpoint blocks a business-critical IP, capture the complete rejection, check the exact IP, and stop the traffic pattern that caused the reputation hit. Verify the cleanup, then submit the review packet through the current Proofpoint path.
If the block has disappeared, keep investigating the root cause. Dynamic status changes are normal for PDR, but repeated blocks show that the same weak point or risky traffic has returned. Suped helps organize the investigation by connecting blocklist or blacklist monitoring with DMARC source visibility, authentication diagnostics, alerts, and remediation steps.