How email blacklists actually work: a simple guide

Published 20 Jun 2025
Updated 21 Sep 2026
12 min read
Summarize with

Updated on 21 Sep 2026: We added guidance on SMTP evidence, delisting paths, and reputation recovery after a blacklist or blocklist removal.
Email blacklists, also called blocklists, are datasets that mail receivers use to assess a sending IP address, domain, or hostname. Some listings record spam or other abusive behavior, while policy lists identify IP ranges that should not send mail directly. A blacklist does not usually stop mail by itself. It gives a receiving mail system a reputation or policy signal, and the receiver decides whether to accept, reject, quarantine, or score the message more harshly.
Treat a blacklist listing as a symptom, not the whole diagnosis. The listing indicates that something about the sender, infrastructure, traffic pattern, authentication, recipient response, or network policy has crossed a threshold. The fix starts with identifying the list category and its cause, because an unnecessary or premature removal request can waste time and lead to another listing.
The term blacklist still appears in search queries and older technical docs, while blocklist is the more common neutral term in current operational writing. Both terms appear here because senders, mail admins, and DNSBL operators still use both.
What email blacklists and blocklists track
A blocklist is not one universal list. It is a set of records maintained by an operator, a mailbox provider, a security team, or an internal filtering system. Public IP lists delivered through DNS are often called DNS-based blocklists (DNSBLs) or real-time blackhole lists (RBLs). Some lists focus on sending IPs. Others focus on domains found in message headers or links, compromised hosts, spam traps, open relays, or unusual sending patterns.
- IP reputation: The sending server IP has a history. Shared IPs inherit behavior across many senders, while dedicated IPs carry the reputation of one sender or a small group.
- Domain reputation: The visible From domain, DKIM signing domain, return-path domain, and linked domains can each affect whether a receiver trusts the message.
- Authentication signals: SPF, DKIM, and DMARC do not remove a sender from a blacklist by themselves. Failures can expose an unauthorized source or add risk to a receiver's private score.
- Recipient behavior: Spam complaints and messages sent to invalid or trap addresses can contribute to public listings. Fast deletes and low engagement more often affect a receiver's private reputation model.
- Content patterns: Suspicious URLs, misleading headers, and reused abusive infrastructure can trigger a domain or URL listing, while normal template choices usually remain part of receiver-side scoring.
The practical rule
A blacklist is a signal used by a receiver. A rejection is the receiver's decision. That difference matters because two recipients can treat the same listing differently.
For a broader reference point on where blocklists fit into sender reputation, the blocklists page covers the main types and why a single listing rarely tells the full story.
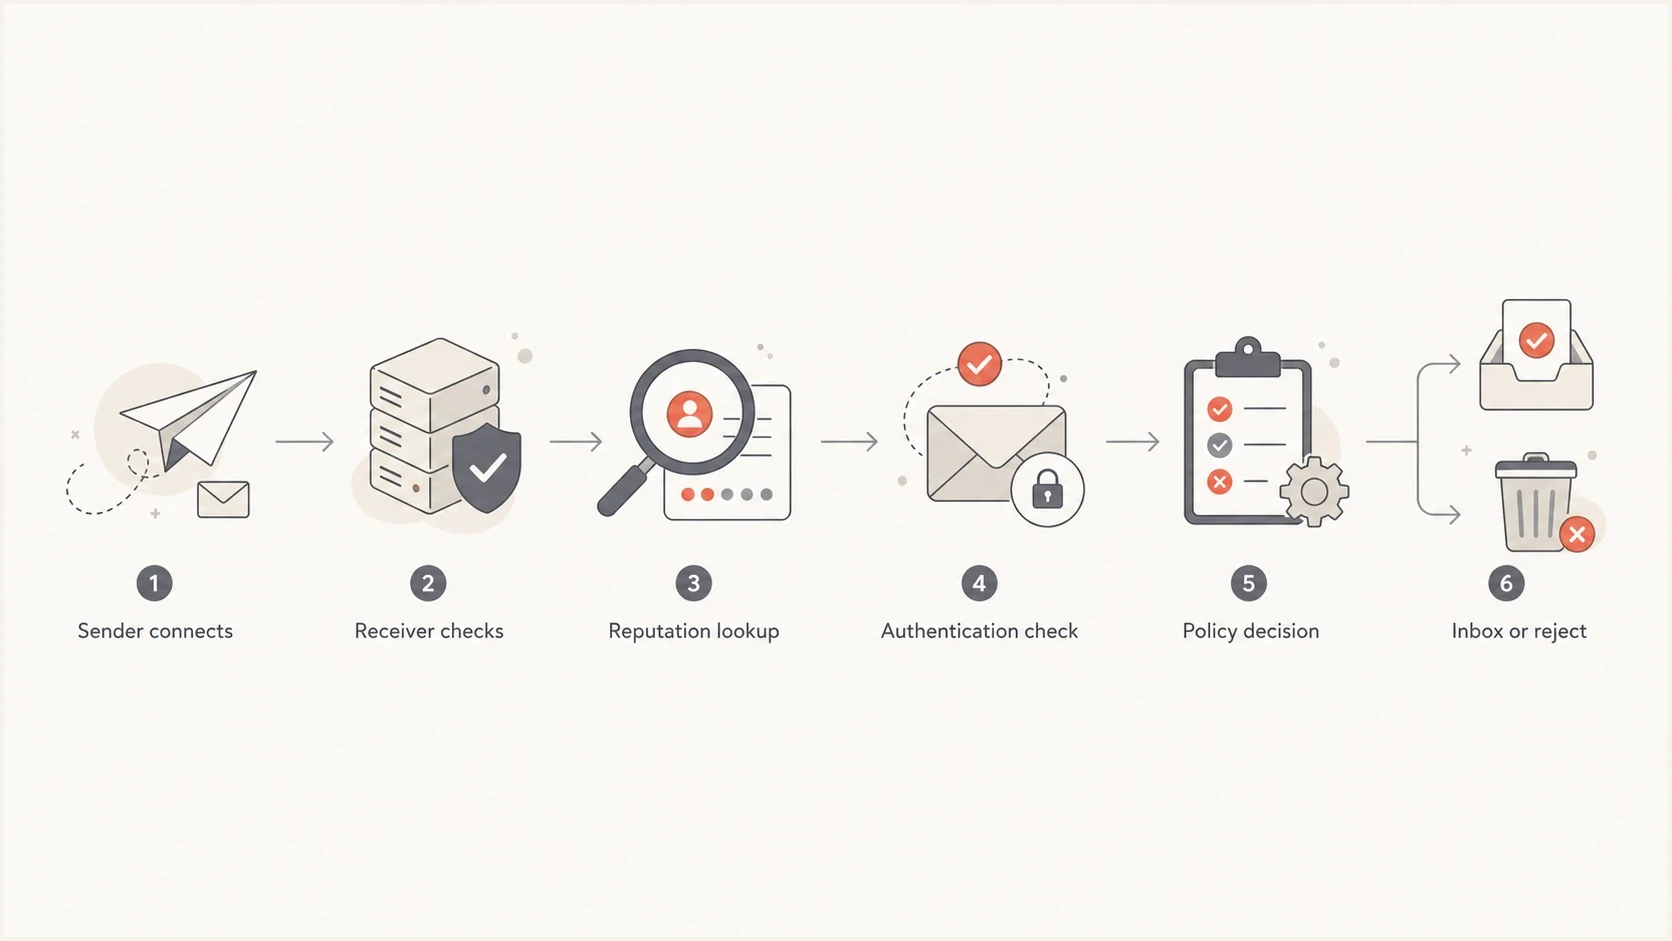
Email blacklist and blocklist lookup flowchart showing reputation, authentication, and policy checks before delivery or rejection.
How the lookup works during delivery
During SMTP delivery, the receiving system sees the connection IP before it sees the full message. It can check the IP against one or more blocklists immediately. It can also inspect the message headers, authenticated domains, links, and attachments before making a final decision.
Many public blocklists use DNS-based lookups. A receiver reverses the sending IP address and queries a special DNS zone. A positive response contains a return code that identifies the list or listing category according to that operator's documentation. A negative DNS response usually means that the queried object has no entry on that specific list. Domain and URL blocklists use related lookup methods, but the exact query format and response codes vary by operator.
Example DNSBL-style lookupdns
Sending IP: 203.0.113.25

Reversed lookup name:
25.113.0.203.example-blocklist.test

Possible result:
127.0.0.2
A positive lookup does not always mean permanent blocking. Some receivers reject during SMTP, some accept and route to spam, and some add the result to a larger score that also includes authentication, history, rate, user feedback, and account-level trust.
Public blocklist
- Visibility: Senders can often check whether an IP or domain appears on the list.
- Use case: Receivers use it as one input for spam filtering and connection decisions.
- Removal: Some lists offer a clear delisting path after abuse stops.
Private receiver list
- Visibility: Senders usually cannot see the full internal scoring model.
- Use case: The provider tunes filtering for its own users and abuse data.
- Removal: Reputation recovers through better mail behavior and lower complaint rates.
A policy listing is not an abuse listing
Some IP blocklists contain address ranges that should not deliver mail directly to recipient mail servers. Consumer broadband, dynamic address space, and networks whose policy requires an approved outbound relay can appear on these lists even when the current IP has not sent spam. In that case, the listing describes how the network should be used, not a finding of abuse.
|
|
|
|---|---|---|
Abuse or reputation | The operator observed spam, compromise, traps, or related harmful traffic. | Stop the cause, verify the fix, then follow the removal instructions. |
Network policy | The IP range is not expected to send mail directly to recipient MX servers. | Use the designated relay, or seek an exception only for a controlled mail server. |
How to interpret two common listing categories
Check the listing category first
Do not request removal from a policy blocklist simply because a lookup is positive. If the IP is dynamic, belongs to a shared service, or should use a relay, changing the mail route is the proper fix. An exception only makes sense for a static outbound mail server with correct forward and reverse DNS, controlled outbound SMTP, and clear authorization to use the IP.
Why senders get listed
Most abuse-based blacklist incidents fall into a small set of causes. A common mistake is treating the listing as a paperwork issue instead of an evidence issue. The evidence is in bounces, SMTP responses, DMARC aggregate reports, campaign logs, signup paths, suppression lists, security logs, and recent infrastructure changes.
|
|
|
|---|---|---|
Compromise | An account, app, or server sent abusive mail. | Login and sending logs |
Bad list | Contacts were scraped, stale, or not opted in. | Source and consent path |
Spam-trap hits | The list reached pristine, recycled, or typo-based addresses used to identify poor acquisition or hygiene. | Acquisition and inactivity rules |
High bounces | Too many recipients no longer exist. | Hard bounce rate |
Unauthorized source | An unapproved system sent mail using the domain or infrastructure. | DMARC source data |
Server identity | The sending IP lacks consistent forward and reverse DNS. | A, PTR, and EHLO values |
Sudden volume | Mail volume changed faster than trust grew. | Daily send curve |
Shared IP issue | Another sender damaged the shared pool. | Provider pool traffic |
Common listing causes and what to inspect first
A domain can also suffer even when the listed object is an IP. If the same brand, DKIM domain, or return-path domain keeps appearing in poor traffic, receivers have enough context to apply filtering at the domain level. That is why domain authentication and traffic hygiene matter even when the rejection mentions an IP blacklist.
Do not request removal too early
If the bad traffic is still active, delisting wastes time and can make repeat requests less effective. Stop the abusive or broken mail first, then document the fix, then request removal where the list allows it.
If you need a deeper breakdown of how a sender lands on a blacklist, this related page on blacklist causes explains the common paths in more detail.
How to check whether a listing matters
Not every blacklist listing has the same impact. A small list with little receiver adoption is different from a list used in production filtering by many networks. The practical question is not only "am I listed?" It is also "is this listing connected to real delivery failures?"
Check four things before escalating a blacklist problem: the listed object, the listing category, the affected recipients, and the delivery evidence. Read the full SMTP response rather than only the word 'blocked.' A 4xx response usually records a temporary deferral that the sending server should retry, while a 5xx response records a permanent rejection for that delivery attempt. The enhanced status code and accompanying text can identify the list, policy, or next step. If mail goes to spam, the evidence is weaker and needs testing across real recipient mailboxes.
Blocklist checker
Check your domain or IP against 144 blocklists.







A blocklist lookup gives a quick signal, but it should sit beside authentication checks and real message tests. For example, use the email tester when you need to inspect a live message, then use a domain health checker to review SPF, DKIM, and DMARC records around the same domain.
Impact levels for a blocklist listing
Use delivery evidence to decide how urgent the listing is.
No listing
Normal
No known listing and no related rejection evidence.
Low-volume listing
Watch
Listed on a minor source with no clear bounce impact.
High-impact listing
Fix
Listed where customer or staff mail is failing.
Active blocking
Urgent
Receivers are rejecting mail during SMTP delivery.
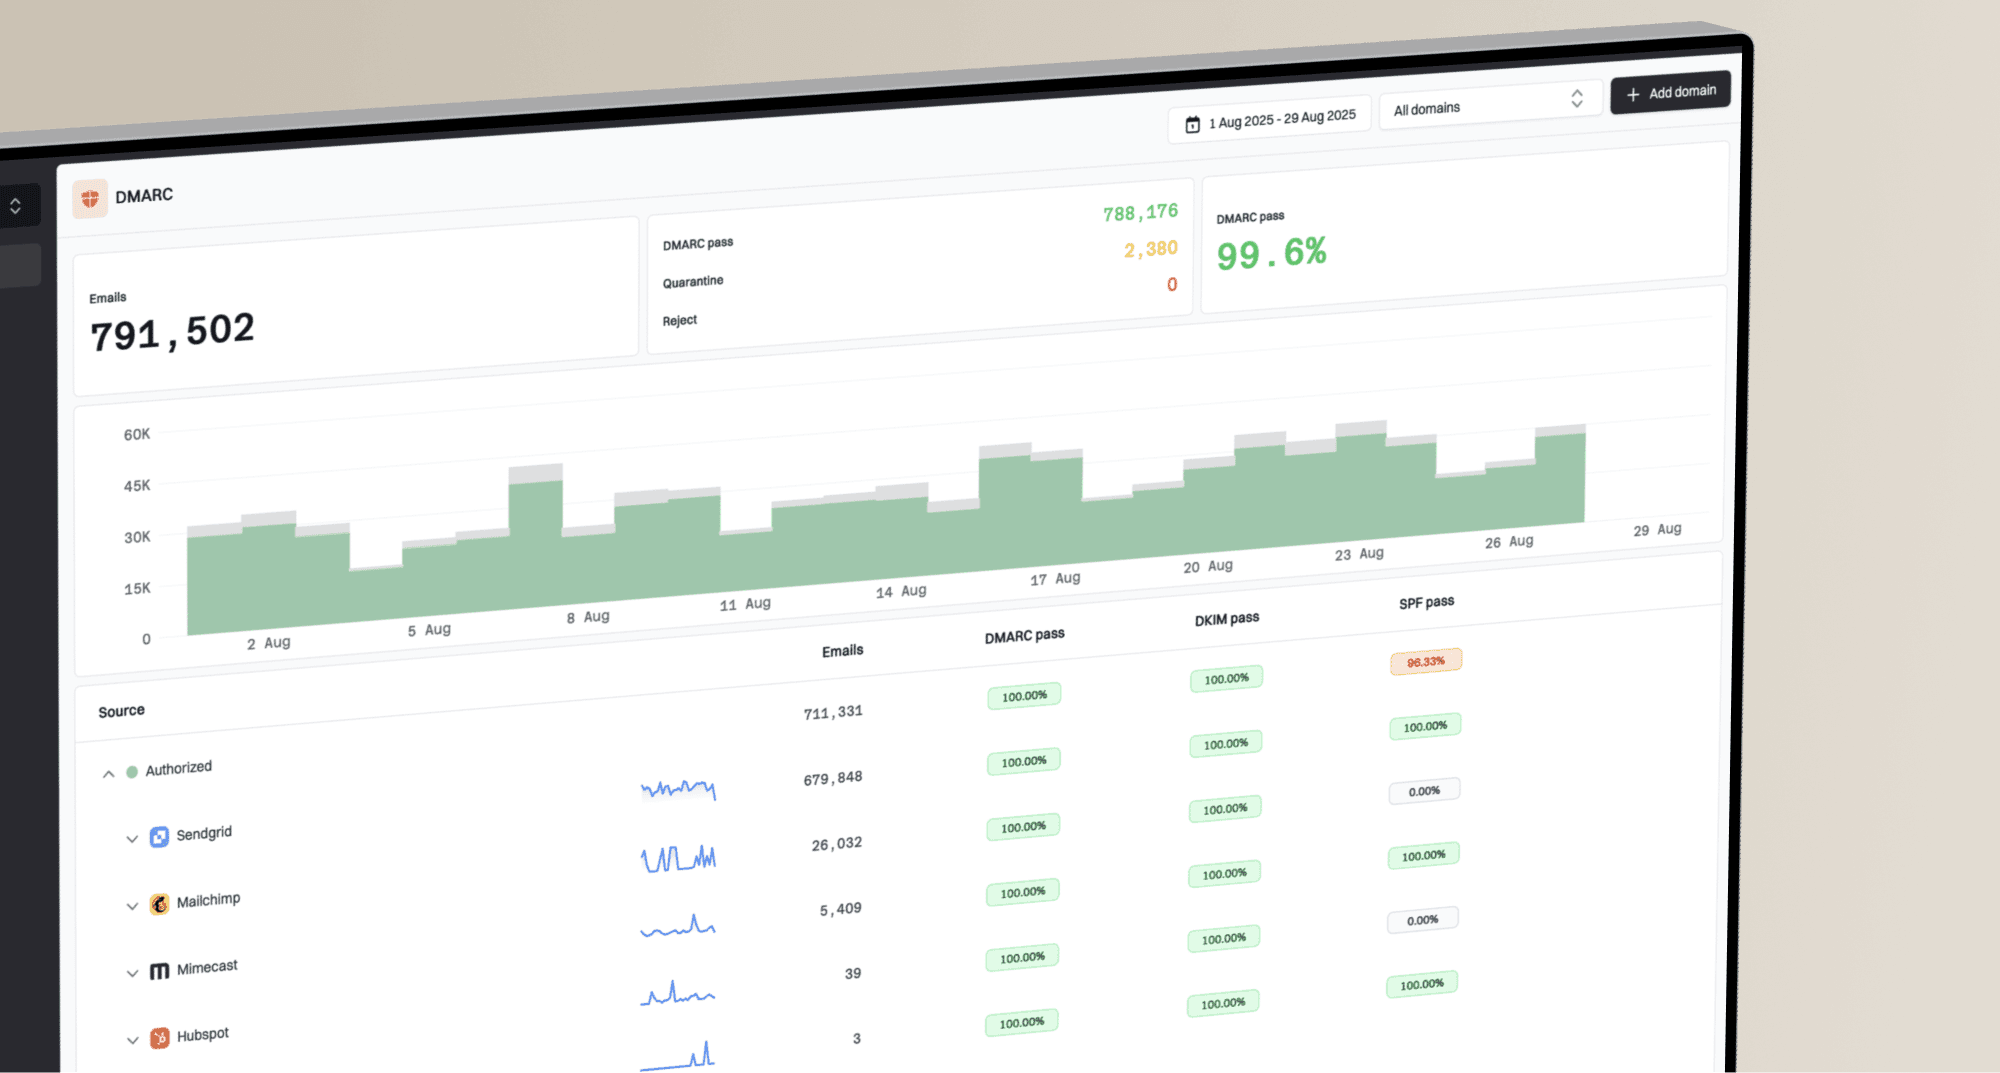
Suped's product brings this work into one operational view: DMARC monitoring, SPF and DKIM visibility, blocklist monitoring, deliverability signals, and alerts. That combination matters because many blacklist problems have an authentication or sender-source component hiding behind the bounce message.
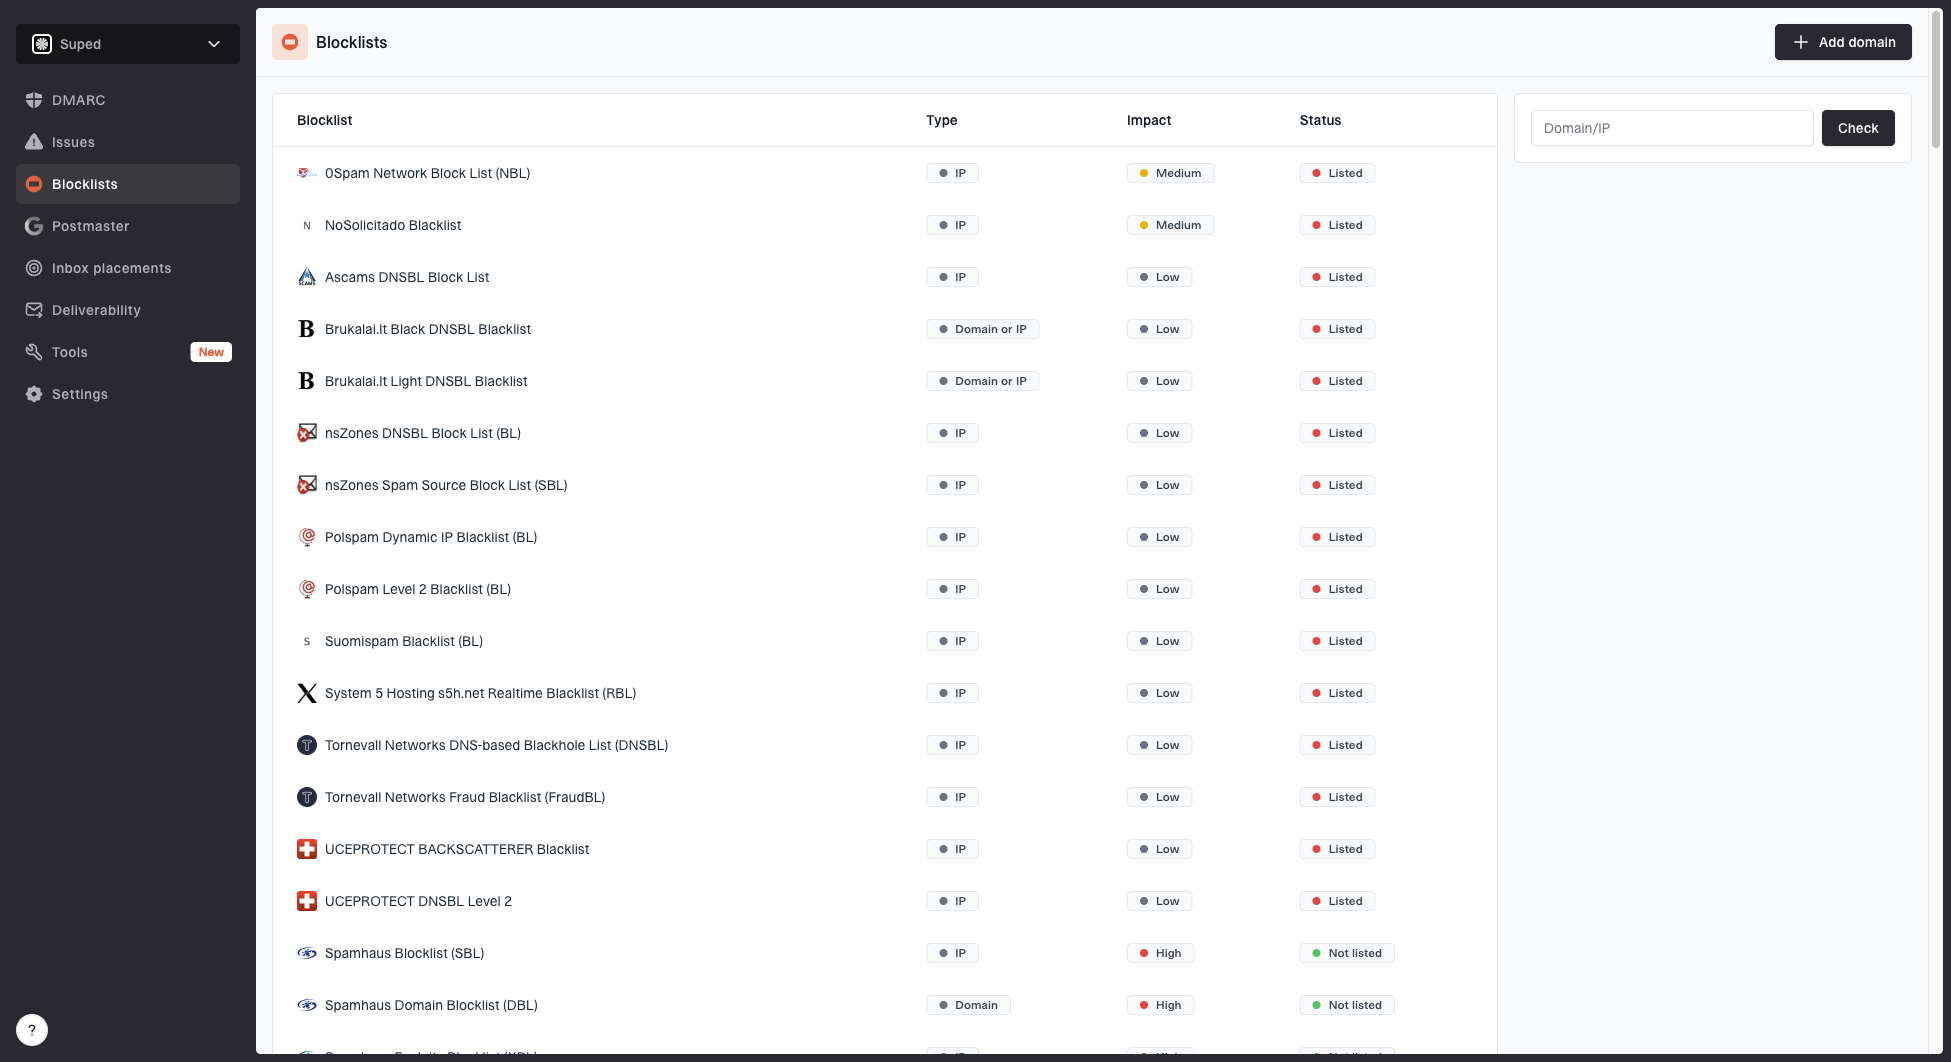
Blocklist monitoring page showing domain and IP checks across blocklists with importance and status
What to fix before delisting
The best delisting request is short because the real work has already happened. Before requesting removal, confirm that you control the listed IP or domain, no compromised account is sending, no app is leaking unauthenticated mail, and no campaign is hitting stale or unconsented addresses. If a sending provider controls a shared IP, give the provider the bounce and listing evidence because its abuse team must handle the IP-level fix. Then confirm that authentication passes for the same streams that caused the issue.
Baseline DMARC record for monitoringdns
_dmarc.example.com TXT
v=DMARC1; p=none; rua=mailto:dmarc@example.com
That DMARC record is a monitoring starting point, not the final security posture. It lets you collect reports while you identify every legitimate sender. Once sources are verified, move through policy staging toward quarantine or reject. Suped's Hosted DMARC helps manage that staging without turning every policy change into manual DNS work.
- Stop bad traffic: Disable compromised accounts, pause risky campaigns, and block the source that generated the listing.
- Clean recipients: Remove hard bounces, suppress complainers, and verify that new addresses have clear consent.
- Fix authentication: Make SPF and DKIM authenticate approved sources, with at least one authenticated domain matching the visible From domain so DMARC passes.
- Document changes: Keep the timestamps, source names, and controls changed so a removal request has concrete evidence.
- Follow the correct removal path: Some listings expire after the cause stops, while others require a request from the IP or domain owner, hosting provider, or network operator. Follow the instructions for that specific listing category.
Where Suped fits
Suped gives teams one place for DMARC monitoring, hosted SPF, SPF flattening, blocklist monitoring, issue detection, and real-time alerts. For MSPs, the multi-tenant dashboard keeps client domains, source issues, and policy progress separate.
What to expect after delisting
Removal from a public blacklist or blocklist means the operator no longer publishes that listing. It does not erase the receiver's private history for the IP or domain. Mail can remain deferred, rejected, or routed to spam while DNS caches refresh and receiver reputation responds to clean traffic.
- Confirm the record changed: Recheck the exact IP or domain with the same list and allow for its published DNS update time.
- Retest affected destinations: Send controlled tests and compare new SMTP responses with the failures recorded before removal.
- Keep volume steady: Resume clean mail gradually instead of creating a sudden spike immediately after delisting.
- Watch for recurrence: A quick relisting usually means the original source is still active or another source shares the same identity.
Delisting and reputation recovery are different
Do not rotate to a new IP or domain only to escape a listing. The new identity starts without an established reputation, and moving the same bad traffic often transfers the problem. Keep the remediated identity when it remains under your control and measure recovery with delivery evidence.
How to prevent repeat blacklist issues
Prevention is mostly operational discipline. Blacklists react to patterns. If you keep identity, consent, volume, and authentication under control, you reduce the signals that cause listings. The hardest part is that email programs change constantly: new apps get connected, marketing teams launch campaigns, staff accounts get compromised, and DNS records drift.
- Authenticate every sender: Keep SPF, DKIM, and DMARC passing for each approved source, including internal apps and ticketing systems.
- Control list quality: Use clear consent, honor unsubscribe requests promptly, suppress complaints, and remove invalid addresses quickly.
- Support easy opt-out: For applicable marketing and promotional bulk mail, provide one-click unsubscribe and a visible unsubscribe link.
- Maintain server identity: For self-managed servers, keep forward DNS, PTR records, EHLO identity, and TLS configuration consistent.
- Watch volume changes: Avoid sudden jumps that make a new domain, IP, or campaign look suspicious to receivers.
- Monitor rejections: Track SMTP responses, complaint spikes, DMARC failures, and blocklist changes in the same workflow.
- Separate mail streams: Keep transactional, marketing, and high-risk automated mail on appropriate domains and infrastructure.
For ongoing operations, blocklist monitoring is useful only when it is connected to fixable evidence. A notification that says "listed" is not enough. The team needs to know which object is listed, which sender caused it, whether mail is failing, and what to change next.
Monitoring works best when authentication, source discovery, and issue resolution steps stay in the same place. A blacklist (blocklist) event is rarely isolated. It usually sits beside a sender inventory gap, a broken DNS record, a compromised account, or a campaign process that needs tighter controls.
If you want more background on DNS-based lists, the RBL guide explains how real-time lookups fit into mail filtering.
How to respond when mail is blacklisted
Email blacklists work by publishing reputation or network-policy signals about IP addresses and domains. Receivers use those signals with authentication results, traffic history, user feedback, and their own policies. The listing matters most when it connects to real delivery failures, not simply because a lookup returns a hit.
The clean process is to identify the listed IP or domain, read the listing category, confirm the delivery impact, stop the cause, fix authentication and server-identity gaps, clean the sending list, then follow the operator's removal instructions if action is required. After that, monitoring has to stay active because reputation changes as sending behavior changes.
Suped's product is built around that operational loop: find the issue, understand the sender, fix the authentication or reputation problem, and keep alerts in place so the next issue is caught earlier.