Simple DMARC examples: how to start with a p=none policy
Michael Ko
Co-founder & CEO, Suped
Published 11 Jul 2025
Updated 11 Jul 2025
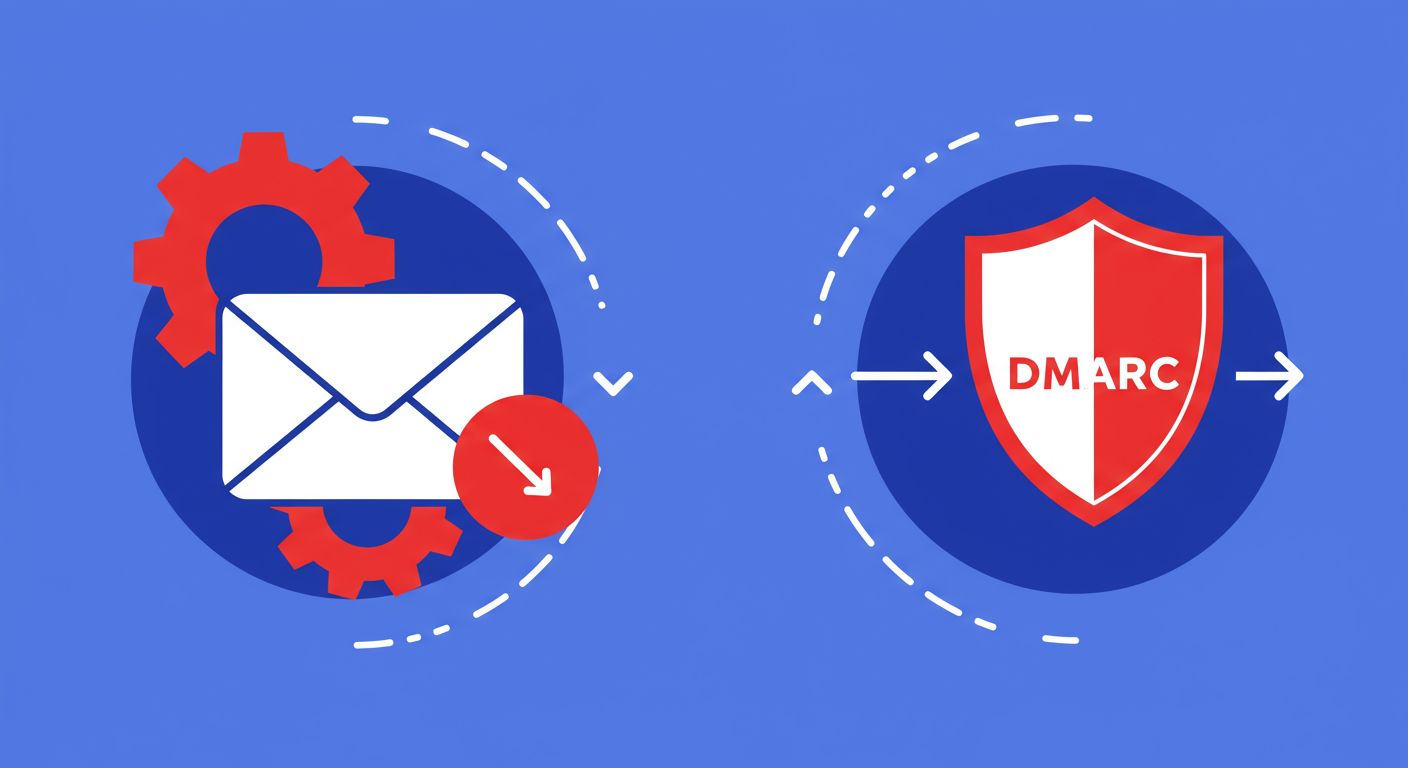
When you first dive into the world of email deliverability and security, you quickly encounter a trio of acronyms: SPF, DKIM, and DMARC. While all are important, DMARC (Domain-based Message Authentication, Reporting, and Conformance) acts as the policy layer that tells the world how to handle emails claiming to be from your domain. It’s your way of protecting your brand’s reputation from phishing and spoofing attacks.
At its core, DMARC leverages the results of SPF and DKIM checks to verify if an email is authentic. But it goes a step further by giving you, the domain owner, control. You can tell receiving mail servers what to do with messages that fail these checks. This is handled by a DMARC "policy," which can range from doing nothing at all to outright rejecting the email.
For anyone just starting out, the single most important piece of advice is to begin with the most permissive policy: p=none. This is often referred to as a "monitor-only" policy. It’s a completely safe way to dip your toes into the DMARC waters, allowing you to gather data without any risk of your legitimate emails being accidentally blocked or sent to spam.
Understanding the 'monitor mode' policy
So, what exactly does a p=none policy do? In short, nothing that impacts your email delivery. When a receiving server sees a DMARC record with p=none, it is instructed not to take any specific action against messages that fail DMARC authentication. The email will be delivered to the recipient's inbox or spam folder based on the server's own filtering rules, just as it would if you had no DMARC record at all.
This might sound counterintuitive. If it doesn’t do anything, what’s the point? The magic of the p=none policy lies in its reporting capability. By including a rua tag in your DMARC record, you ask mailbox providers to send you daily aggregate reports. These reports are a goldmine of information.
These reports detail all the activity for your domain, including which servers and services are sending email on your behalf and whether those emails are passing or failing SPF and DKIM checks. This gives you the visibility needed to understand your email ecosystem. You'll see your legitimate mail streams, but you may also uncover unauthorized services or malicious actors trying to impersonate your domain. Starting with a "none" policy to monitor your email sources is the critical first step toward securing them.
Your first DMARC record: a simple example
Creating your first DMARC record is surprisingly straightforward. It's just a TXT record that you add to your domain's DNS settings. The record needs to be placed at the specific hostname _dmarc.yourdomain.com, replacing yourdomain.com with your actual domain.
Here is the most basic, yet fully functional, DMARC record you can use to get started. It sets the policy to none and tells receivers where to send the aggregate reports. This is the perfect starting point for virtually any domain.
Let's break down what each part of that record means:
v=DMARC1: This tag is mandatory and identifies the record as a DMARC record. The version is always DMARC1.
p=none: This sets the policy to "none," or monitor mode, as we've discussed. It tells receivers not to take any specific action on failing emails.
rua=mailto:dmarc-reports@yourdomain.com: This is the reporting instruction. It tells receivers to send their aggregate XML reports to the specified email address. You should replace this with an actual email address you control.
Adding optional tags to your p=none record
While the basic record works perfectly, you can add a few other tags to get more specific, even with a p=none policy. These tags provide more granular control and reporting options as you become more comfortable with DMARC.
Two other common tags you might see are pct and ruf.
pct=100: The pct or "percentage" tag tells receivers what percentage of failing messages to apply the policy to. With p=none, it doesn't have a practical effect on delivery, but it's good practice to include it. A value of 100 means the policy applies to 100% of emails. This becomes very important when you later move to quarantine or reject.
ruf=mailto:forensic-reports@yourdomain.com: The ruf tag is used to request forensic, or failure, reports. These are real-time reports sent for individual email failures and can contain snippets of the email content. Due to their volume and potential privacy implications, not all receivers send them, and many administrators choose to omit this tag initially.
A slightly more advanced, but still very common, p=none record might look like this. It specifies the percentage and includes an address for the more detailed forensic reports.
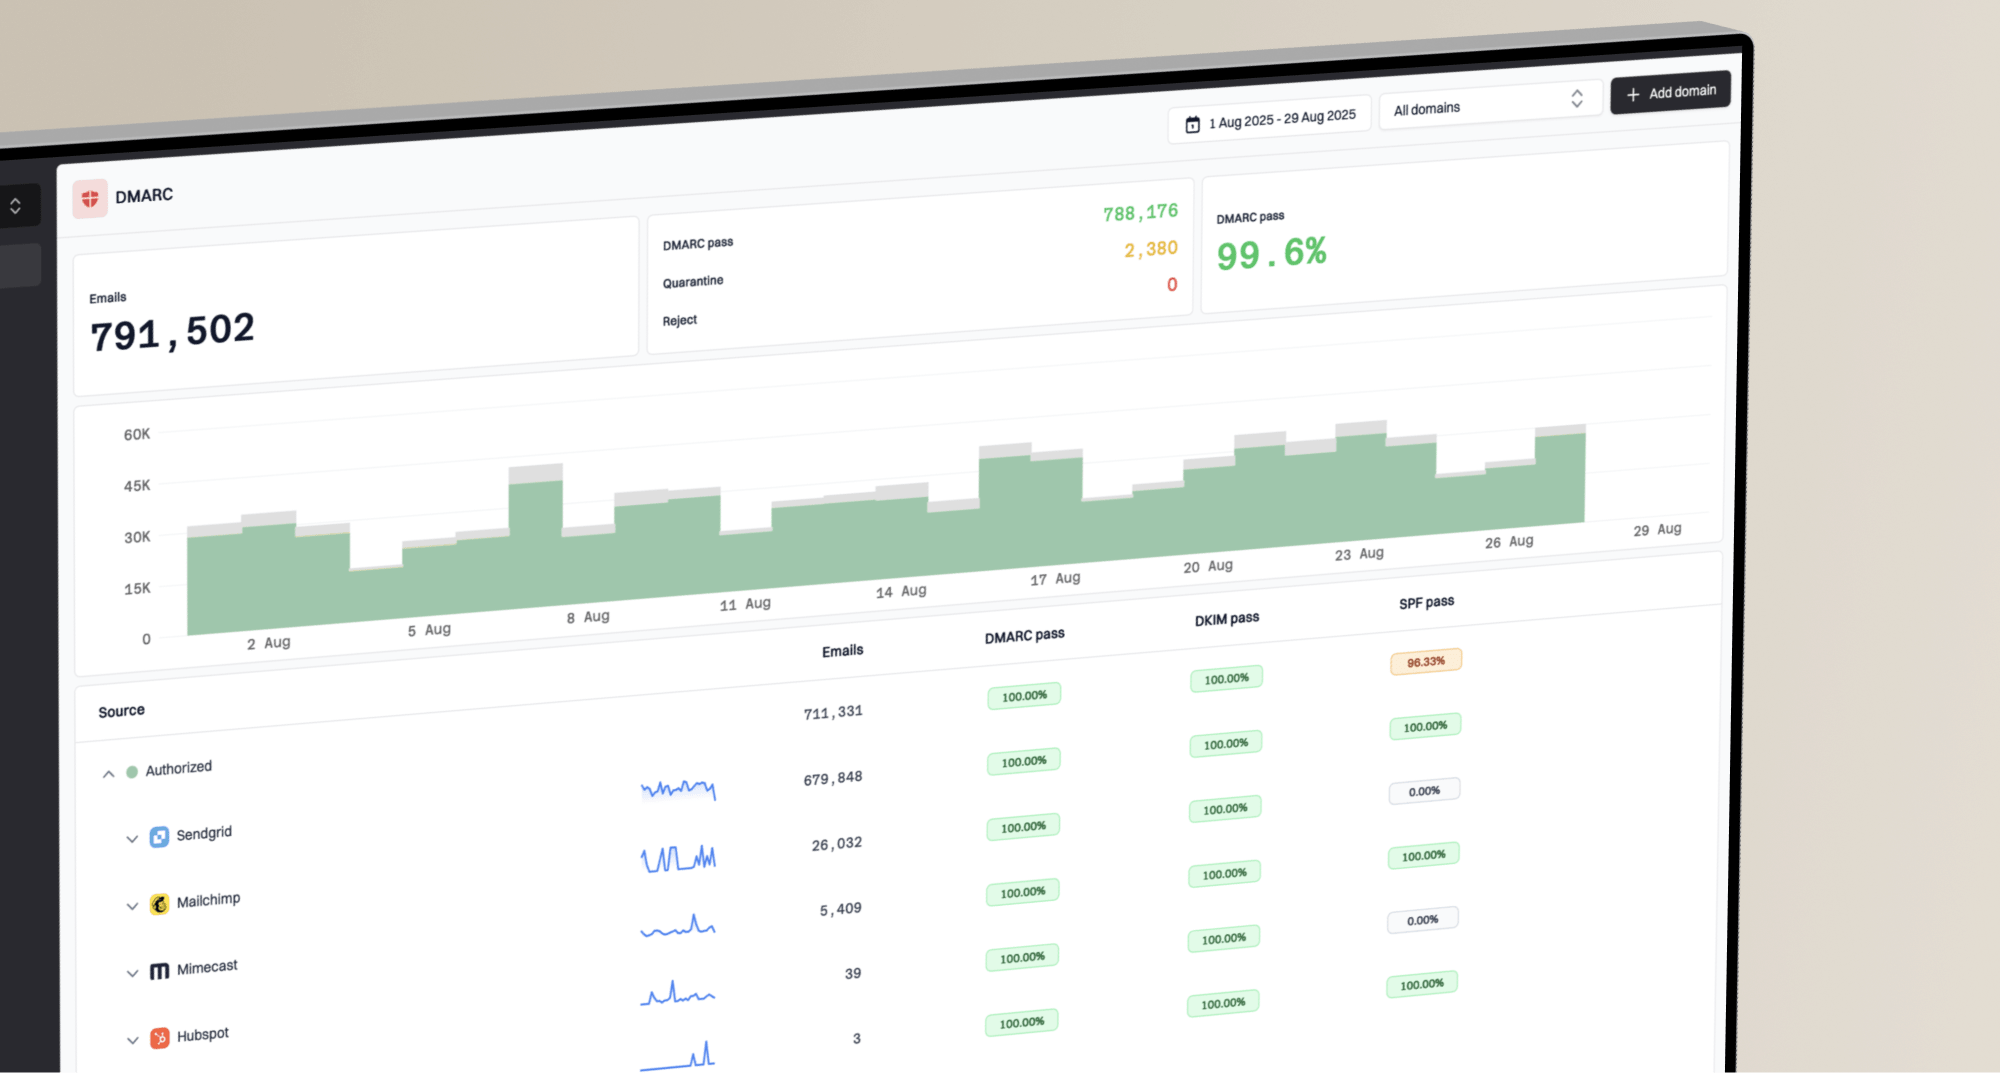
Publishing your p=none DMARC record is a fantastic first step, but the real work begins when the reports start arriving. These reports are typically sent daily in a compressed XML format, which is not very human-readable. You can use a DMARC analysis tool or service to parse these files into digestible charts and tables.
The goal of this phase is simple: identify every single service that sends email for your domain. This includes everything from your primary mail provider like Google Workspace or Microsoft 365, to your marketing platform, your CRM, your helpdesk software, and any custom applications that send transactional emails.
As you review your reports, you will build a list of all your sending sources. For each legitimate source, you must ensure it is correctly configured to send DMARC-aligned email. This means making sure its messages pass SPF and/or DKIM for your domain. Once all your known, legitimate traffic is passing DMARC, you can begin the process of moving to a stricter policy like p=quarantine to start protecting your domain.
In conclusion, implementing a DMARC policy of p=none is the safest and most effective way to begin your email authentication journey. It provides invaluable insight into your email sending landscape without any risk of disrupting legitimate mail flow. By starting with this simple monitoring policy, you lay the groundwork for a more secure email program, building the confidence and data needed to eventually move to a full enforcement policy that actively blocks fraudulent email.
Frequently asked questions
Does a p=none DMARC policy affect email deliverability?
No, a p=none policy does not affect your email deliverability. It is a 'monitor-only' mode that instructs receiving servers to report on authentication results but not to quarantine or reject messages based on DMARC failures. Your emails will be delivered as they normally would.
What happens if I use p=none without a rua tag?
If you publish a DMARC record with p=none but do not include a rua tag, the policy itself has no effect. You will not receive any aggregate reports, which defeats the primary purpose of using p=none. You gain no visibility into your email sending activity.
How long should I stay on a p=none policy?
The duration depends on the complexity of your email infrastructure. You should remain on p=none long enough to have identified and properly authenticated all of your legitimate sending sources. For a small organization, this could be a few weeks. For a large enterprise with many sending services, it could take several months.
Is p=none enough to satisfy the sender requirements from Google and Yahoo?
Yes. The 2024 requirements from Google and Yahoo for bulk senders simply state that you must have a valid DMARC record published. A p=none policy is sufficient to meet this specific requirement, although moving to an enforcement policy of quarantine or reject is highly recommended for actual protection.