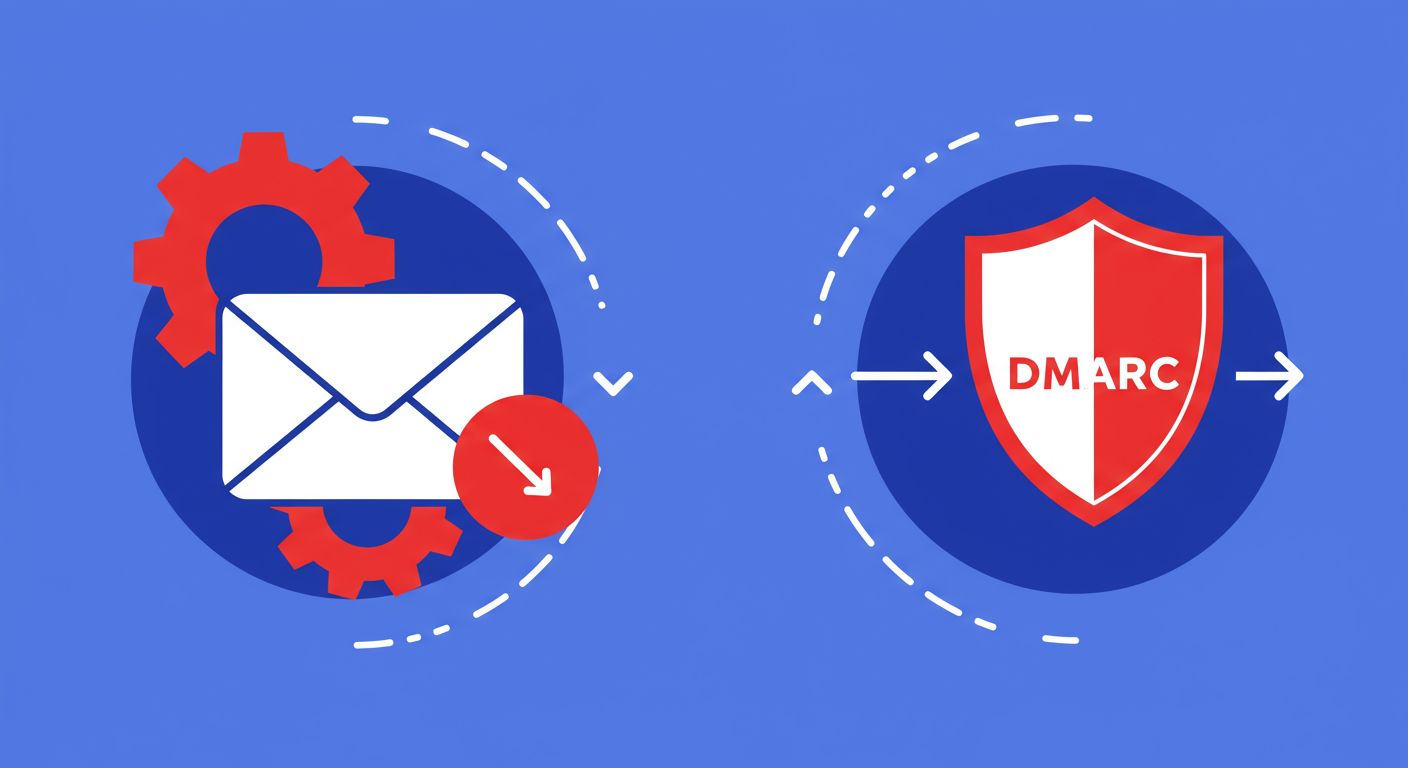
Switching your DMARC reporting provider might seem like a complex task, especially when your email security and deliverability are on the line. Perhaps you're looking for more detailed analytics, a more intuitive platform, or better support. Whatever the reason, migrating your DMARC service is a common and often necessary step to level up your email authentication strategy. It's a move that puts you in greater control of your domain's reputation.
The good news is that with a clear plan, the process can be executed smoothly without any disruption to your email flow. The core of the migration involves a simple DNS update, but the work you do before and after that change is what guarantees success. This guide will walk you through the entire process, from initial preparation and auditing to the final verification, ensuring a seamless transition to your new DMARC provider.
Success in any technical migration hinges on preparation. Before you even think about changing your DNS records, it's crucial to understand your current DMARC posture. Take stock of your existing configuration. What is your current enforcement policy? Are you at p=none, p=quarantine, or p=reject? You should also have a complete inventory of all the services that send email on your behalf, like your email service providers (ESPs), CRM platforms, and internal systems. Not having this information can lead to legitimate emails failing authentication down the line.
Once you've chosen your new DMARC provider, the first step is to create an account and add your domain to their platform. This is a critical prerequisite that must be done before you touch any DNS settings. The new provider will supply you with unique reporting addresses for aggregate (rua) and forensic (ruf) data. These addresses are the destination for the DMARC reports generated by mailbox providers, and they are what you will use in your updated DMARC record.
To ensure a zero-data-loss transition, I strongly recommend a brief period of parallel reporting. This involves temporarily configuring your DMARC record to send reports to both your old and new providers simultaneously. By adding the new provider's rua address to your existing record, separated by a comma, you create a safety net. This allows you to verify that the new service is receiving and processing data correctly before you fully cut ties with the old one.
With your preparation complete, it's time to execute the migration. This step happens within your Domain Name System (DNS) provider's control panel, which could be GoDaddy, Cloudflare, Namecheap, or whichever service hosts your domain's DNS records. You will need to locate the existing DMARC TXT record. It is typically named _dmarc.yourdomain.com.
The modification itself is straightforward. You will edit the content of the TXT record to replace the old provider's reporting address with the new one. If you're following the parallel reporting strategy, you will add the new rua address alongside the old one, separated by a comma. It’s important not to change any other tags, especially the policy (p=) tag, unless it's part of a planned policy escalation.
v=DMARC1; p=none; rua=mailto:reports@old-provider.com;v=DMARC1; p=none; rua=mailto:reports@old-provider.com,mailto:reports@new-provider.com;v=DMARC1; p=none; rua=mailto:reports@new-provider.com;After saving the changes to your DNS, you need to account for propagation time. DNS changes aren't instantaneous; they can take anywhere from a few minutes to 48 hours to fully propagate across the internet's servers. During this period, some receiving mail servers might still see your old DMARC record. This is why keeping your old provider account active for at least 72 hours post-migration is a wise precaution. It ensures no DMARC reports are lost in the shuffle.

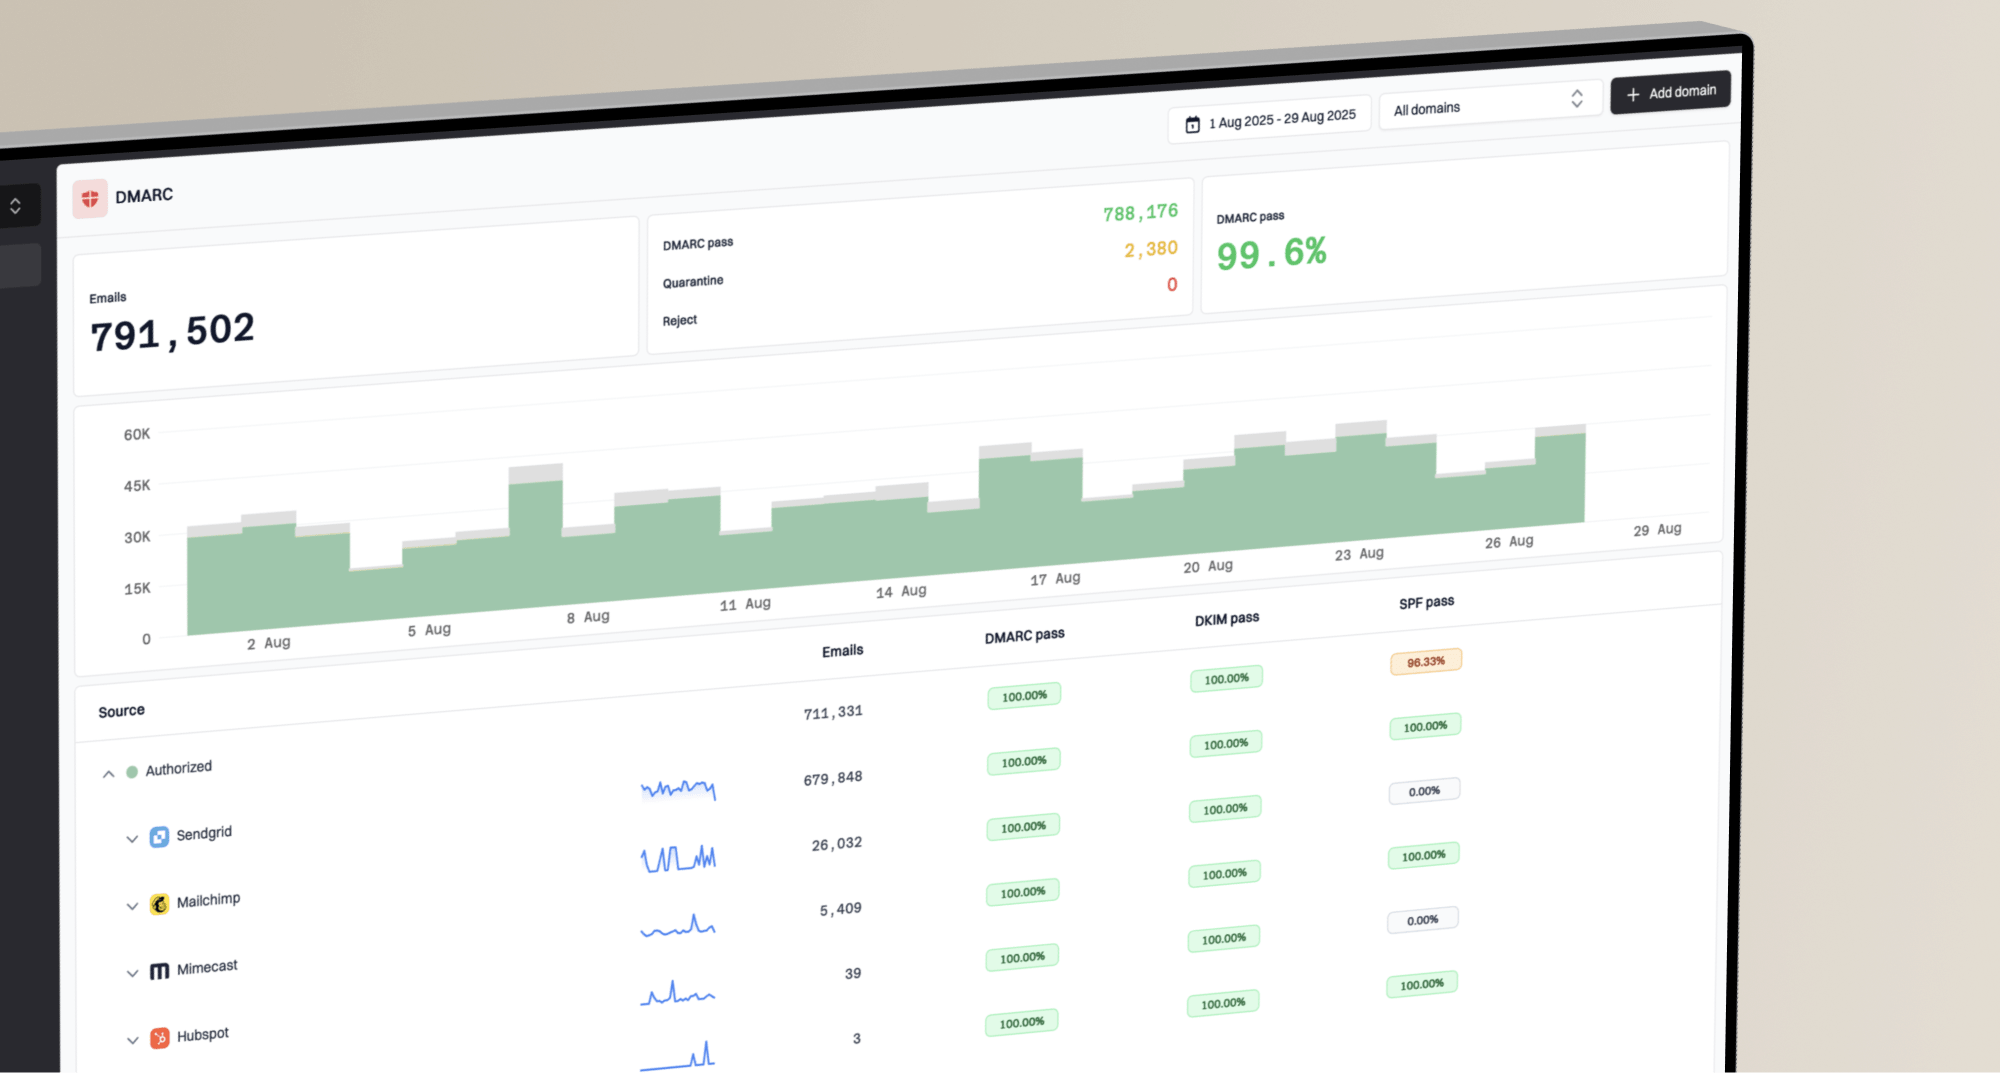
Once 24-48 hours have passed, it's time to verify that the migration was successful. Log into your new DMARC provider's dashboard. You should start seeing aggregate reports appearing. These reports will show you data on emails sent from your domain, including which ones are passing or failing SPF, DKIM, and DMARC alignment checks. The presence of this data is the first sign that your new record is working as intended.
If you used the parallel reporting method, this is your chance to compare the data streams. Check your old provider's dashboard and compare it with the new one. The volume and sources of email should look very similar, accounting for minor reporting variations between services. This comparison gives you the confidence that your new setup is capturing a complete and accurate picture of your email traffic.
After monitoring the data for a few days and confirming everything is stable, you can proceed with the final cleanup. This involves two steps. First, if you used parallel reporting, edit your DMARC record one last time to remove the old provider's rua address. Your record should now direct reports exclusively to your new service. Second, you can now safely close your account with your previous provider.
The migration might be complete, but the work of email authentication is never truly done. Continuous DMARC monitoring is essential for catching new threats, identifying unauthorized sending services, and maintaining high email deliverability. Use your new provider's tools to stay on top of your email ecosystem and continue your journey toward a more secure DMARC policy.
Migrating DMARC providers is a straightforward process when you approach it methodically. By following the key phases of preparation, execution, and verification, you can switch services without creating any gaps in your security or monitoring. A little planning goes a long way in ensuring a seamless transition that empowers you with better tools to protect your domain.
Ultimately, taking proactive control of your email authentication tools and providers is a sign of a mature security posture. It enables you to adapt to new threats and better leverage the data that DMARC provides, protecting your brand's reputation and ensuring your legitimate emails reach the inbox.