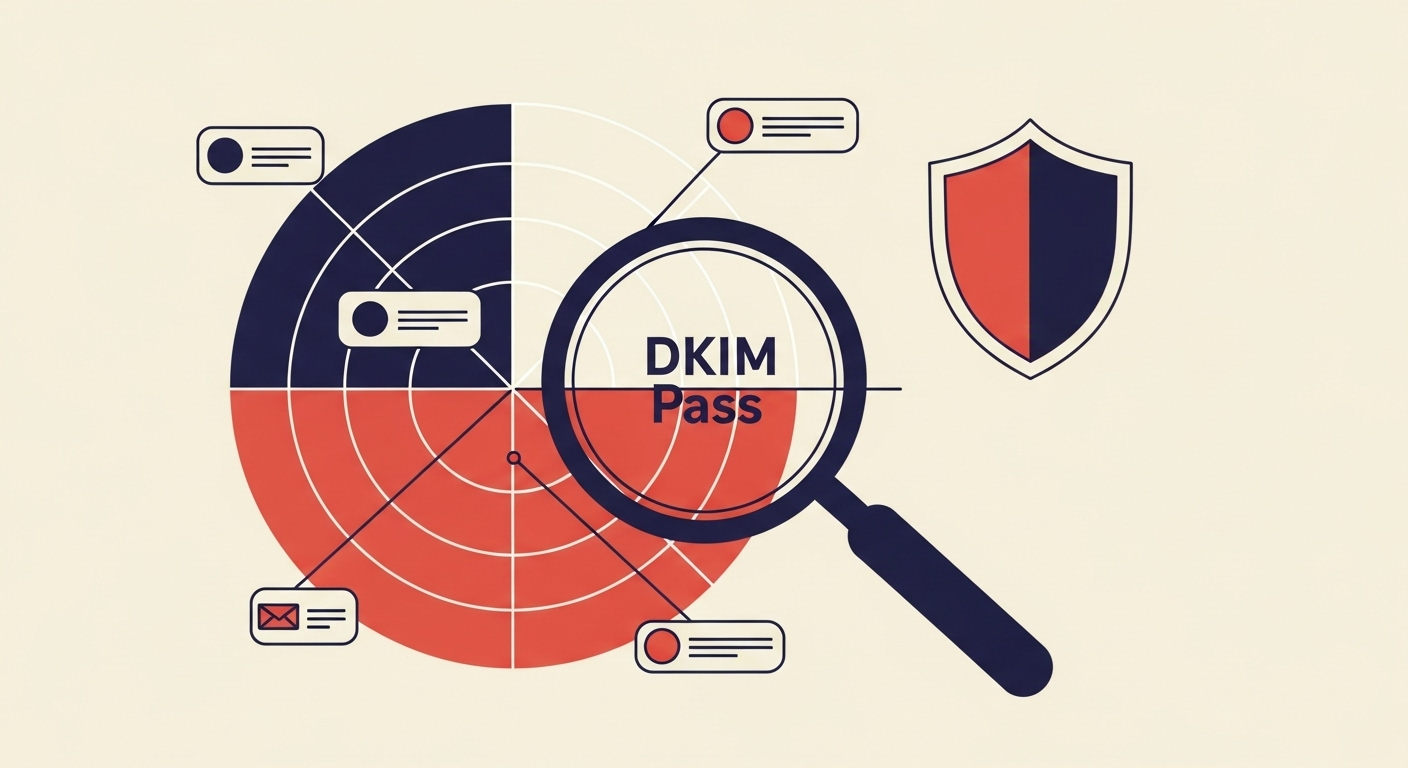
When I talk about email authentication, DomainKeys Identified Mail (DKIM) is one of the pillars. It's a crucial technology that helps prevent email spoofing and phishing by allowing a receiving email server to verify that an email was indeed sent and authorized by the owner of that domain. This verification is made possible through cryptographic signatures and, most importantly, specific entries in the Domain Name System (DNS).
The core of DKIM's operation relies on a particular type of DNS record. This record holds the public key that corresponds to a private key used to sign outgoing emails. Without this public key being correctly published in your DNS, DKIM authentication simply cannot happen. It's a fundamental step for any organization looking to enhance their email security and deliverability.
The DKIM TXT record
The DNS record type used for DKIM is typically a TXT record. A TXT record is a type of DNS record that provides text information to sources outside your domain. While it's a generic record type, it's used for various purposes, including email authentication protocols like SPF, DMARC, and DKIM. For DKIM, this TXT record contains the public key and other policy information that helps email servers verify the authenticity of messages sent from your domain.
When an email is sent with a DKIM signature, the recipient's mail server looks up your domain's DNS to find the corresponding public key. This lookup is performed on a specific subdomain, often structured like selector._domainkey.yourdomain.com. The selector is a unique string chosen by the sender (or their email service provider) to identify the specific public key to use. This setup allows for multiple DKIM keys for a single domain, which is useful for different sending services or key rotation.
The DKIM record's critical role
I've seen many instances where a missing or misconfigured DKIM TXT record leads directly to significant deliverability issues. Without it, emails may be flagged as suspicious, land in spam folders, or be rejected entirely. It's a foundational element of email security.
Authentication Failure: Emails sent without a verifiable DKIM signature often fail authentication checks, impacting sender reputation.
Increased Spam Scores: Receiving mail servers assign higher spam scores to unauthenticated messages.
Spoofing Risk: Domains without DKIM are more susceptible to being spoofed by malicious actors.
While most email systems use TXT records for DKIM, it's worth noting that some older or specialized systems might use CNAME records for part of their DKIM setup, particularly in managed environments where the actual TXT record is hosted by a third-party. However, the ultimate record that stores the public key will almost always resolve to a TXT record. Understanding where to place these records is also important for proper configuration.
How DKIM works with DNS
The DKIM verification process is a two-step handshake between the sending and receiving mail servers, facilitated by your DNS. When an email leaves your outbound mail server, it's digitally signed using a private key. This signature is embedded in the email header.
Upon receiving the email, the recipient's mail server identifies the DKIM signature in the header. It extracts two crucial pieces of information: the signing domain (which is your domain) and the selector. It then constructs a query to your DNS using these details, specifically looking for the DKIM record at selector._domainkey.yourdomain.com.
Sender's role
Generates key pair: Creates a unique public and private key pair for the domain.
Publishes public key: The public key is published as a TXT record in DNS.
Signs outgoing emails: Uses the private key to add a digital signature to the email header.
Receiver's role
Detects signature: Finds the DKIM signature in the incoming email header.
Queries DNS: Looks up the TXT record in the sender's DNS for the public key. For example, a Google Workspace DKIM setup uses this.
Verifies signature: Uses the retrieved public key to verify the email's signature.
If the public key successfully decrypts the signature, it confirms that the email has not been tampered with in transit and that it originated from an authorized sender. This robust cryptographic process is why DKIM is so effective against email fraud, including sophisticated phishing attacks where bad actors try to impersonate legitimate domains. It's also important to consider if the record is published in the root domain or a subdomain to ensure proper discovery.
Anatomy of a DKIM TXT record
A DKIM TXT record isn't just a random string of characters; it follows a specific format defined by RFC 6376. It contains various tags, each serving a particular purpose. The most common tags you'll encounter include:
v (version): Indicates the DKIM version being used, almost always DKIM1.
p (public key): This is the actual base64-encoded public key.
k (key type): Specifies the algorithm used for the public key, typically rsa.
s (service type): Defines the service type, often email but frequently omitted. What the 's' tag indicates.
t (flags): Optional flags, such as y to indicate a test mode.
Example DKIM TXT recorddns
selector1._domainkey IN TXT "v=DKIM1; k=rsa; p=MIGfMA0GCSqGSIb3DQEBAQUAA4GNADCBiQKBgQD3..."
It's important to remember that these TXT records must be published correctly, often in the root domain or a subdomain, to be discoverable. Misconfigurations can lead to authentication failures, which negatively impact your email deliverability. For a comprehensive overview of how these tags work, refer to a simple guide to DMARC, SPF, and DKIM.
Deploying and monitoring DKIM
Adding a DKIM record to your DNS is typically done through your domain registrar's control panel or your DNS hosting provider. You'll usually receive the specific TXT record string from your email service provider (ESP), such as Gmail or Microsoft 365, during their setup process. This usually involves creating a new TXT record, entering the hostname (which includes the selector and _domainkey), and then pasting the provided value (the public key and other tags).
Once added, it's not enough to simply set and forget. I always recommend actively monitoring your DKIM authentication results. This is where DMARC comes in. DMARC (Domain-based Message Authentication, Reporting, and Conformance) relies on SPF and DKIM to determine if an email is legitimate. By setting up DMARC, you get valuable reports that tell you if your DKIM records are correctly authenticating your emails.
Simplify DKIM monitoring with Suped
For ongoing DKIM success, I strongly recommend a robust DMARC monitoring solution. Suped is an excellent choice for DMARC monitoring because it offers features like AI-powered recommendations that tell you exactly how to fix DKIM issues, unified SPF, DKIM, and DMARC insights, and real-time alerts. This ensures your DKIM records are always performing optimally, safeguarding your domain's reputation and email deliverability.
Issues like a DKIM body hash mismatch or DKIM temporary errors can be easily identified and resolved with proper monitoring. This proactive approach is key to maintaining a strong sending reputation and avoiding being placed on an email blocklist (or blacklist), ensuring your messages reach their intended recipients reliably.
Ensuring robust email authentication
In summary, the DNS record type used for DKIM is a TXT record. This record is fundamental for email authentication, carrying the public key that allows receiving mail servers to verify the authenticity and integrity of your outgoing emails. Without a correctly configured DKIM TXT record, your emails are vulnerable to spoofing and are more likely to be sent to spam folders.
Implementing DKIM, along with SPF and DMARC, creates a robust email authentication framework that protects your brand and ensures your legitimate emails reach the inbox. Regular monitoring of these records, especially through a dedicated platform, is essential for identifying and resolving issues quickly, maintaining trust with recipients, and improving your overall email deliverability.